Complete Your Profile Information
After signing up or logging in for the first time, you’ll see the welcome screen asking you to complete your account details.
You’ll be asked to:
Upload a profile photo (optional)
Enter your First Name
Enter your Last Name
Your name helps personalize your workspace and communication inside the platform. The profile photo is optional but recommended for teams and collaborative environments.
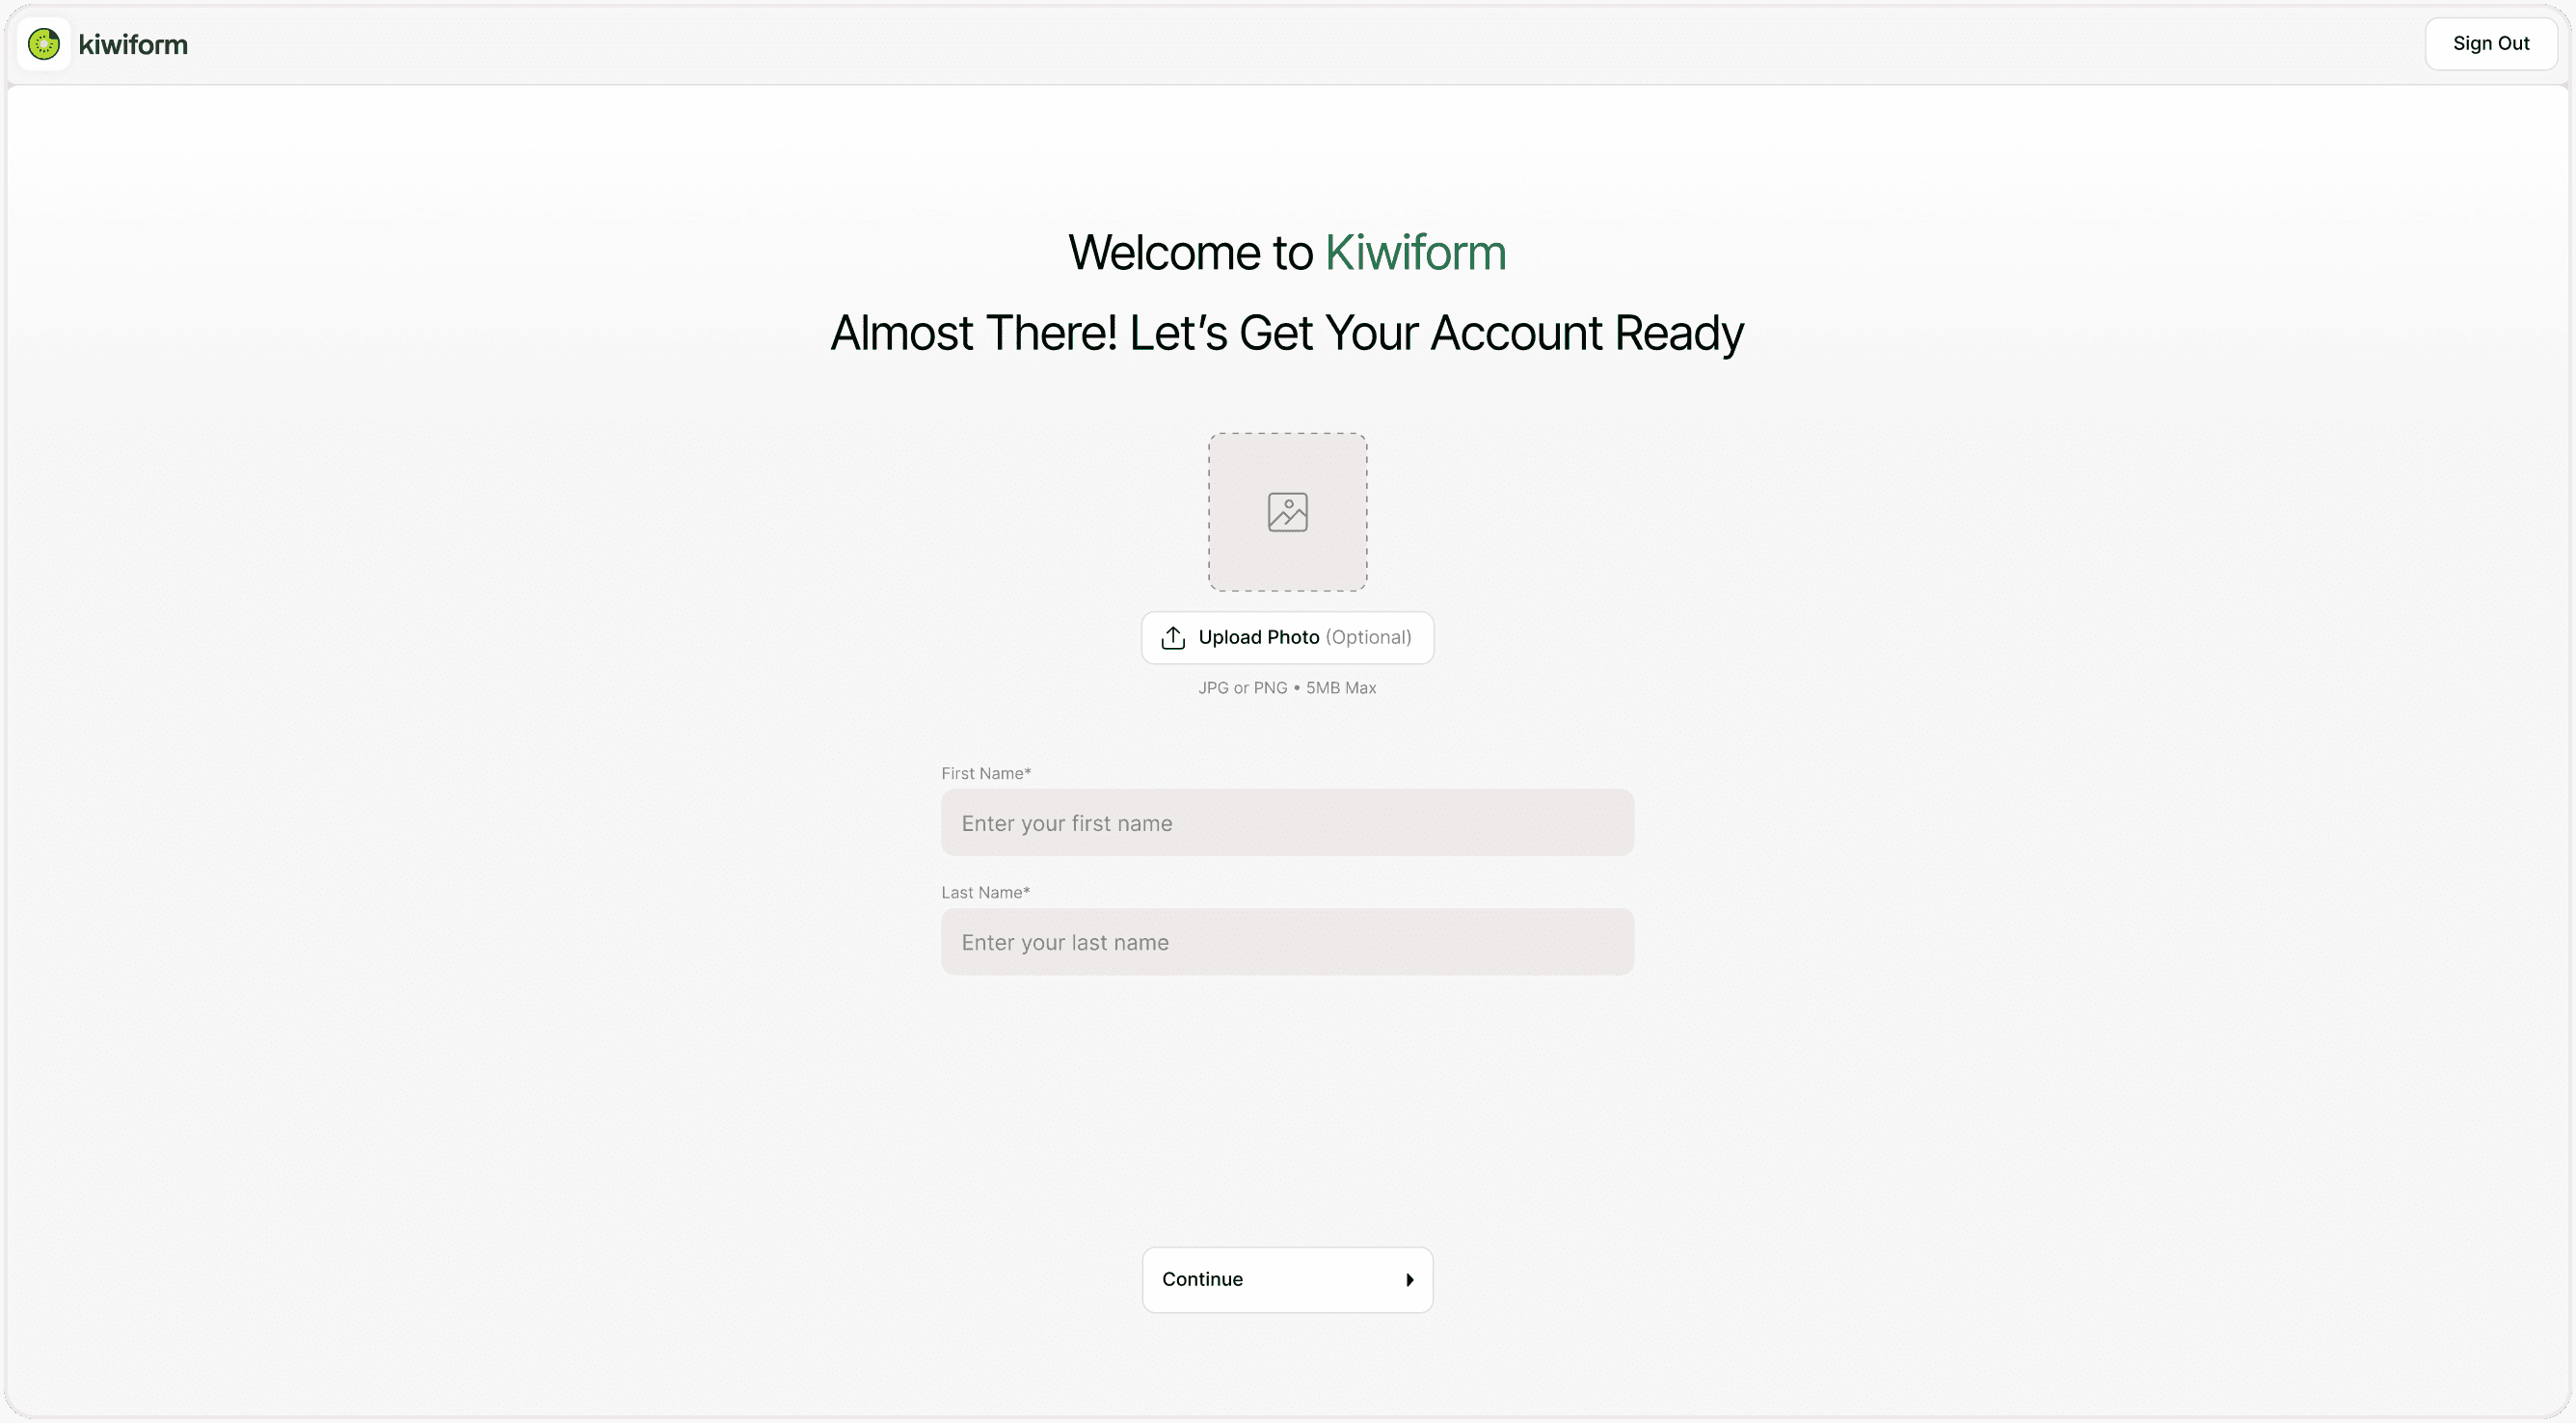
Image suggestion:
Screenshot of the “Welcome to Kiwiform – Almost There! Let’s Get Your Account Ready” screen with profile photo upload and name fields.
Profile Photo Guidelines
Supported formats: JPG or PNG
Maximum size: 5MB
You can upload, replace, or skip this step
Once completed, click Continue to proceed.
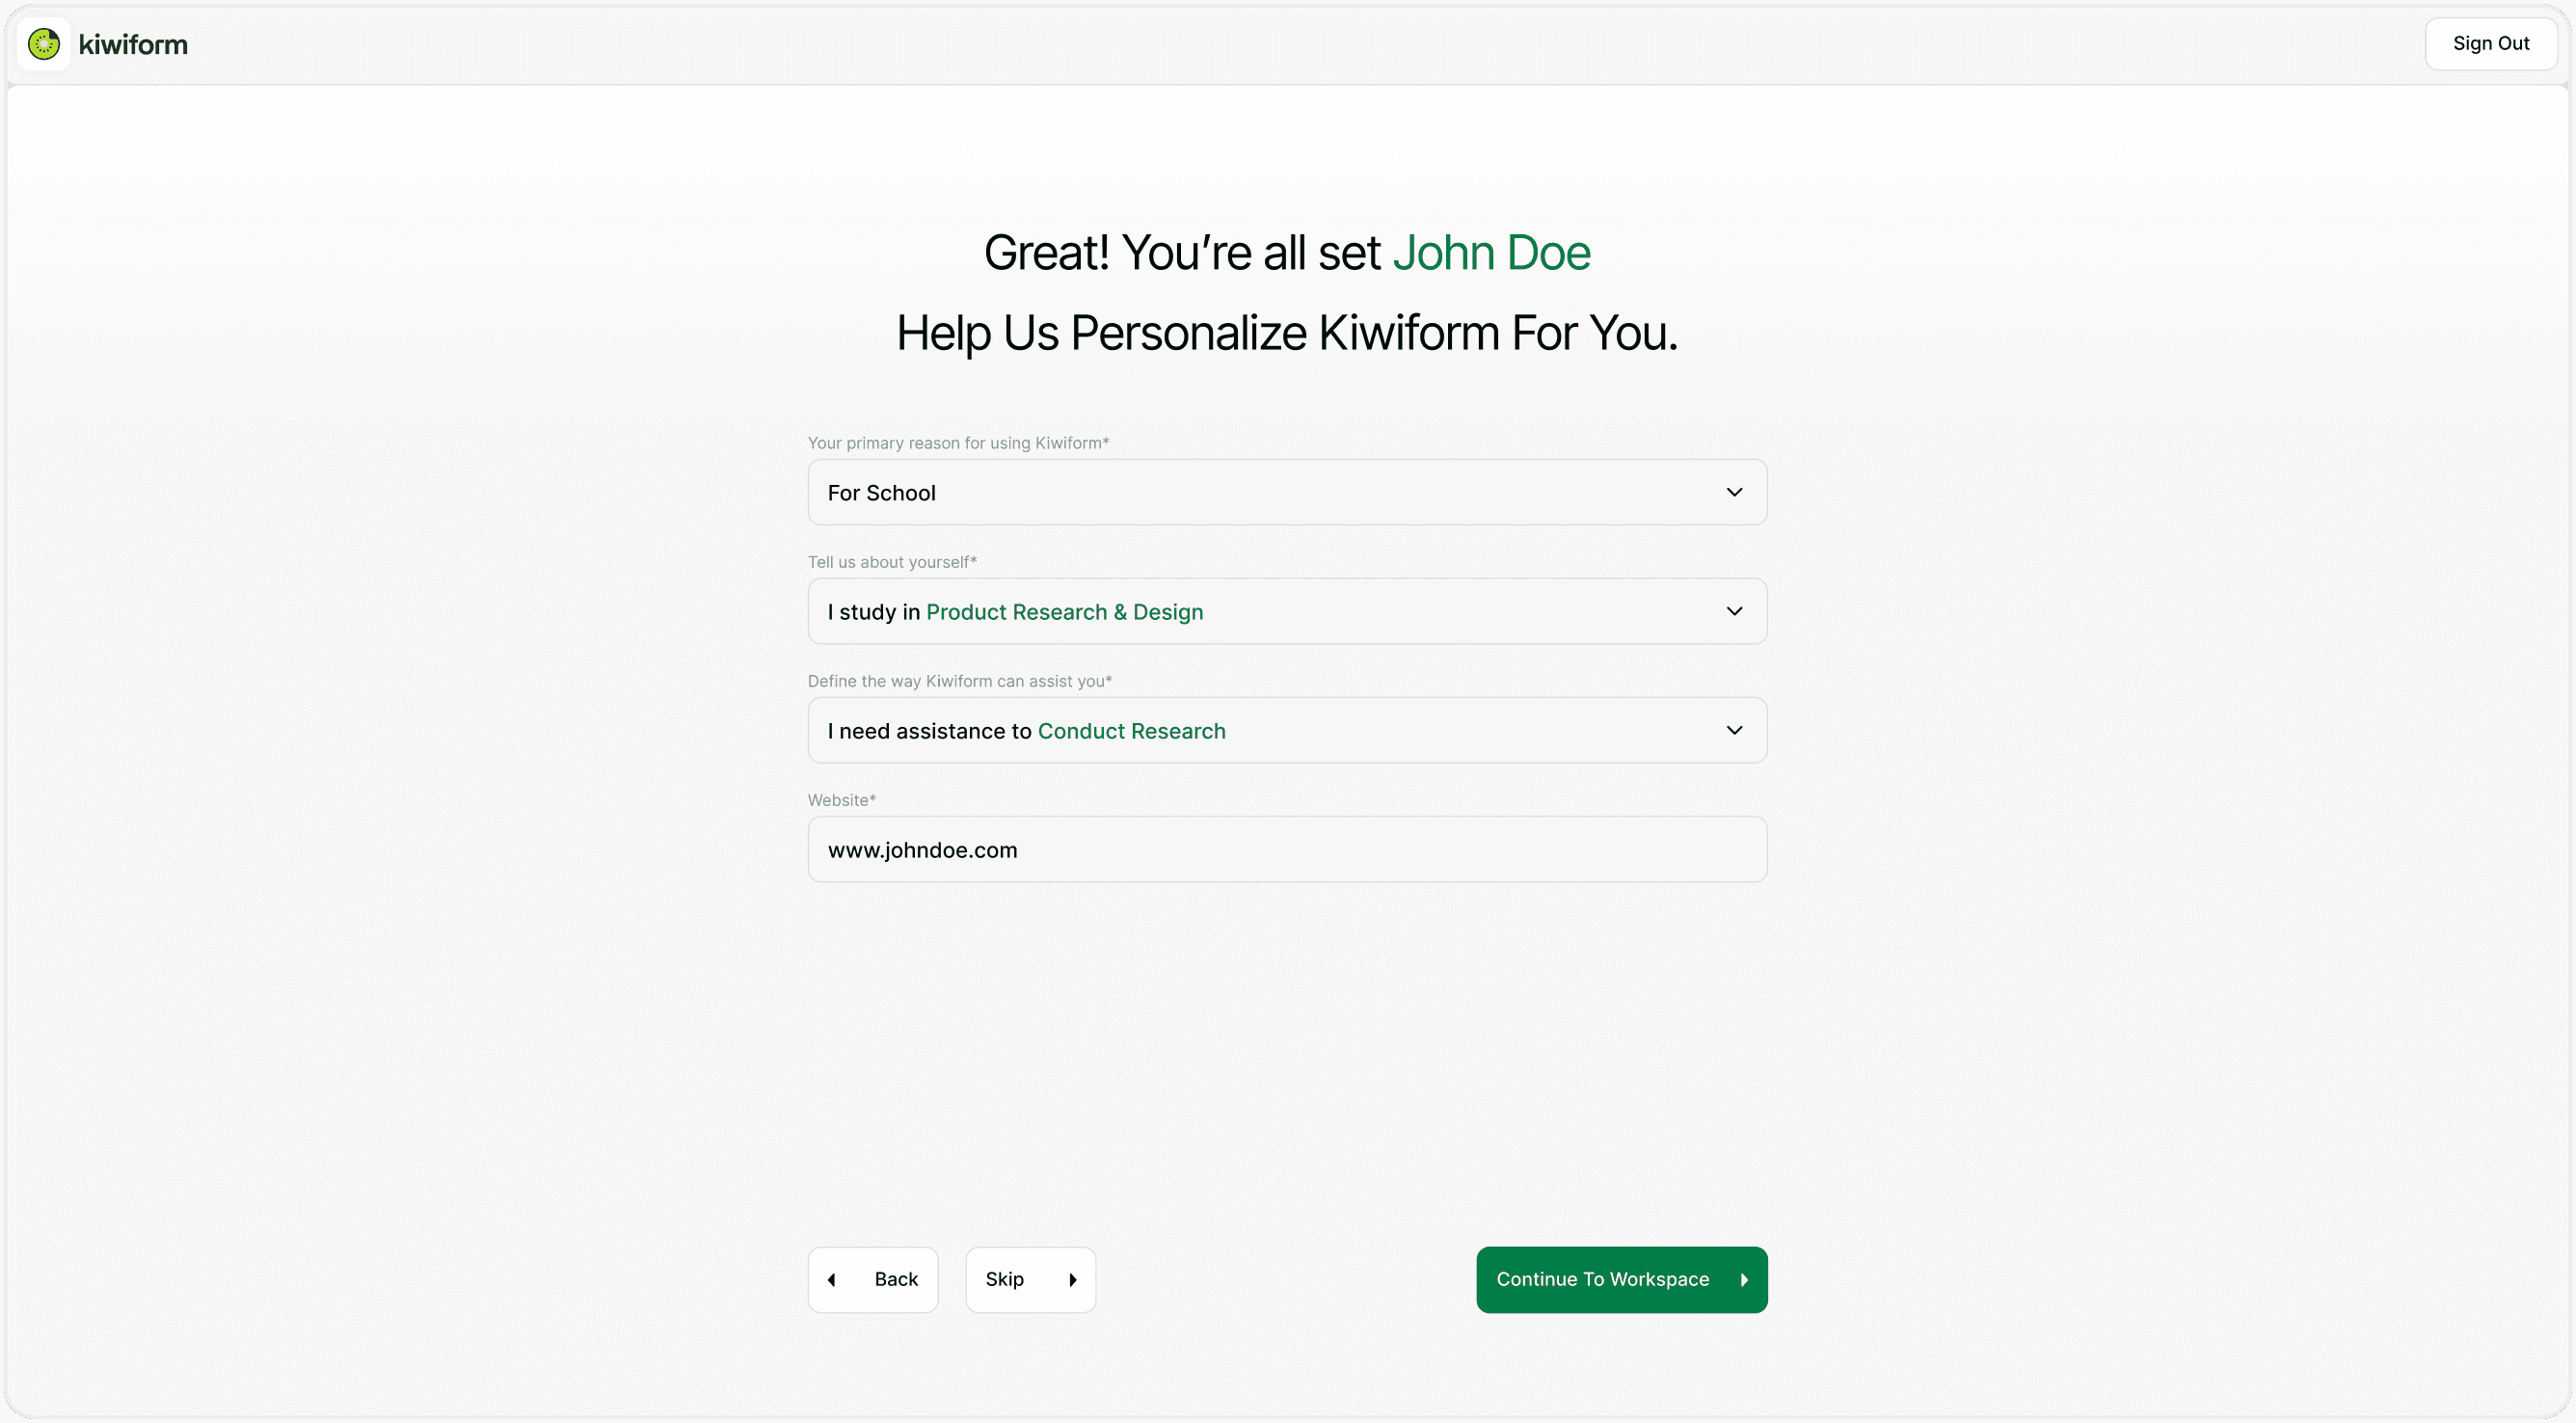
Personalize Your Kiwiform Experience
After entering your basic profile details, you’ll be asked to answer a few quick questions. This step helps Kiwiform tailor recommendations, examples, and guidance to your specific use case.
You’ll be asked:
Your Primary Reason for Using Kiwiform
For Work
For School
For Personal Projects
This helps Kiwiform understand whether you are building business forms, academic research surveys, or personal feedback forms.
Tell Us About Yourself
I work in Product Research & Design
I study in Product Research & Design
I’m exploring Product Research & Design
This helps customize the experience based on your role or field.
Define How Kiwiform Can Assist You
I need assistance to Conduct Research
Lead Generation
Collect Feedback
Event Registrations
This allows the platform to suggest relevant form templates and workflows.
Website (Optional but Recommended)
You can enter your website URL if you’re using Kiwiform for business or professional use. This helps with branding recommendations and workspace personalization.
Continue to Workspace
After completing (or skipping) the personalization step, click Continue to Workspace.
This takes you directly to your dashboard where you can:
Create your first form
Explore templates
Customize themes
Manage responses
Upgrade plans if needed
You’re now ready to start building powerful forms with Kiwiform.
Why Account Setup Matters
Completing your account setup ensures:
A personalized dashboard experience
Relevant template recommendations\
Faster onboarding
Better collaboration setup
Professional branding from the start
A properly configured account helps you move from signup to published form in minutes.
Best Practices for New Users
To get the most out of Kiwiform:
Complete personalization questions for better template suggestions
Add your website if you're building business forms
Upload a profile photo if working in teams
Explore the Theme Library after setup
If you’re switching from other tools, Kiwiform makes it easy to get started with a free Typeform alternative that focuses on simplicity, customization, and usability.
Summary
This guide explains how to complete your Kiwiform account setup, including profile details, optional photo upload, personalization questions, and accessing your workspace so you can start building forms quickly and efficiently.