Where to Manage Backgrounds
Background settings are available when creating or editing a theme.
To access background controls:
Open your form in the builder.
Click Design.
Select Create New Theme or edit an existing theme.
Switch to the Background tab.
Here, you can upload or manage your background image.
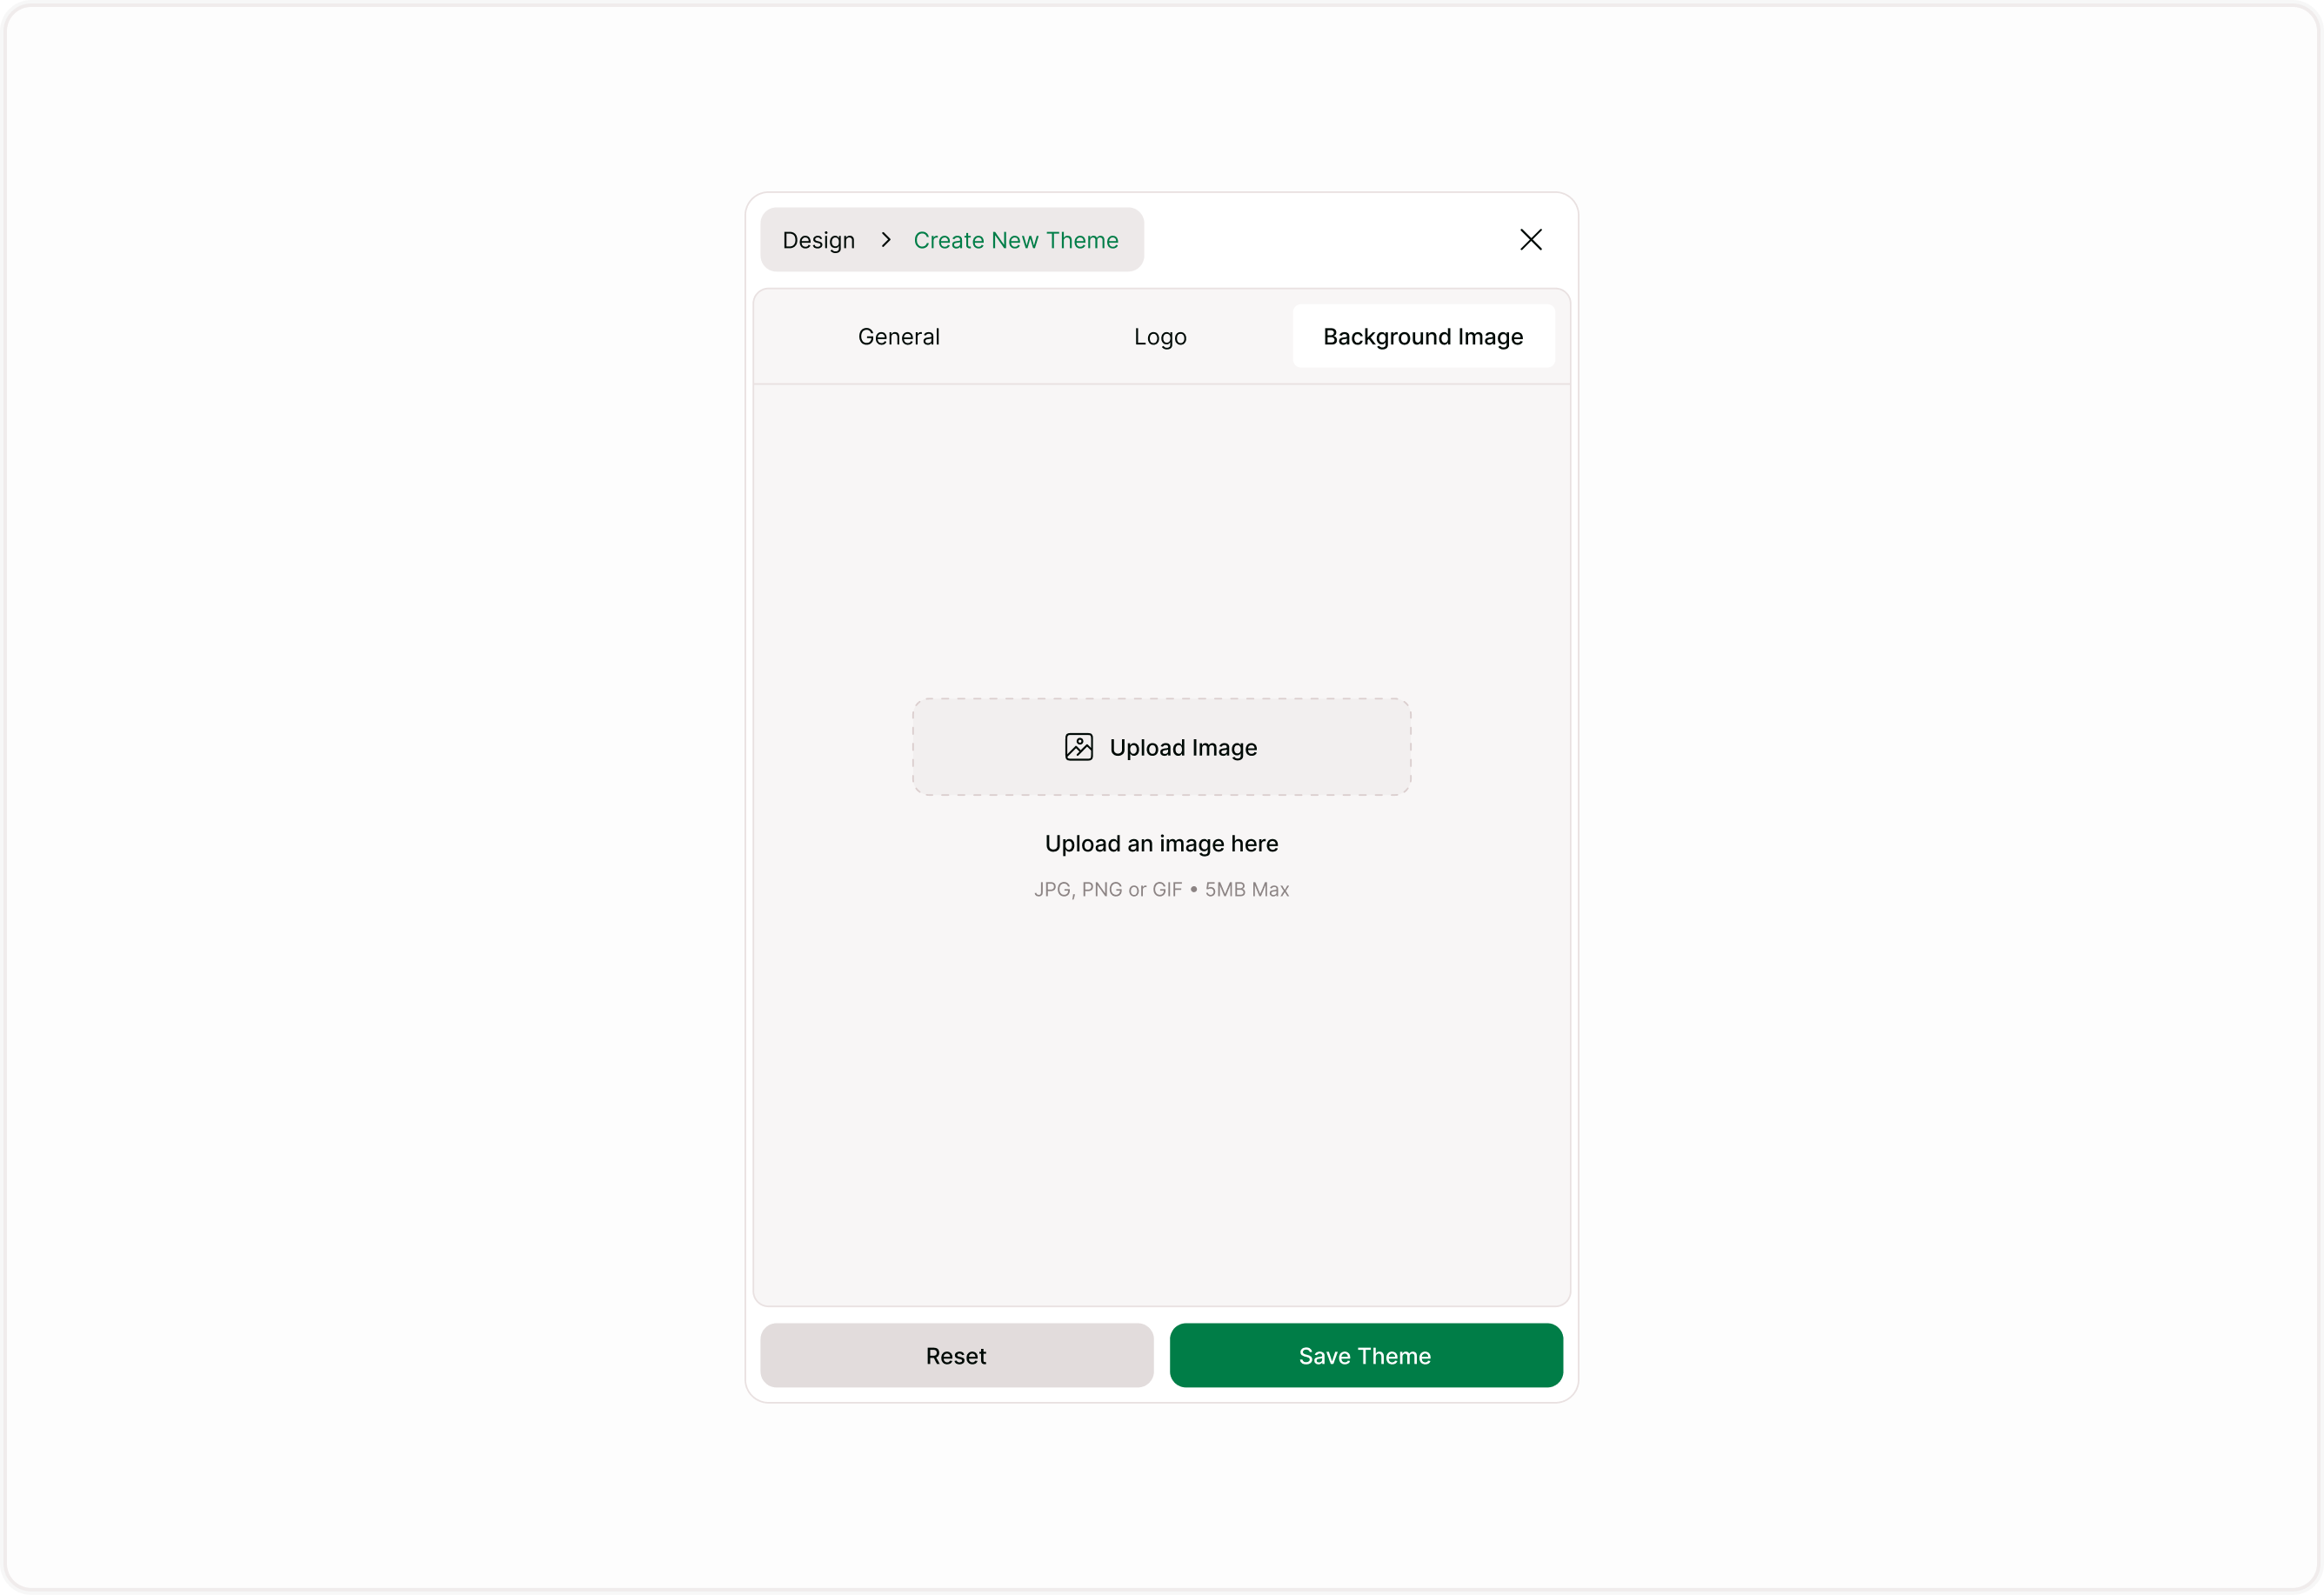
Upload a Background Image
To add a background:
Click Upload Image.
Select a file from your device.
Supported formats: JPG, PNG, or GIF.
Maximum file size: 5MB.
Once uploaded, the image appears as the form background.
Background images are ideal for:
Event registrations
Campaign landing forms
Branded surveys
Internal company forms
Product launch forms
Adjust Background Brightness
After uploading an image, you can adjust the Brightness slider.
Brightness adjustment helps:
Improve text readability.
Reduce distraction from busy images.
Create better contrast between content and background.
If your image is visually strong, lowering brightness can improve clarity for Form Fields and buttons.
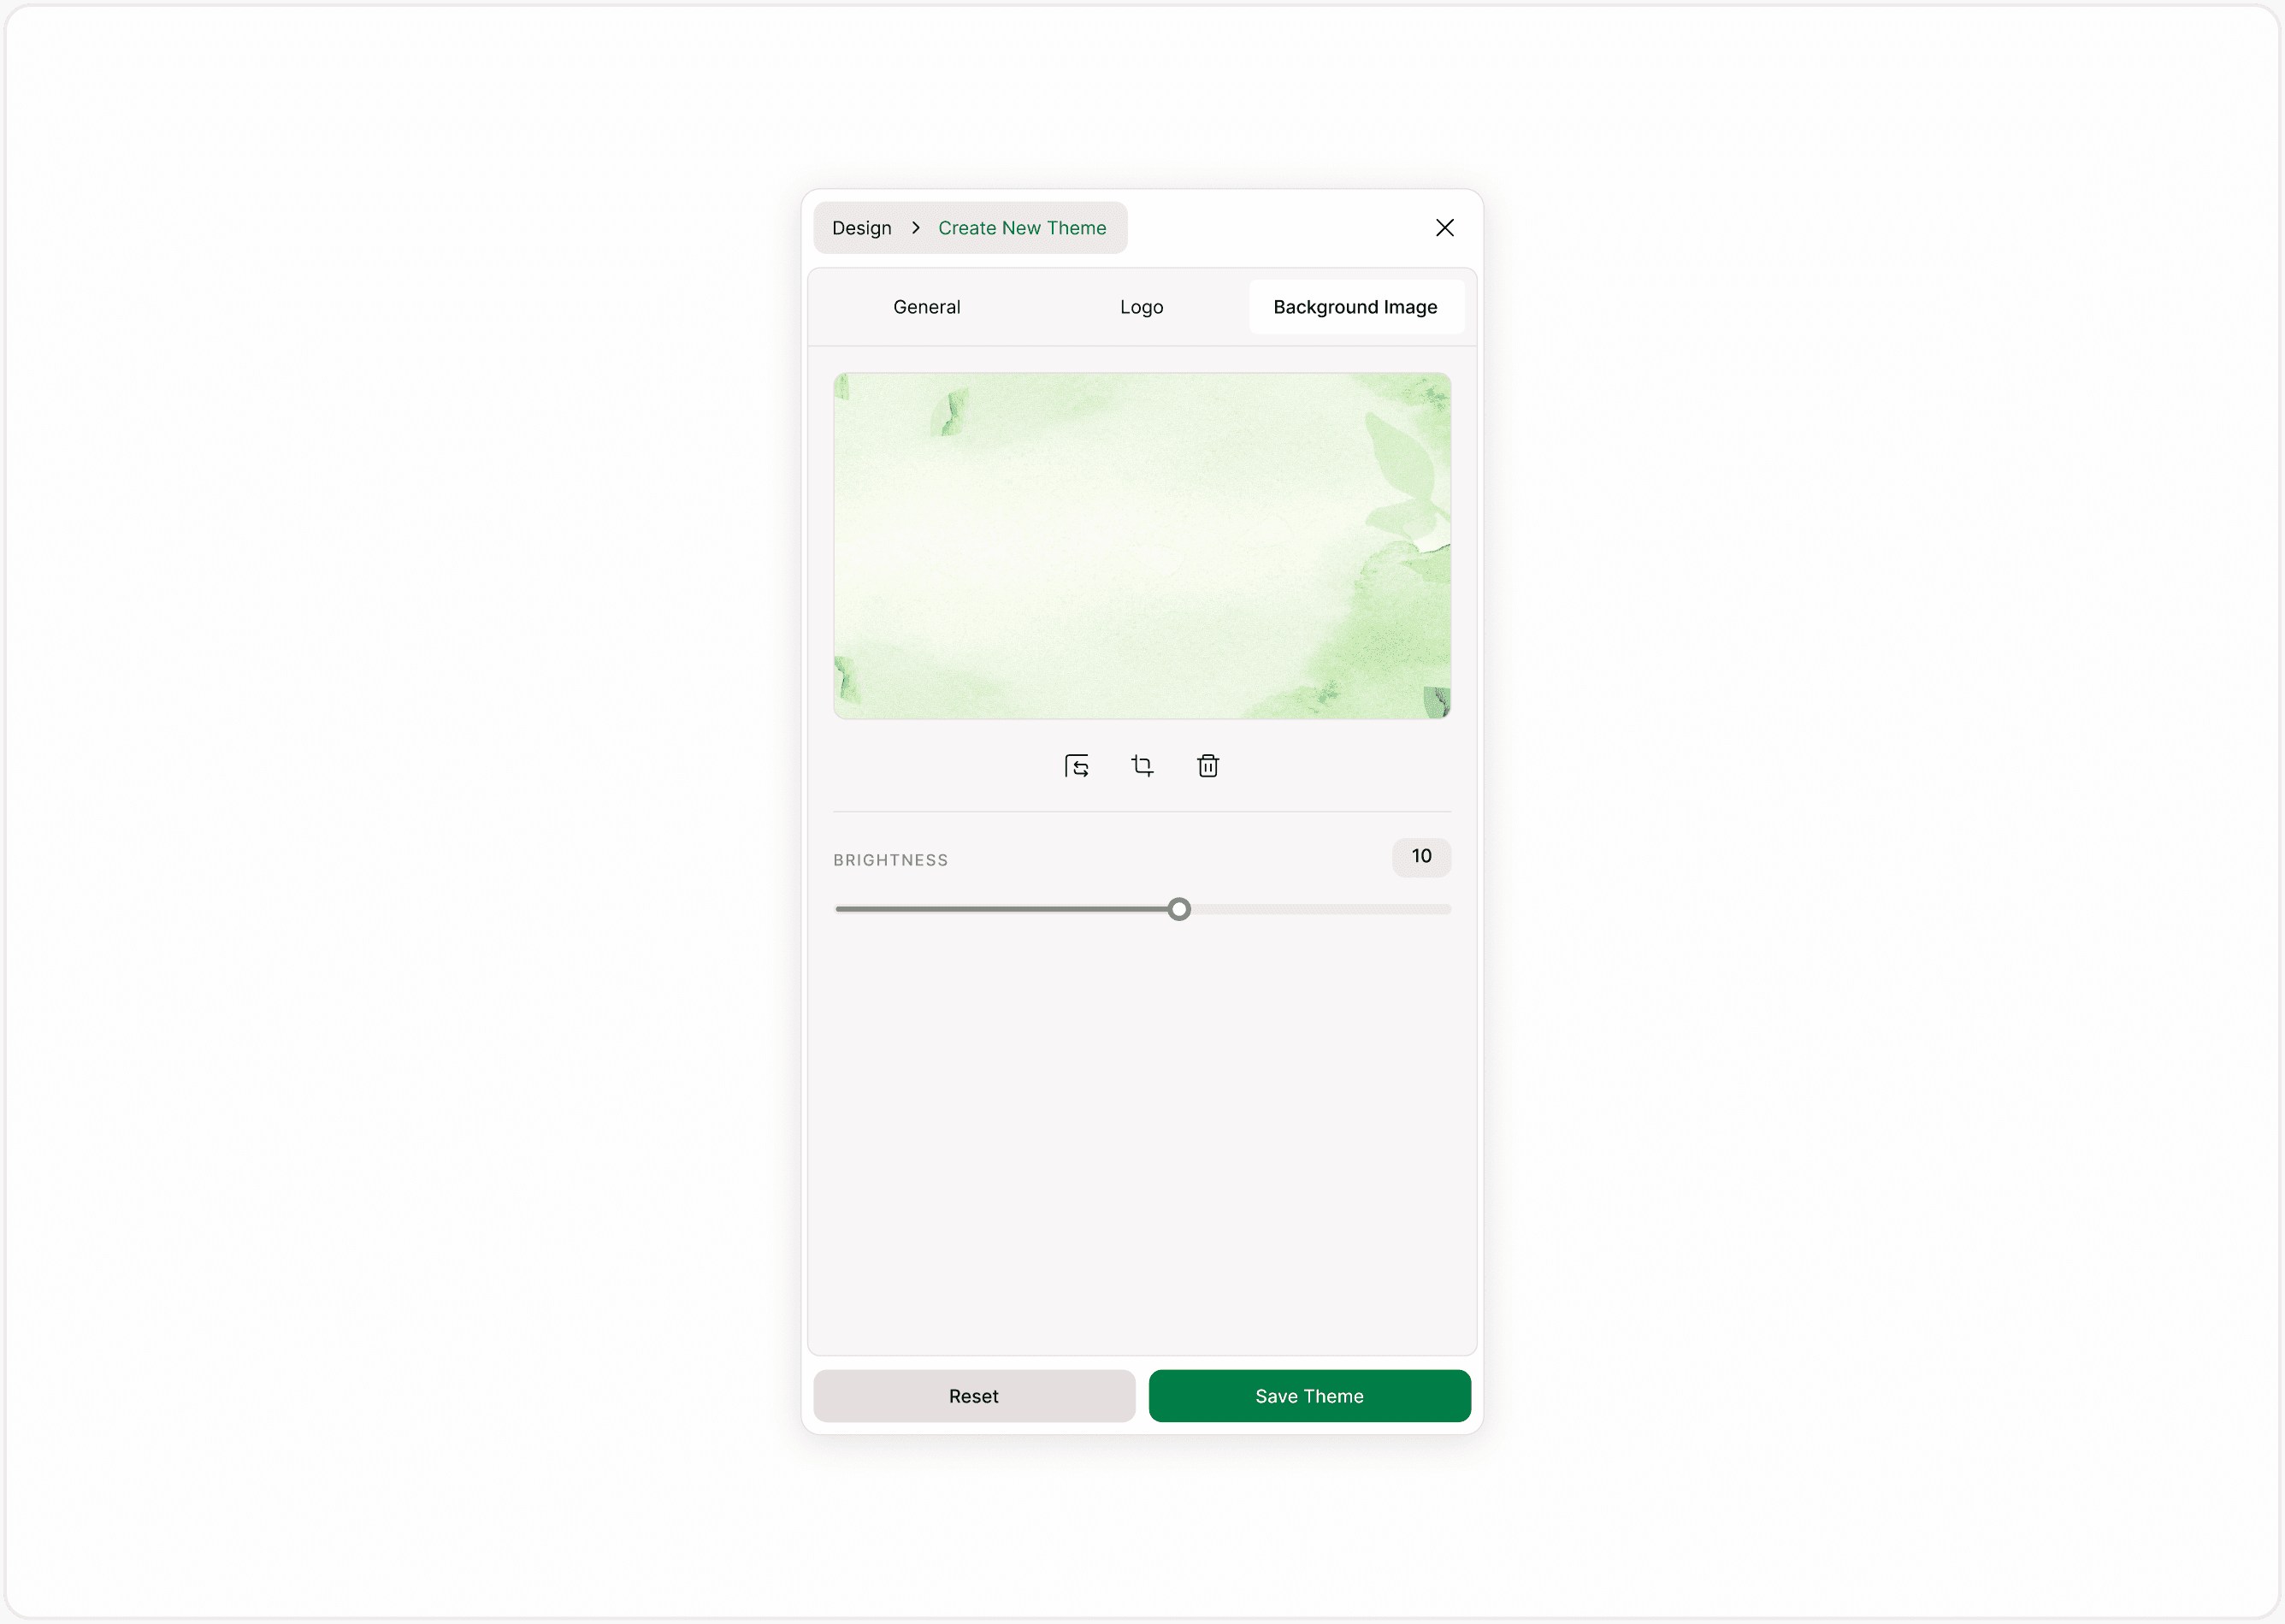
Crop Background Image
You can crop the uploaded image to focus on a specific area.
Cropping is useful when:
The important part of the image is centered.
You want to remove unnecessary visual elements.
The image needs better alignment with the form layout.
Cropping ensures that the most relevant part of the image remains visible across screen sizes.
Change Background Image
If you want to replace the image:
Click the Change option (or upload a new file).
Select a different image.
Adjust brightness if necessary.
Replacing the background does not affect other theme settings such as fonts or colors.
Delete Background Image
To remove a background:
Click the Delete icon.
The form will revert to using the selected background color.
Deleting a background is helpful when:
The design needs to be simplified.
Readability becomes an issue.
You want a clean, minimal layout.
How Backgrounds Work with Themes
Background settings are saved as part of a theme.
If you update the background inside a theme:
All forms using that theme may reflect the updated background.
You should review forms before making major visual changes.
If you want a variation, duplicate the theme before editing the background.
Best Practices for Using Backgrounds
Use subtle images to avoid distraction
Ensure strong contrast between text and background.
Avoid overly detailed or high-noise images.
Test your form on mobile devices.
Use brightness controls to improve readability.
Keep file sizes optimized for faster loading.
Backgrounds should enhance the form, not compete with its content.
When to Use Background Images
Backgrounds are most effective when:
Branding is important.
Visual storytelling supports the form purpose.
You want a distinctive campaign style.
You are designing event or promotional forms.
For long surveys or data-heavy forms, a clean color background may improve usability.
Summary
This guide explains how to upload a background image, adjust brightness, crop the image, replace it, or remove it entirely. You will also learn how background settings work within themes and how to ensure your design remains clear and usable for respondents.