What is branching?
Branching is a logic feature that lets you direct respondents to different questions depending on how they answer.
Instead of following a fixed top-to-bottom flow, your form can “branch” into different paths. This helps you:
Skip irrelevant questions
Personalize user journeys
Build dynamic surveys
Qualify leads automatically
Create interactive quizzes
Improve completion rates
Branching ensures each respondent only sees what matters to them.

Where to find Branching in Kiwiform
Open your form
Click Logic Flow in the top navigation
Click Branching (top left in the logic tools panel)
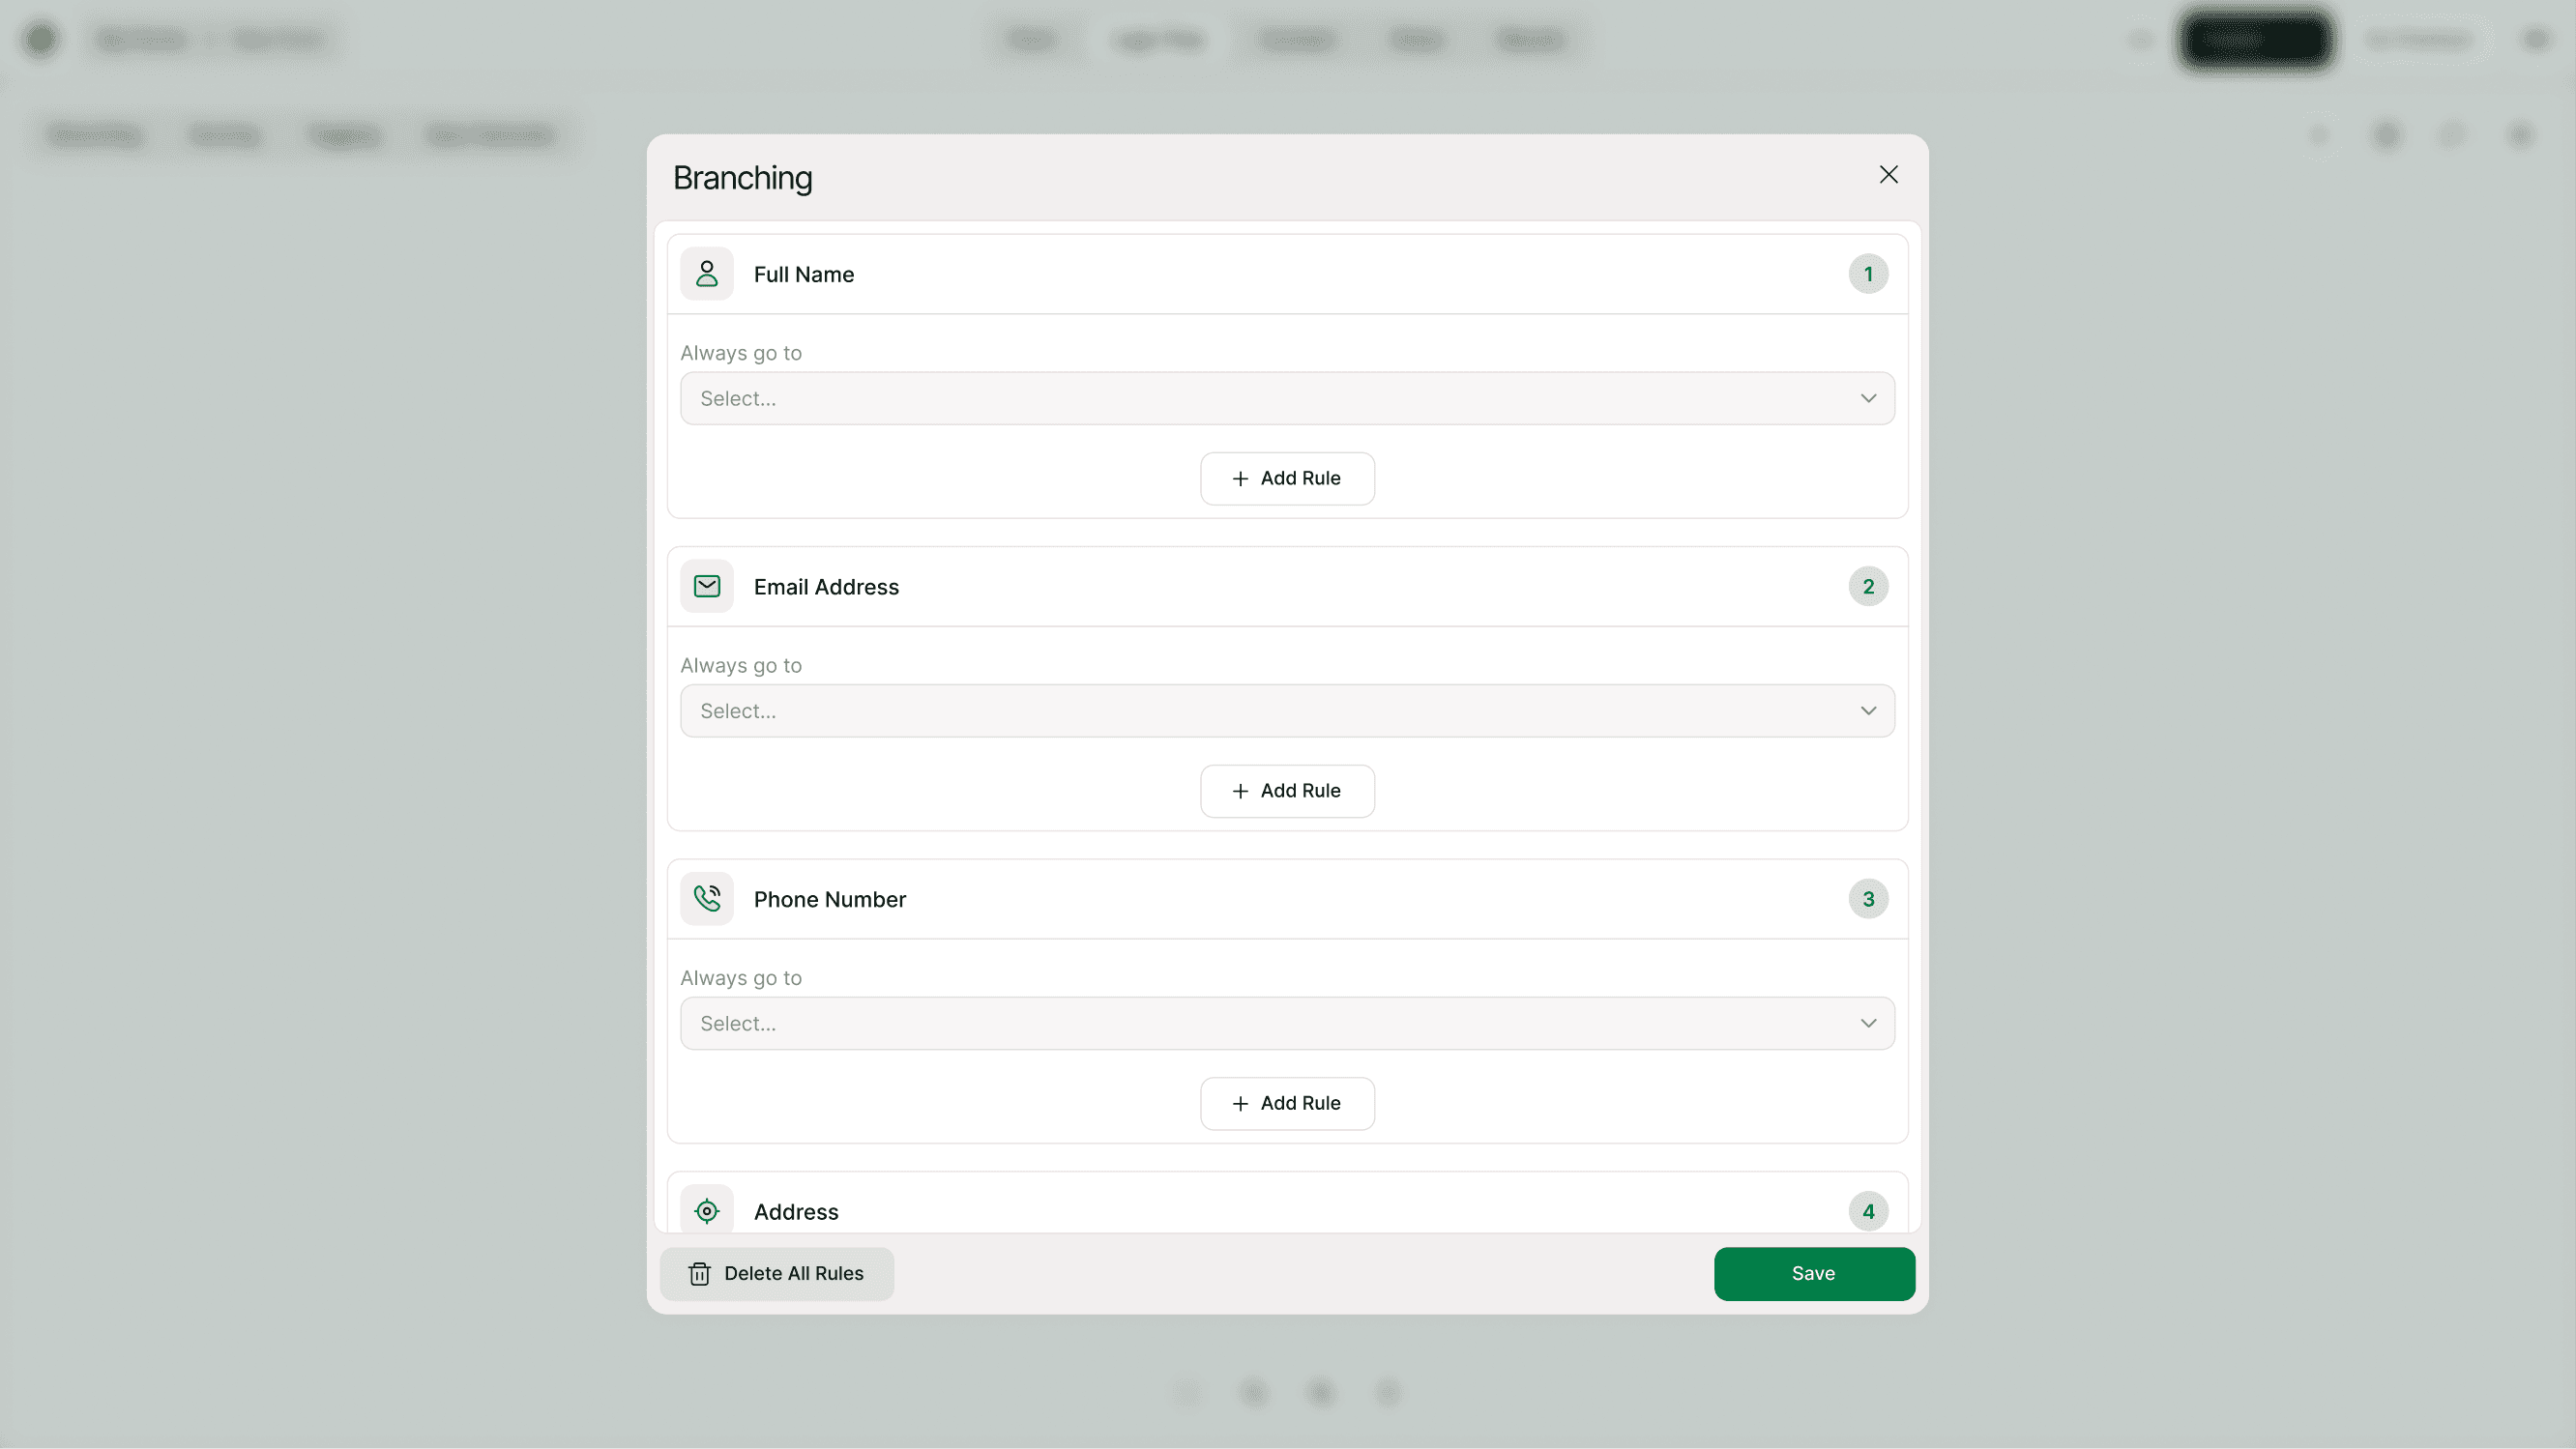
This opens the Branching settings panel where you can create rules for each question.
From here, you can:
Set default next steps
Add conditional rules
Control what happens in “all other cases”
Delete or edit rules
Save your branching structure

How branching works
Branching follows a simple structure:
If this happens → Then go here
You create rules for a specific question. When a respondent selects a particular answer, the form sends them to a different question.
If no rule matches, you can define where “all other cases” should go.
This gives you full control over the respondent journey.
Default behavior: “Always go to”
Each question has a default setting called Always go to.
This determines what happens if no branching rule is triggered.
For example:
If no condition is met, go to the next question
Skip to a specific section
Jump directly to an ending
Setting a default path ensures your form never breaks or gets stuck.
Creating a branching rule (Step-by-step)
Open Logic Flow
Click Branching
Select the question you want to control
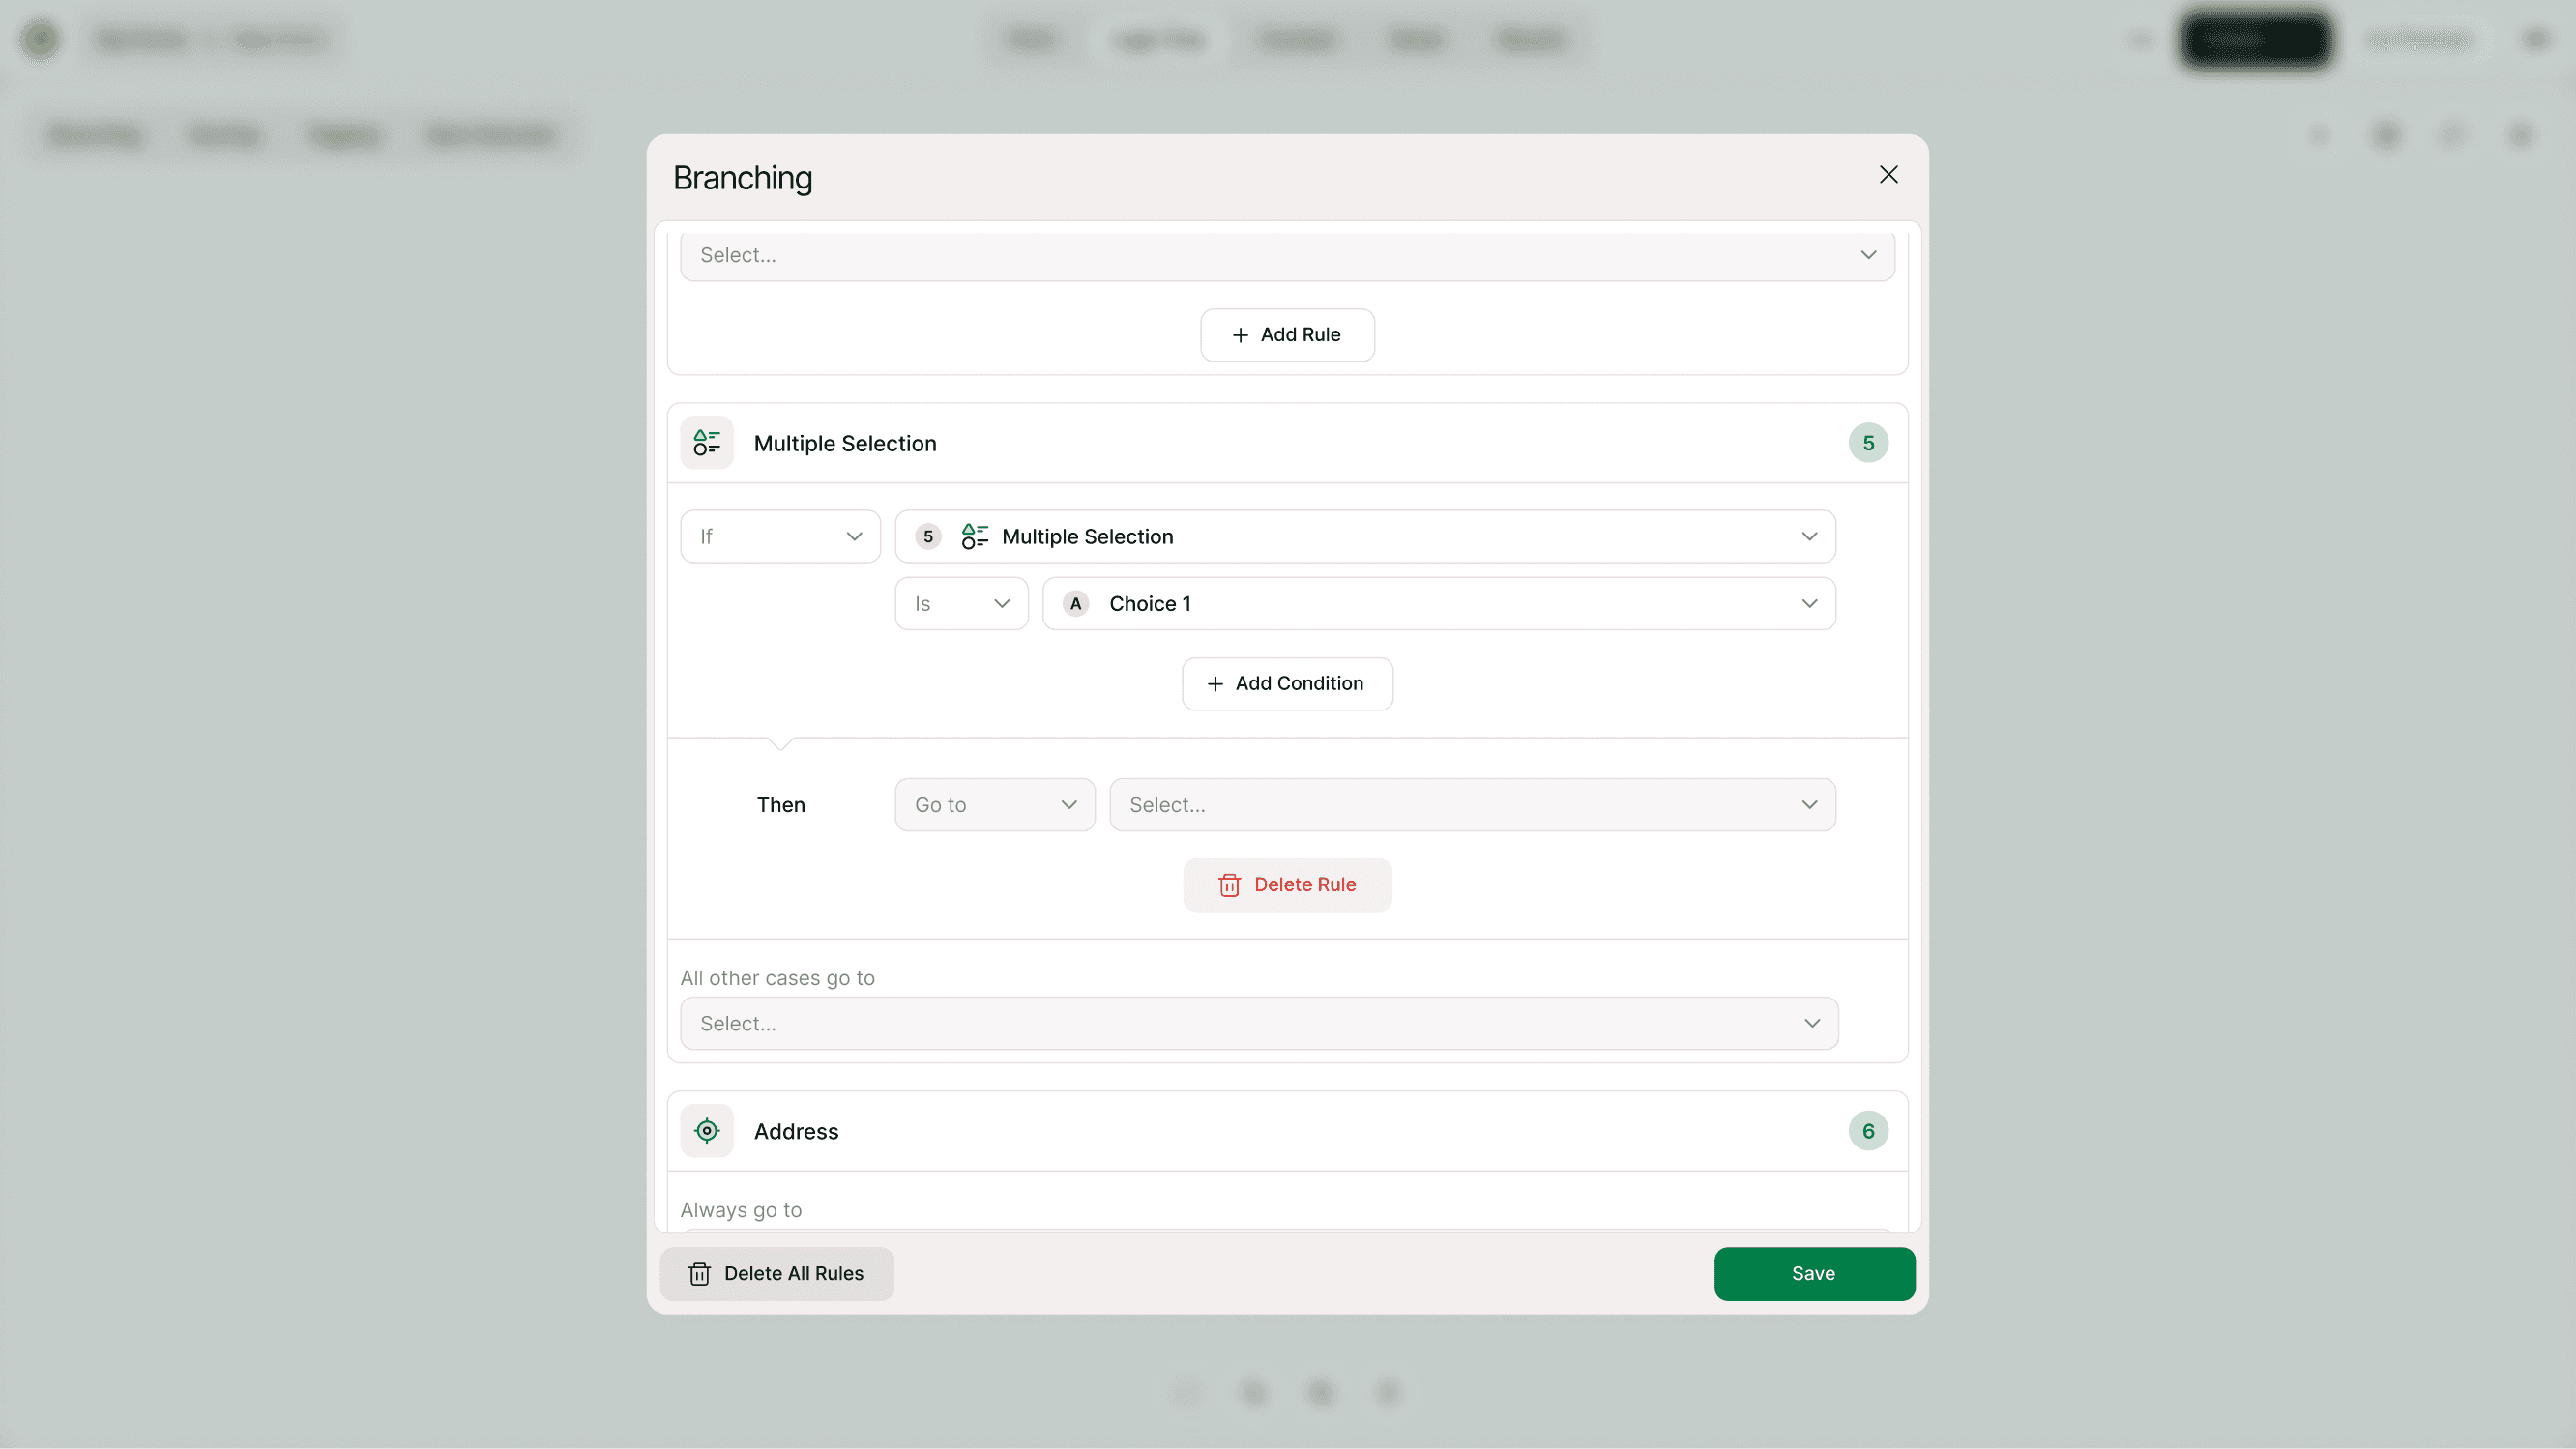
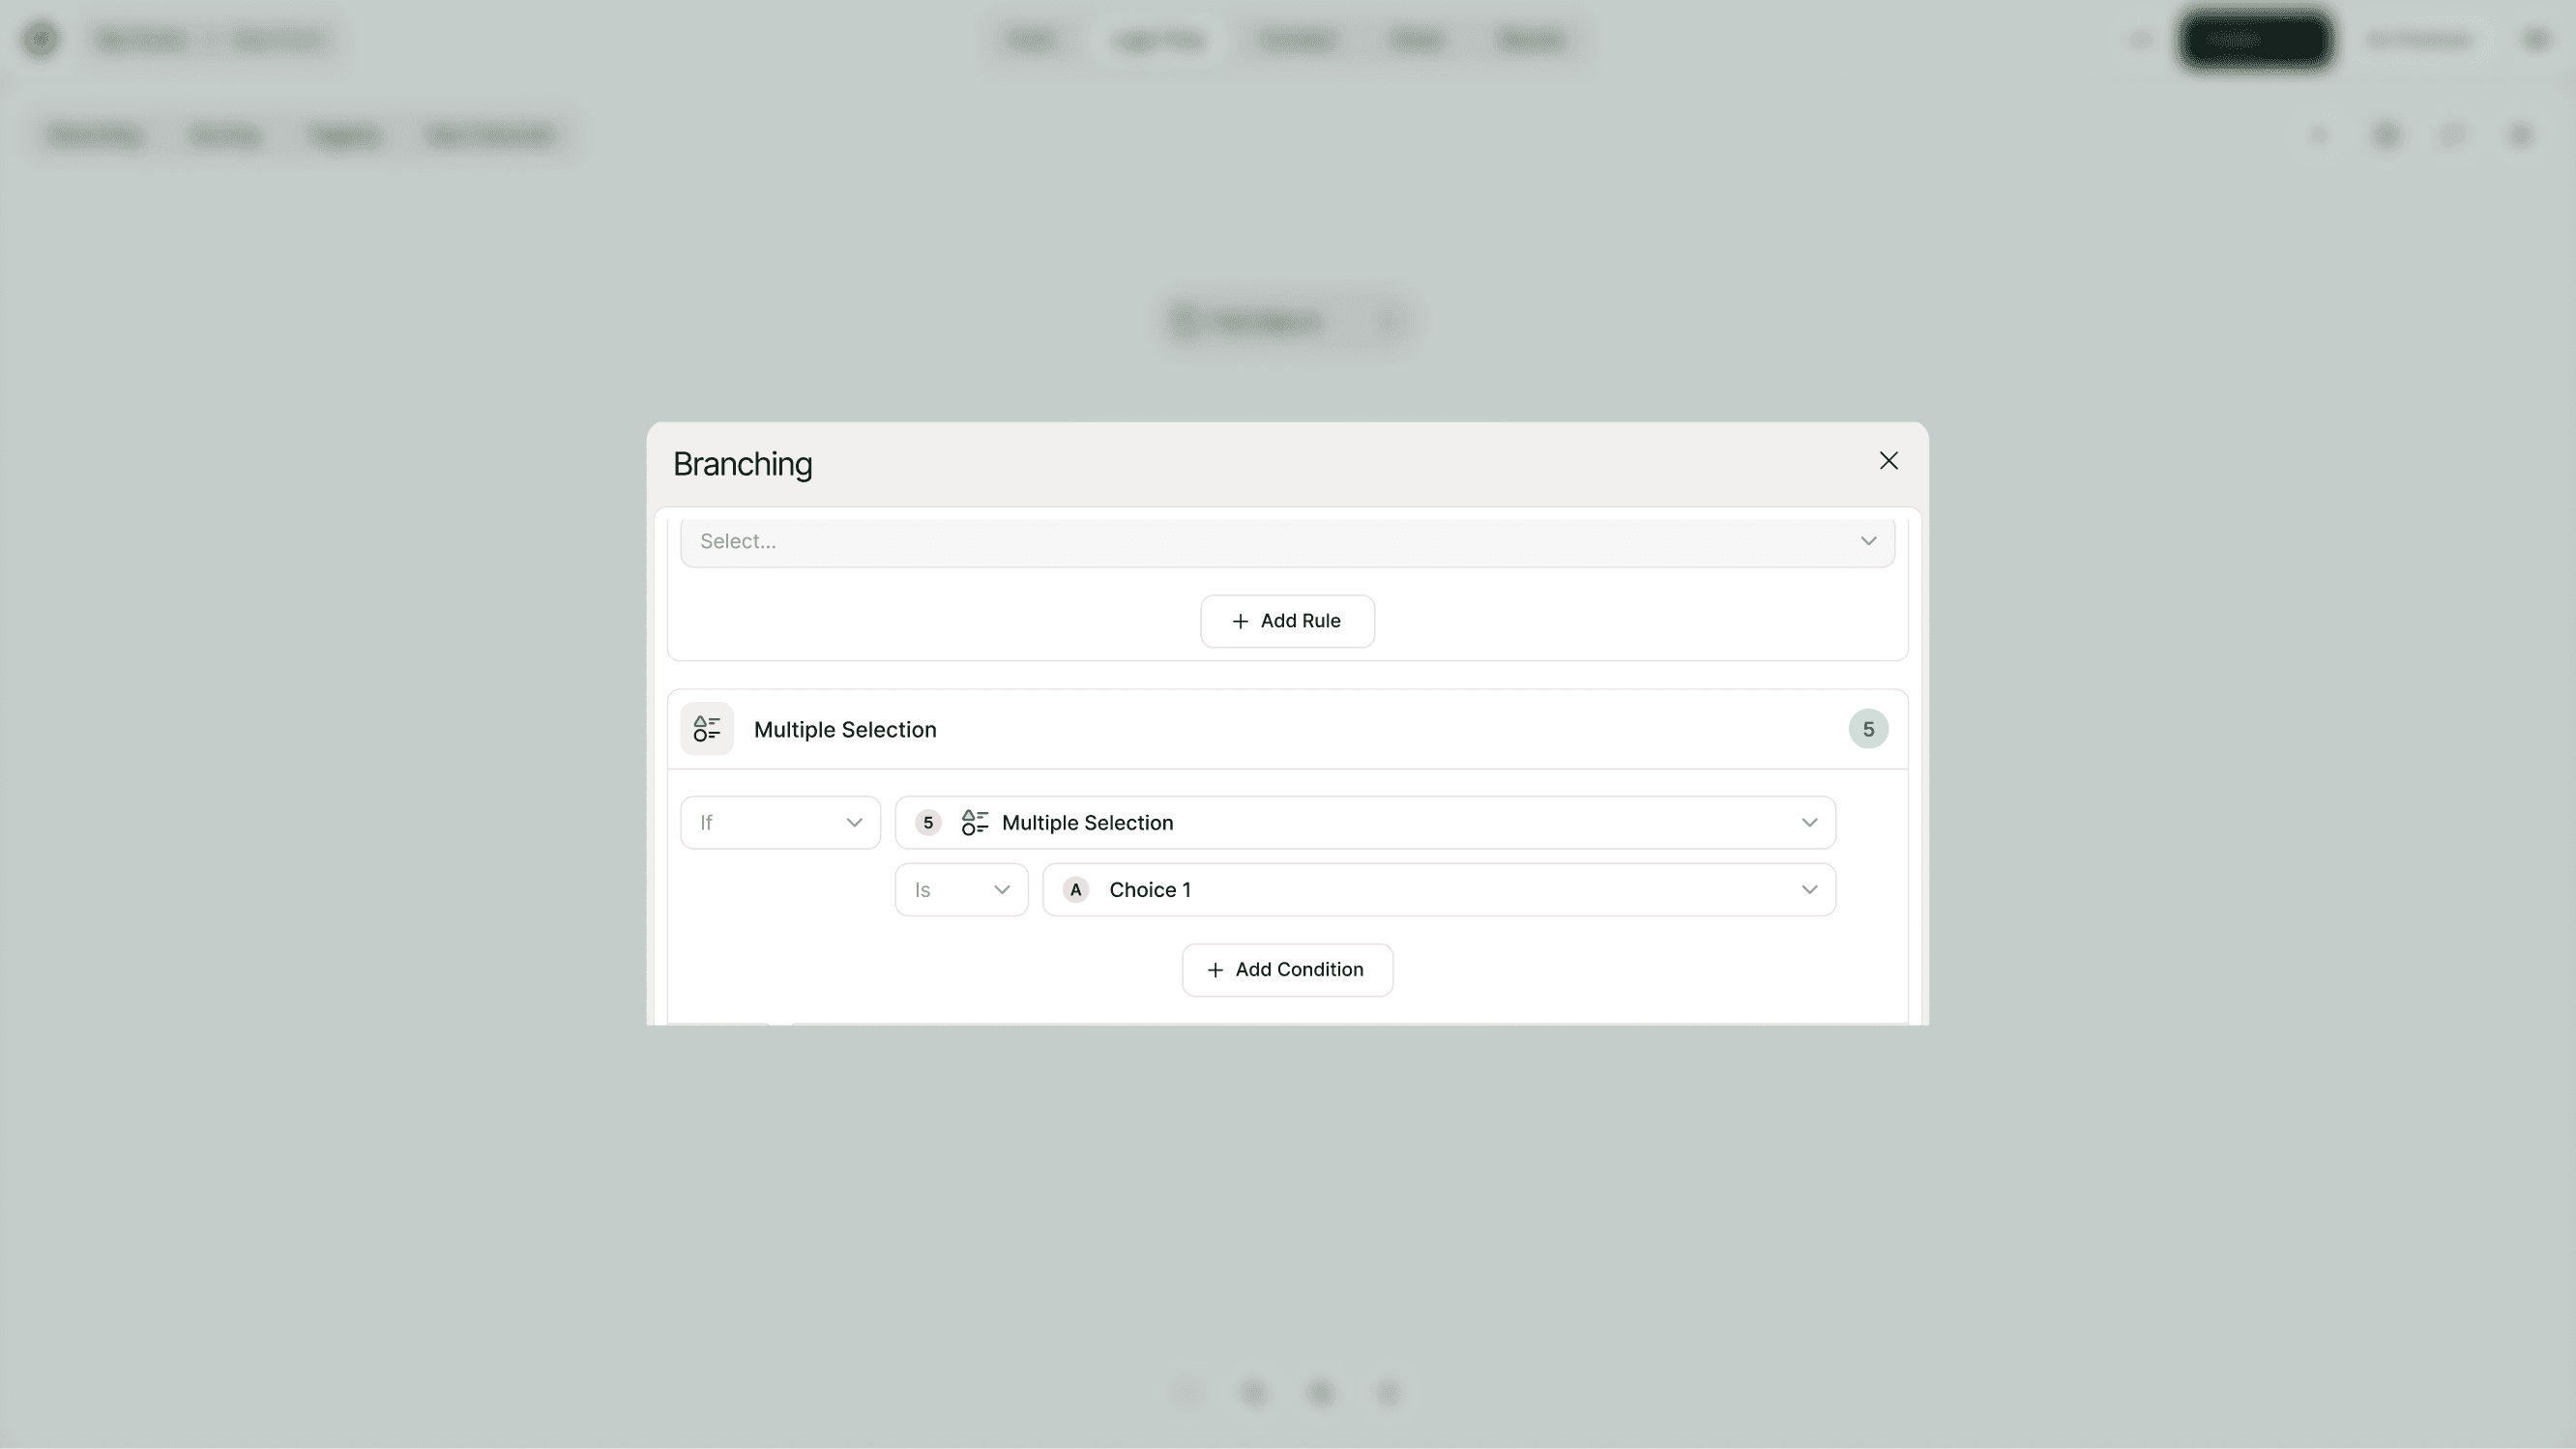
Click Add Rule
Define the condition (example: If “Choice 1” is selected)
Choose where to send the respondent
Save
That’s it. Your form now adapts based on that answer.
Adding multiple rules
You can create more than one rule per question.
Example:
If Answer = “Product A” → Go to Product A section
If Answer = “Product B” → Go to Product B section
All other cases → Go to General section
This allows you to create structured decision trees inside your form.
Use multiple rules carefully to avoid confusing paths.
“All other cases go to”
This setting ensures that if none of your defined conditions are met, respondents still move forward.
Think of it as your safety net.
Always define a destination for:
Unmatched answers
Unexpected inputs
Skipped logic paths
Without this, respondents may not follow the intended flow.
Real-world use cases
Lead qualification
If budget > $5,000 → Send to sales form
If budget < $5,000 → Send to pricing info
Event registration
If attending in-person → Show venue details
If attending online → Show Zoom link
Customer feedback
If rating ≤ 6 → Ask follow-up question
If rating ≥ 9 → Ask for testimonial
Job applications
If applying for Design → Show portfolio upload
If applying for Engineering → Show technical questions
Branching helps you design intelligent, personalized workflows.
Branching vs Conditional Logic
Conditional Logic defines the rule (If X happens)
Branching defines the action (Go to Y question)
Branching is the execution layer of your logic.
Both work together—but this page focuses specifically on how to direct users to different questions.
Best practices for branching
Keep your logic clean and easy to manage:
Start simple
Map out your flow before building
Avoid excessive branching from one question
Always define a default path
Test every branch using Preview
Use clear question labels
Overcomplicated branching can confuse both you and your respondents.
Testing your branching
After setting rules:
Click Preview (top right in Logic Flow)
Test different answer combinations
Confirm correct redirection
Ensure no dead ends exist
Testing is essential before publishing your form.
Common mistakes to avoid
Forgetting to set a default path
Creating circular loops
Sending users to a deleted question
Not updating logic after reordering fields
Overlapping rules that conflict
Review your branching setup carefully before going live.
Why branching improves conversion
Shorter forms convert better.
Relevant questions increase engagement.
Personalized paths reduce friction.
Branching helps you:
Increase completion rates
Improve data accuracy
Build professional workflows
Create smarter forms
When used correctly, branching transforms a static form into an intelligent experience.
Summary
Learn how to send respondents to different questions or sections based on their answers. Use branching logic to guide people through tailored paths in your form, reduce unnecessary steps, and collect more relevant information efficiently.