When to use the Checkbox field
Use a Checkbox field when you need a single confirmation or consent from respondents before they proceed. It works well for legal agreements, policy acknowledgements, opt-ins, and simple validations that require a clear yes-style confirmation.
Common use cases include:
Accepting terms and conditions or privacy policies
Opting in to newsletters or updates
Confirming eligibility or requirements
Acknowledging instructions before continuing
Collecting simple compliance confirmations
If you need multiple selectable options, use Multiple Selection instead. The Checkbox field is designed for one clear confirmation.
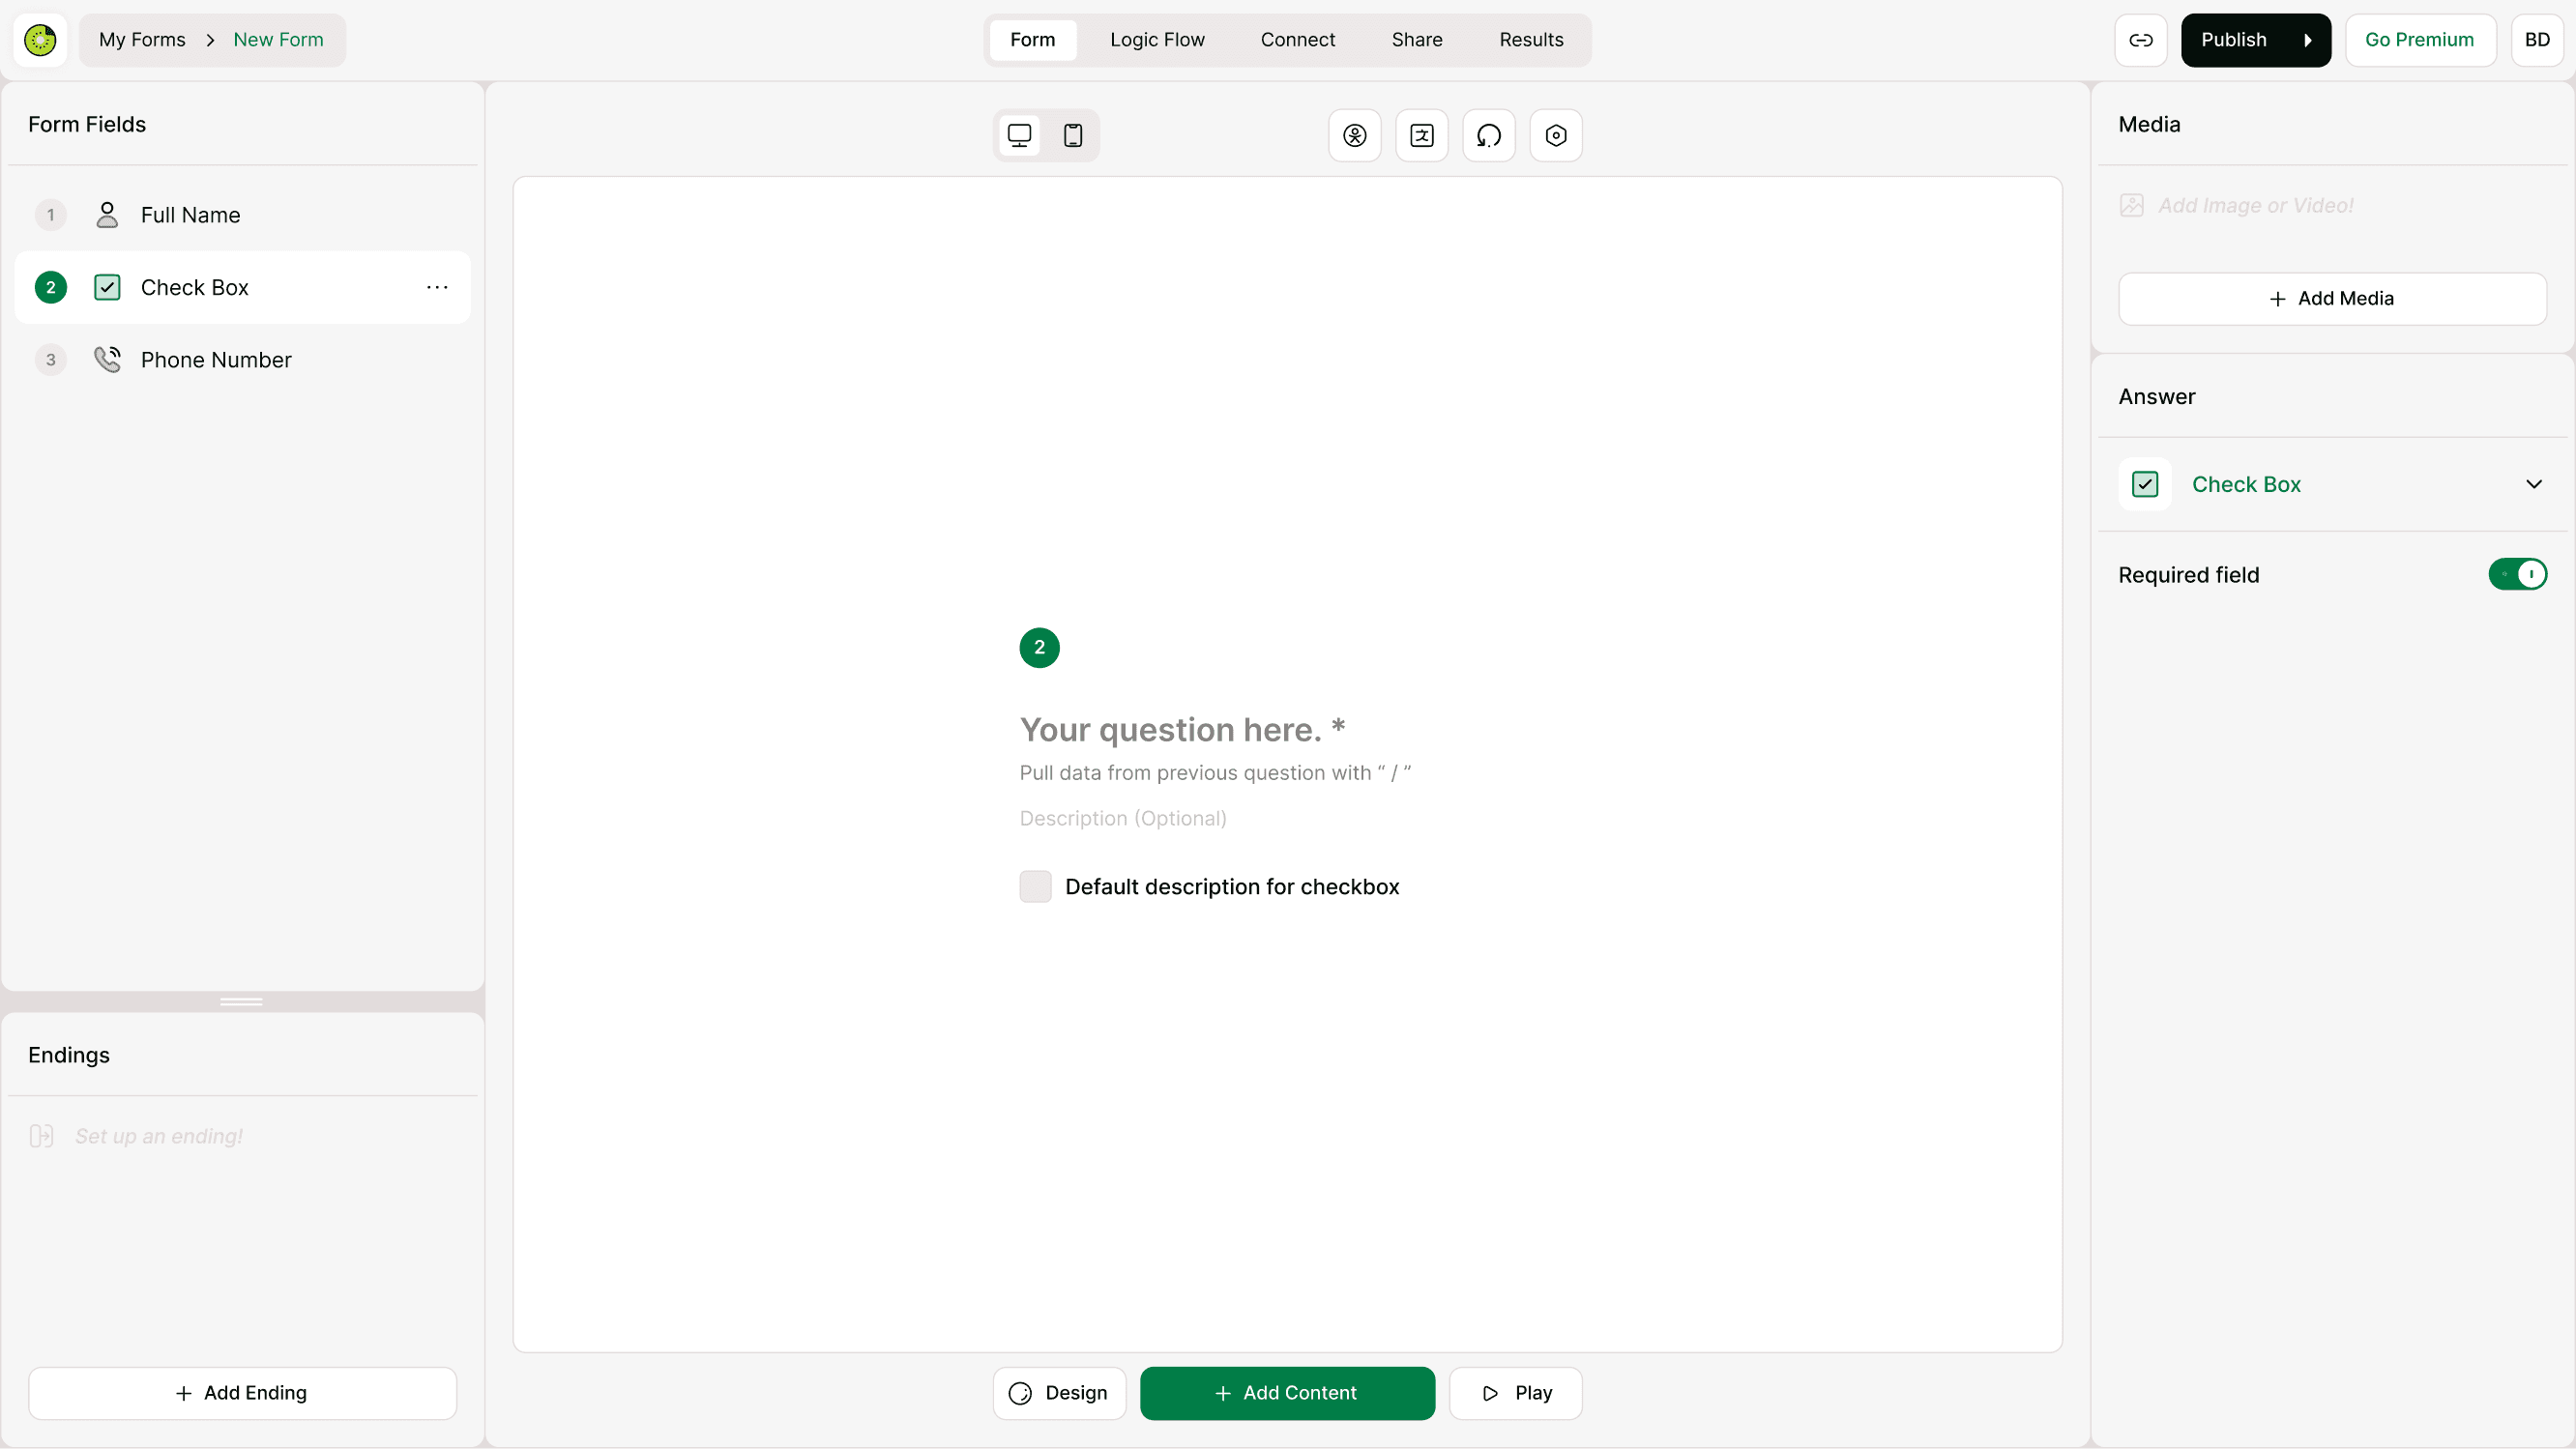
Add a Checkbox field to your form
To add a Checkbox field:
Open your form in the builder
Click Add Content
Choose Checkbox from the field list
Add your label text or confirmation message
Enable Required field if the respondent must confirm before continuing
Once added, the field appears on the canvas and can be edited from the Answer panel.

Configure the Checkbox field
Edit label and confirmation text
Use clear, specific language so respondents know exactly what they are confirming. Keep the label concise and actionable.
Examples:
I agree to the terms and conditions
I confirm the information provided is accurate
Subscribe me to product updates
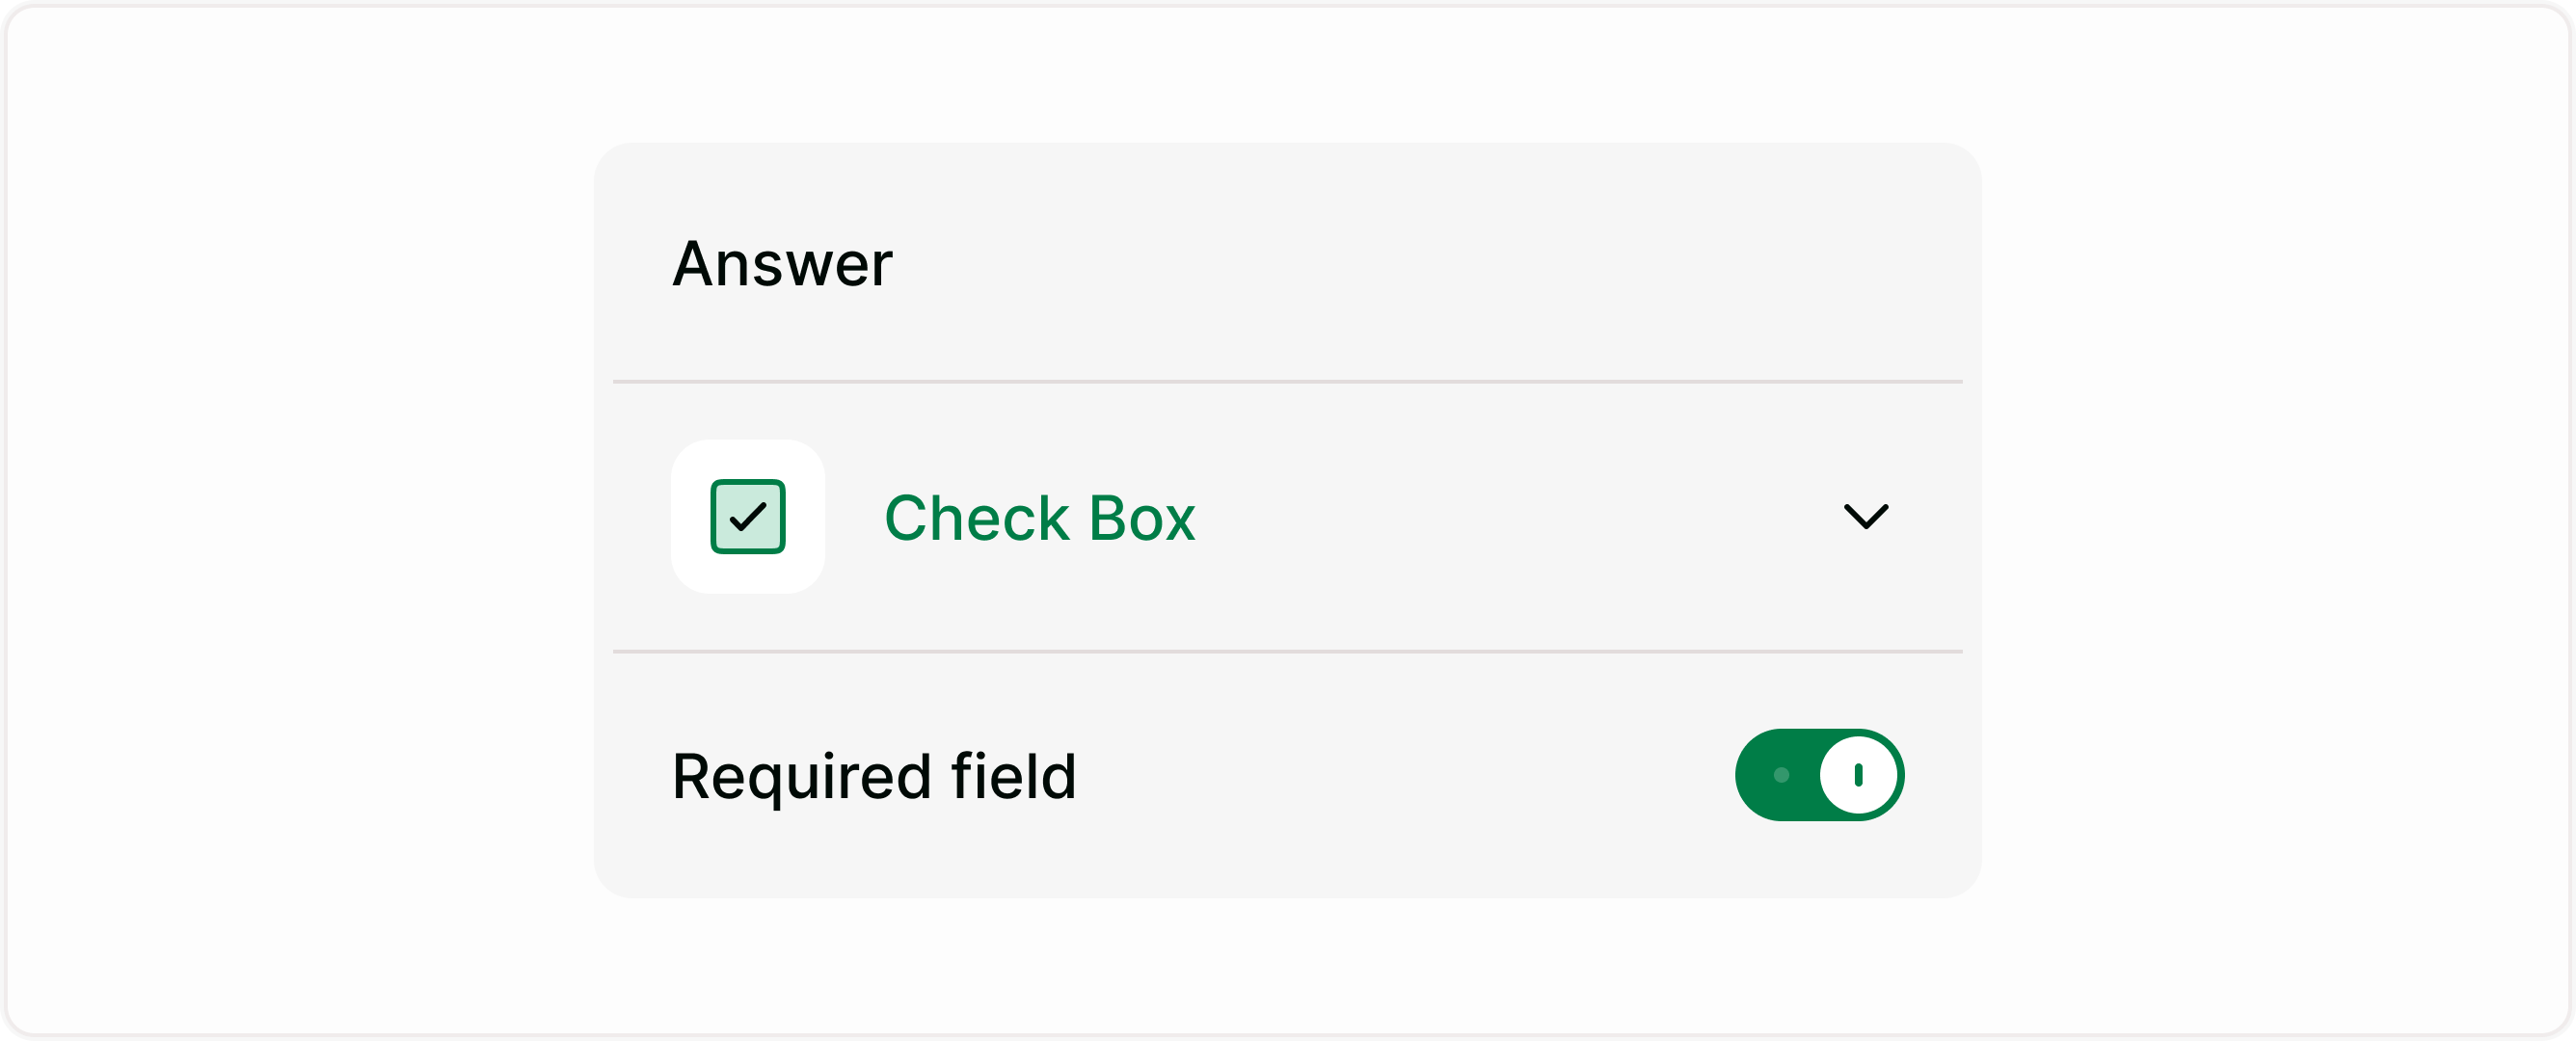
Required field
Turn on Required field to make confirmation mandatory before the respondent can continue. This is useful for legal acceptance, compliance, or required acknowledgements.
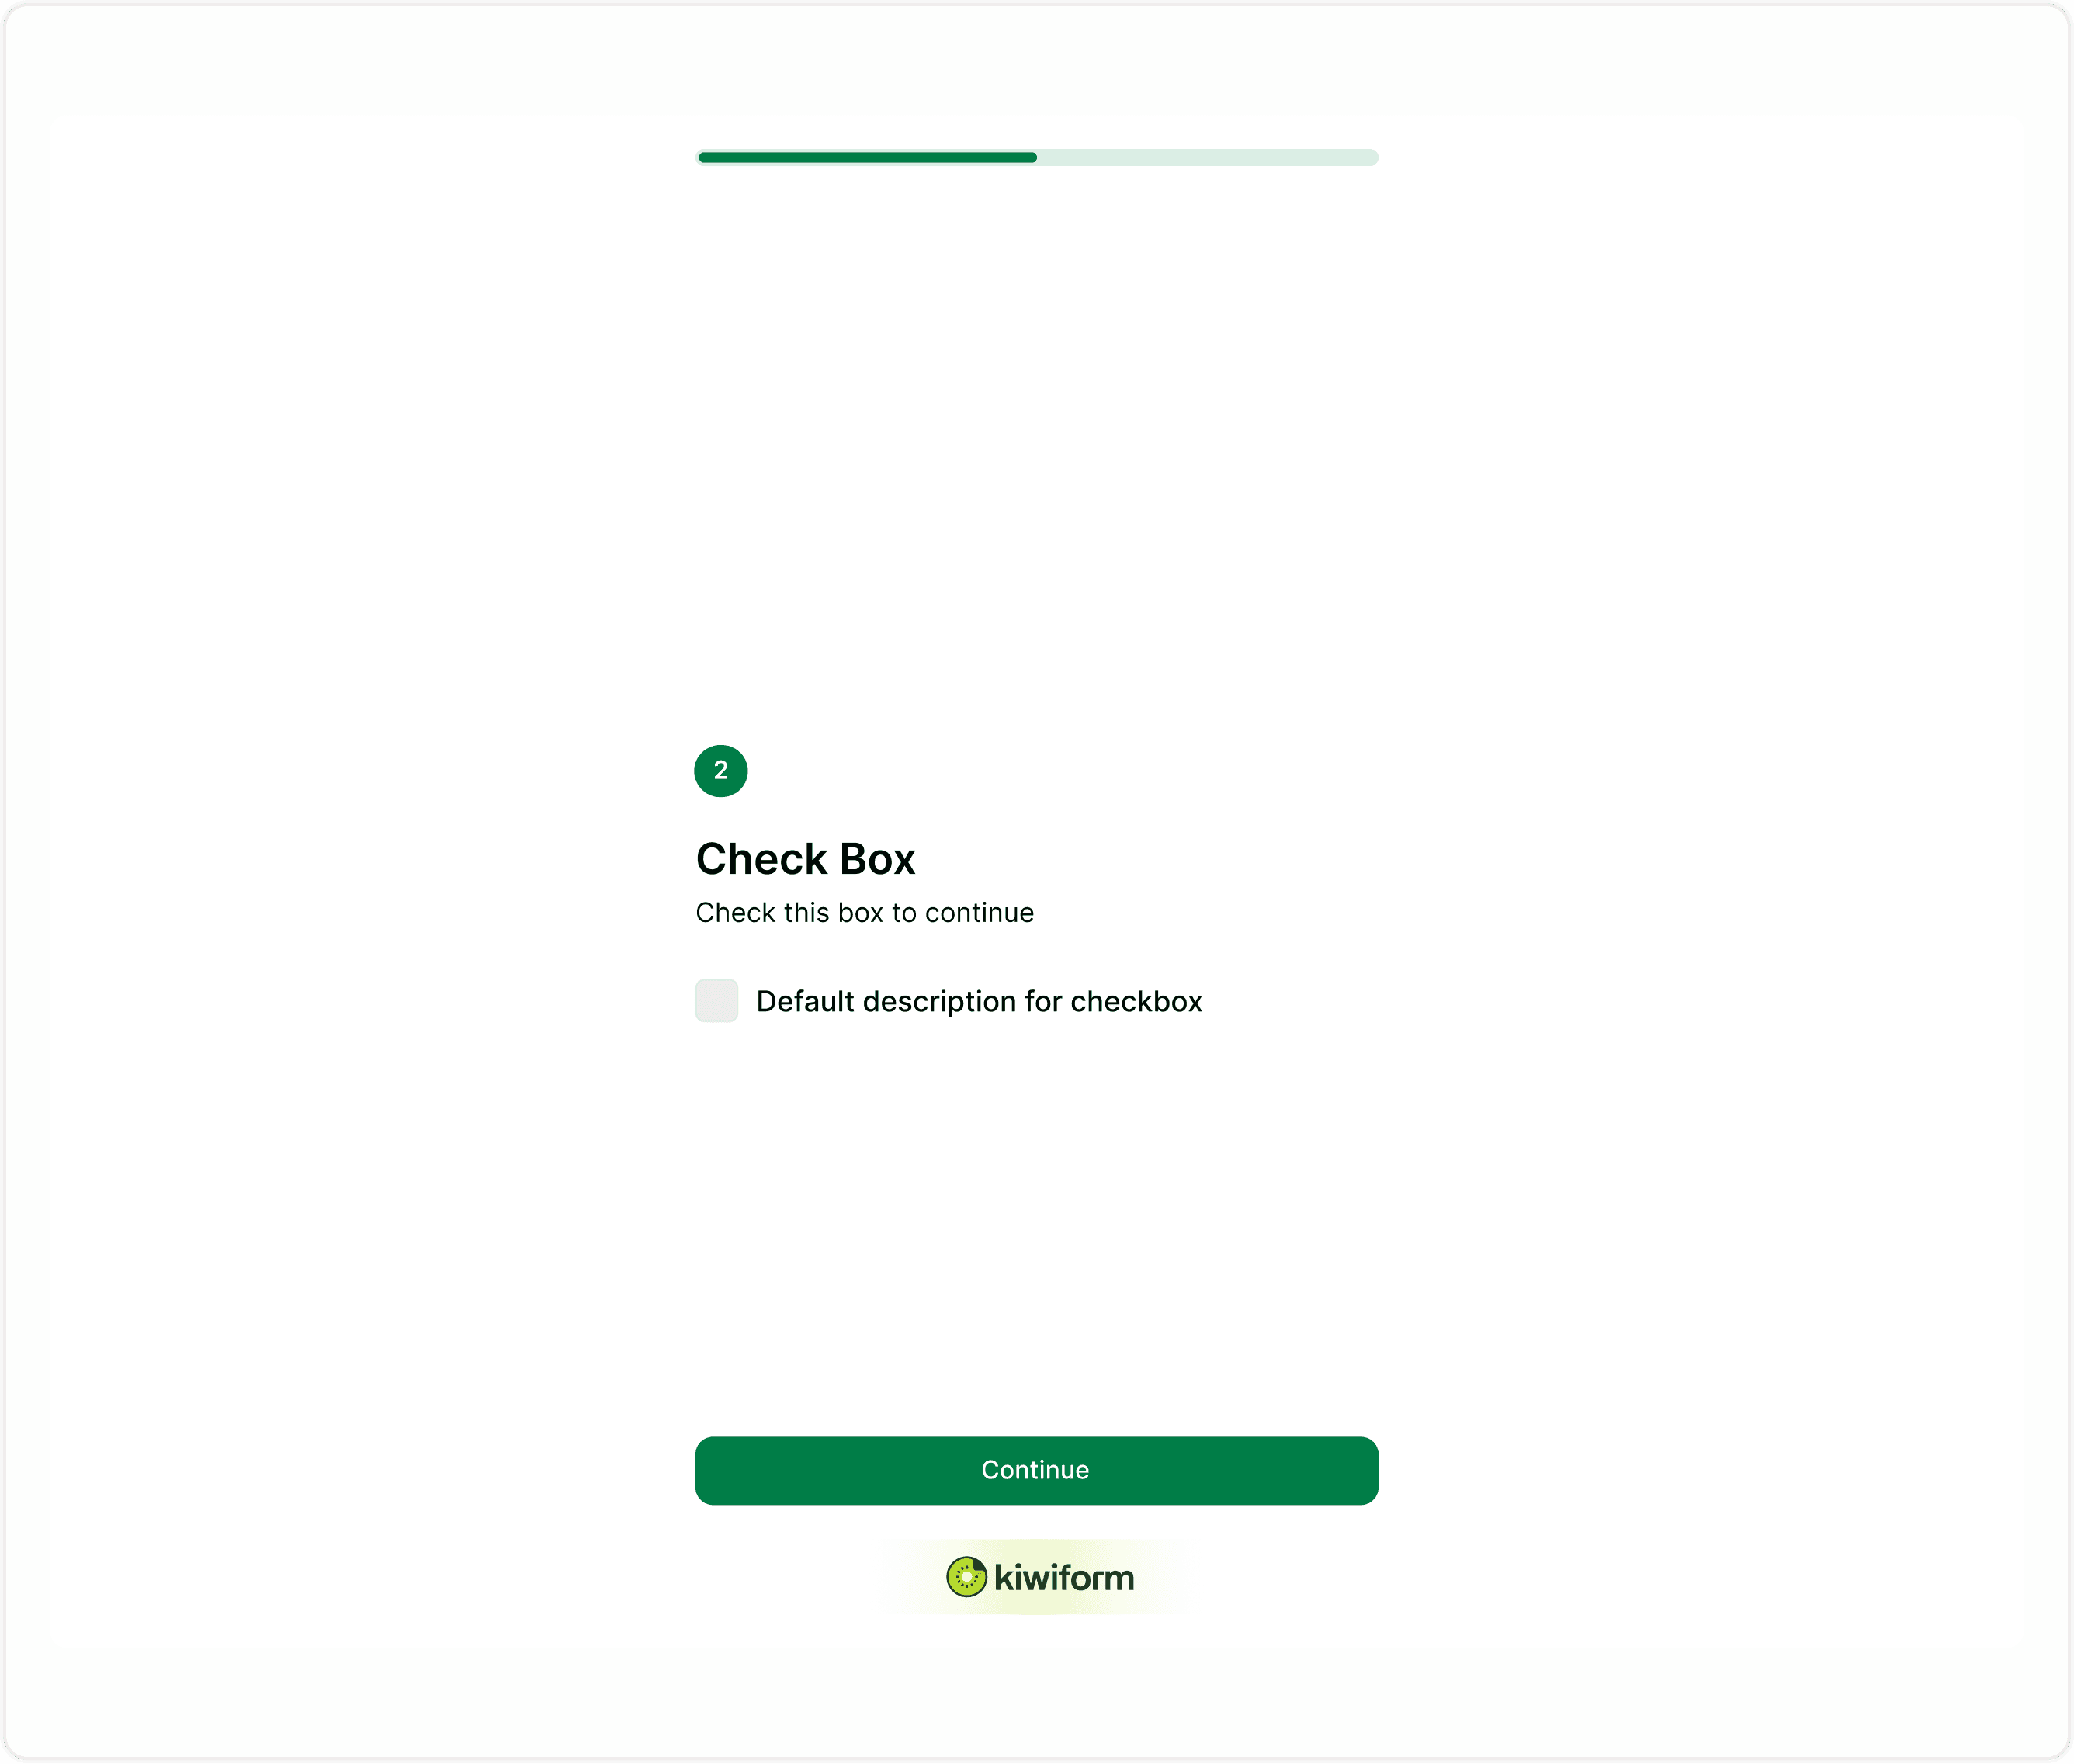
How respondents see the Checkbox field
In the live form, respondents see a single checkbox with your confirmation text. They must select it if it is required before moving forward. This keeps acknowledgements explicit and easy to track.
Checkbox vs Yes / No
Use Checkbox when you need a required acknowledgement or opt-in. Use Yes / No when you want a simple decision question with two selectable options.
Best practices
Keep the confirmation clear and direct.
Avoid complex legal wording where possible.
Place required confirmations near the end of the form.
Link to full policies instead of pasting long legal text.
Test the form to ensure required validation works correctly.
Summary
The Checkbox field is designed for single confirmations where respondents must acknowledge or agree to a statement. It is commonly used for consent, policy acceptance, and required acknowledgements before submission. This guide explains how to add the field, configure required settings, and use it correctly so responses remain clear, structured, and legally sound.