What is the Ending Screen?
The Ending Screen appears after a respondent submits your form. It confirms the response and allows you to:
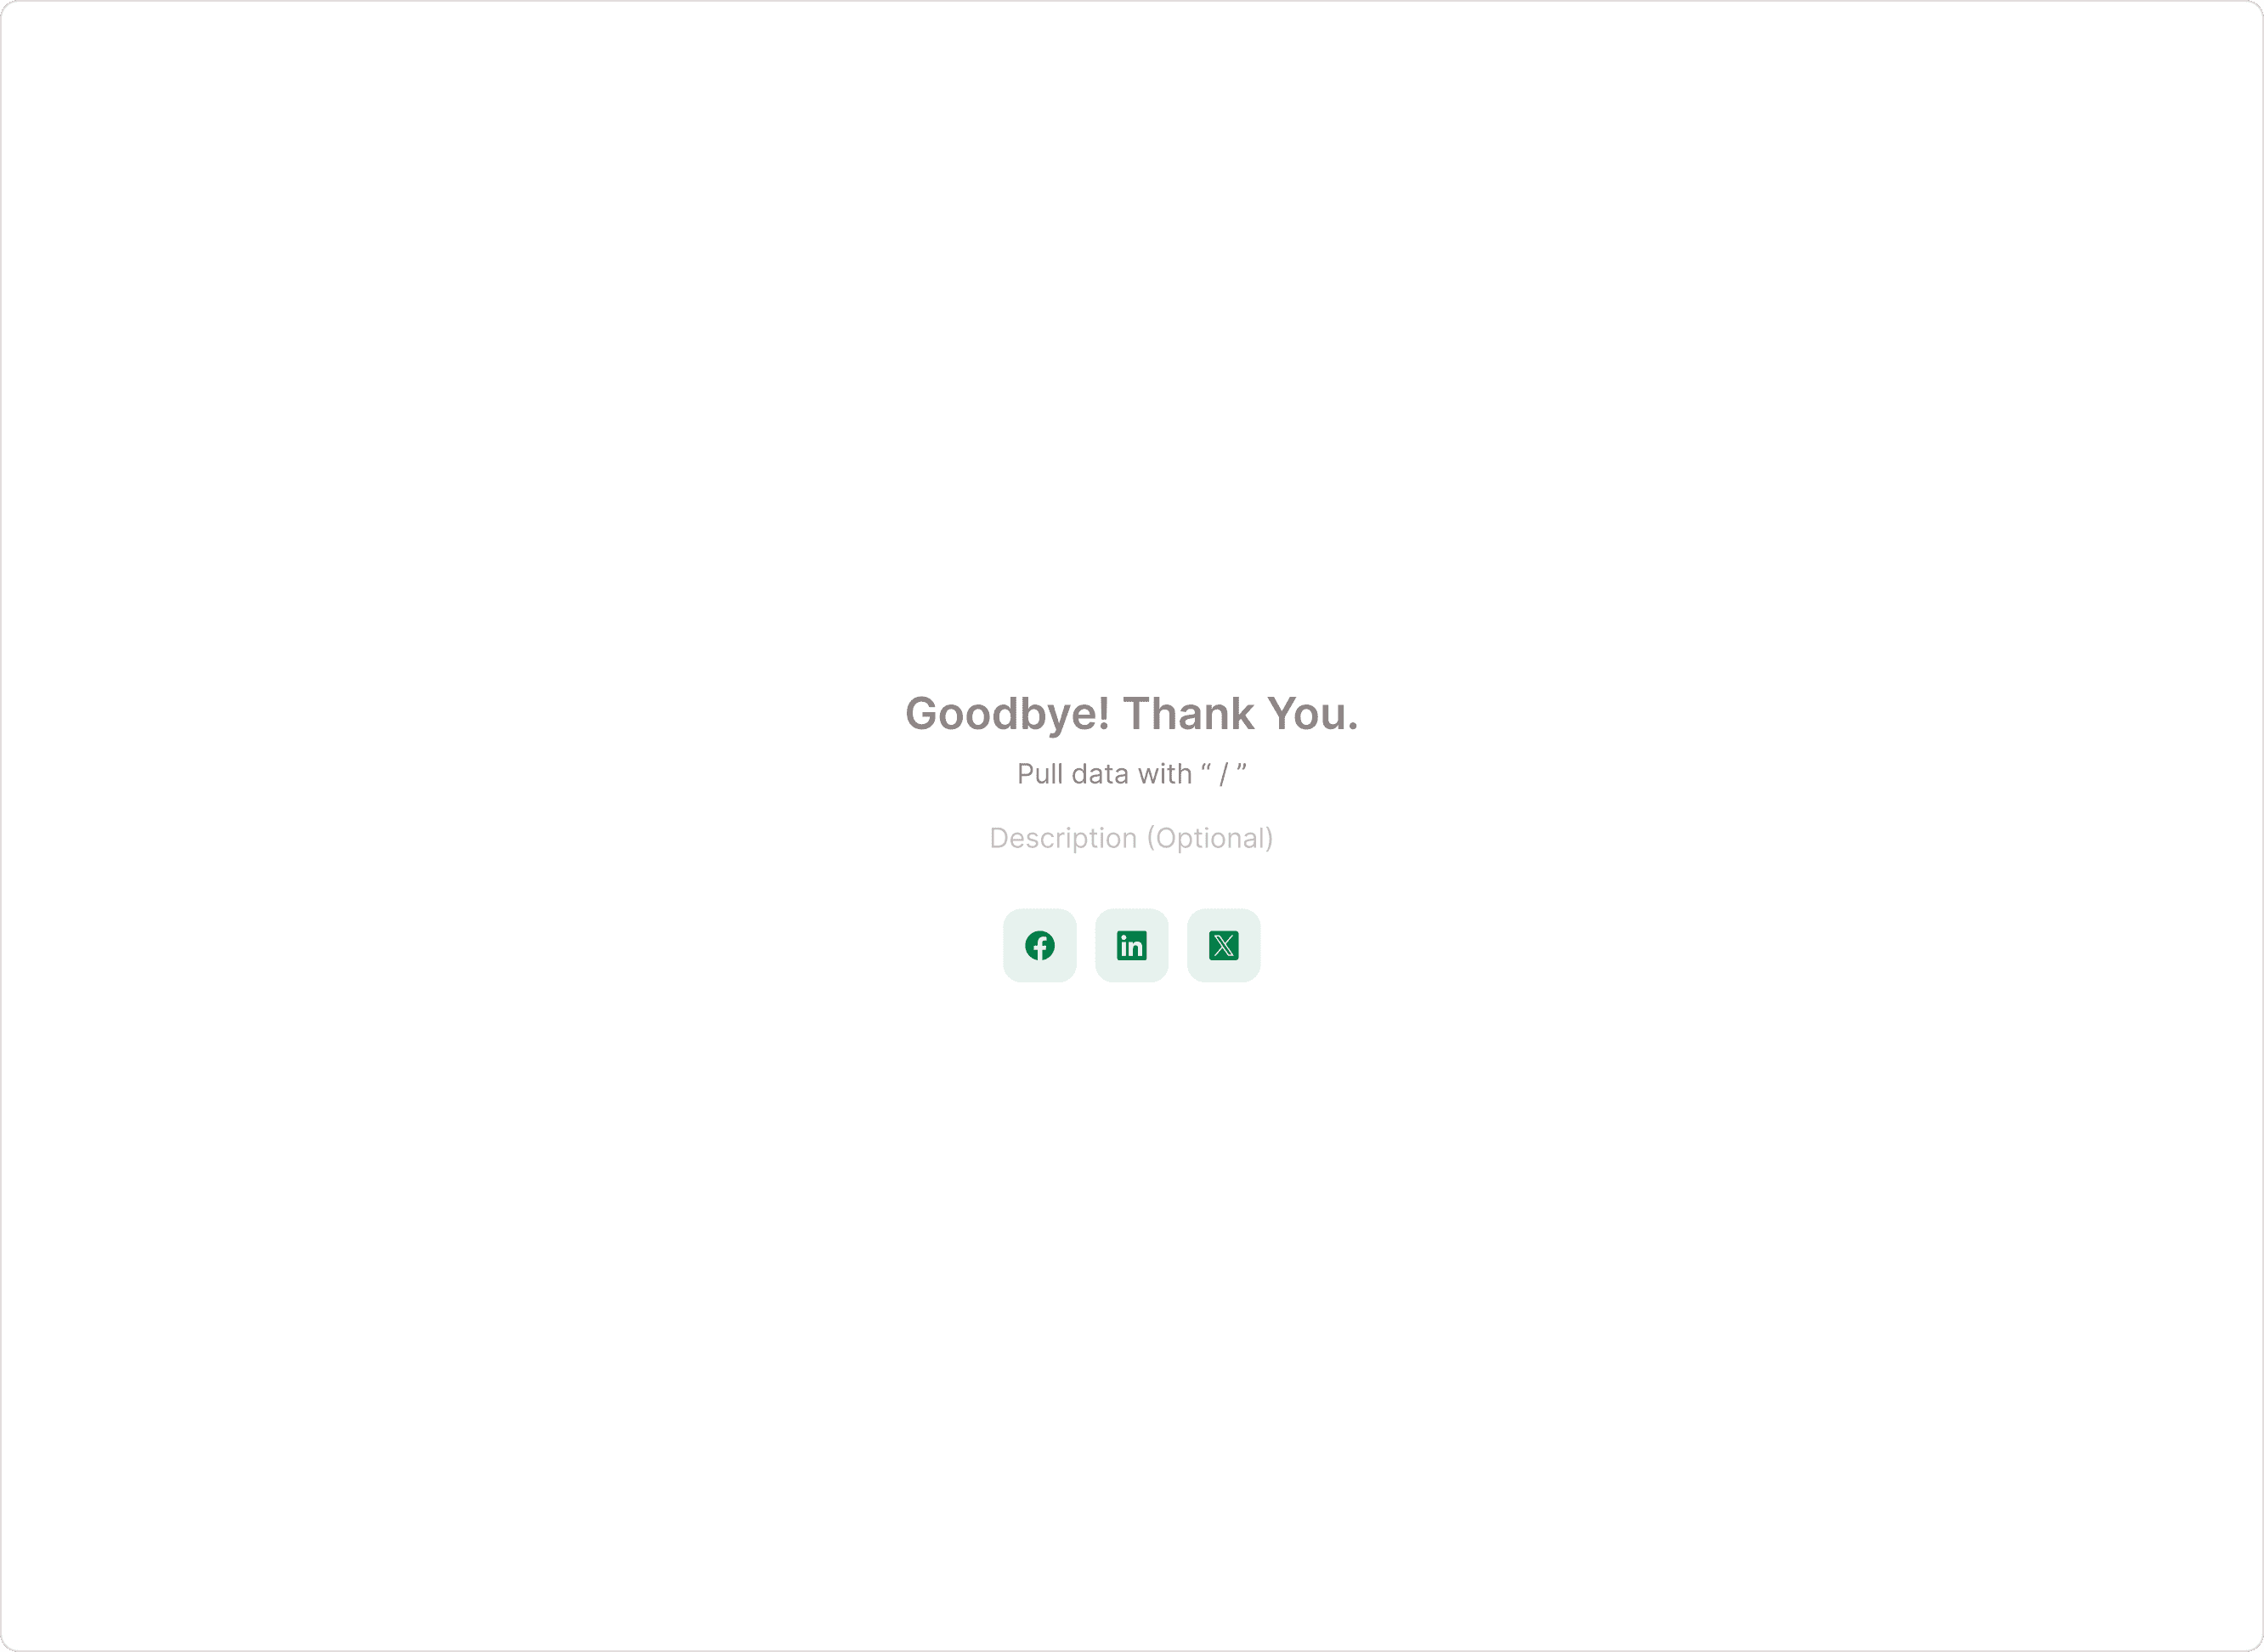
Display a thank-you message
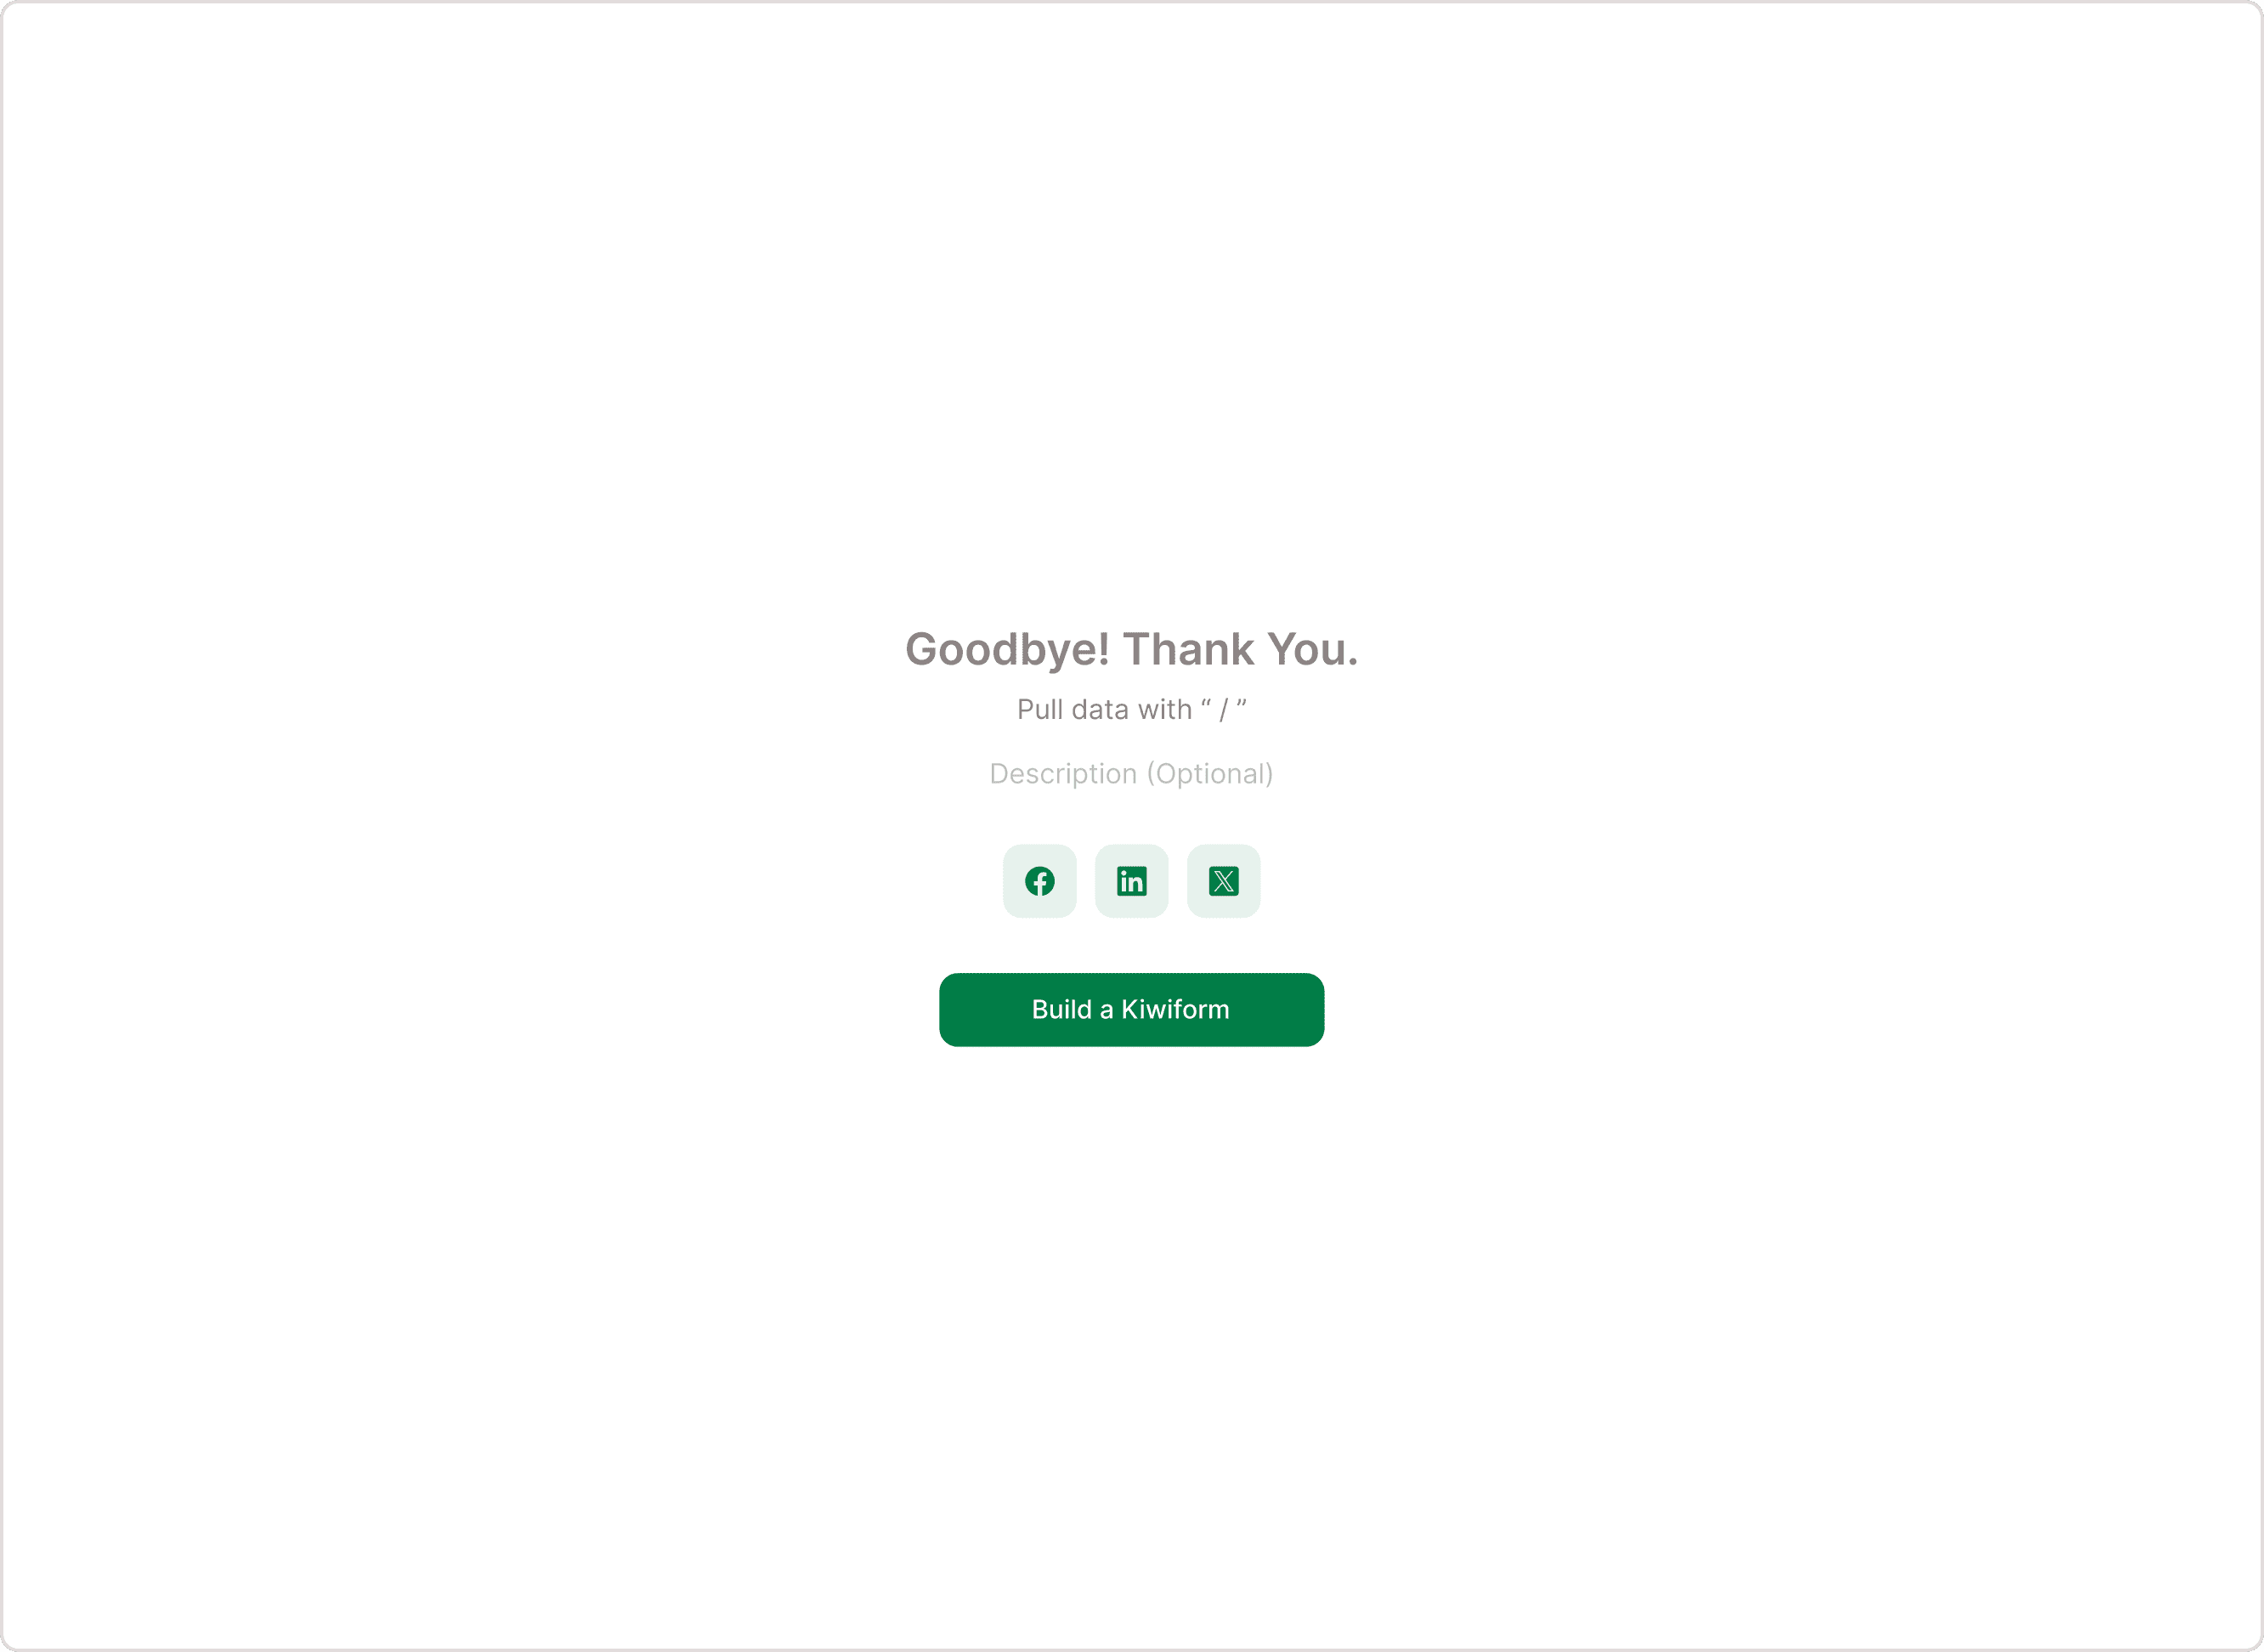
Add a custom call-to-action button
Enable social sharing
Redirect users to another page
Connect to apps or send automated messages
This is not just a “thank you” page, it’s a powerful engagement and conversion tool.
How to Add an Ending Screen
There are two ways to add an Ending Screen in Kiwiform.
Method 1: Using “Add Content”
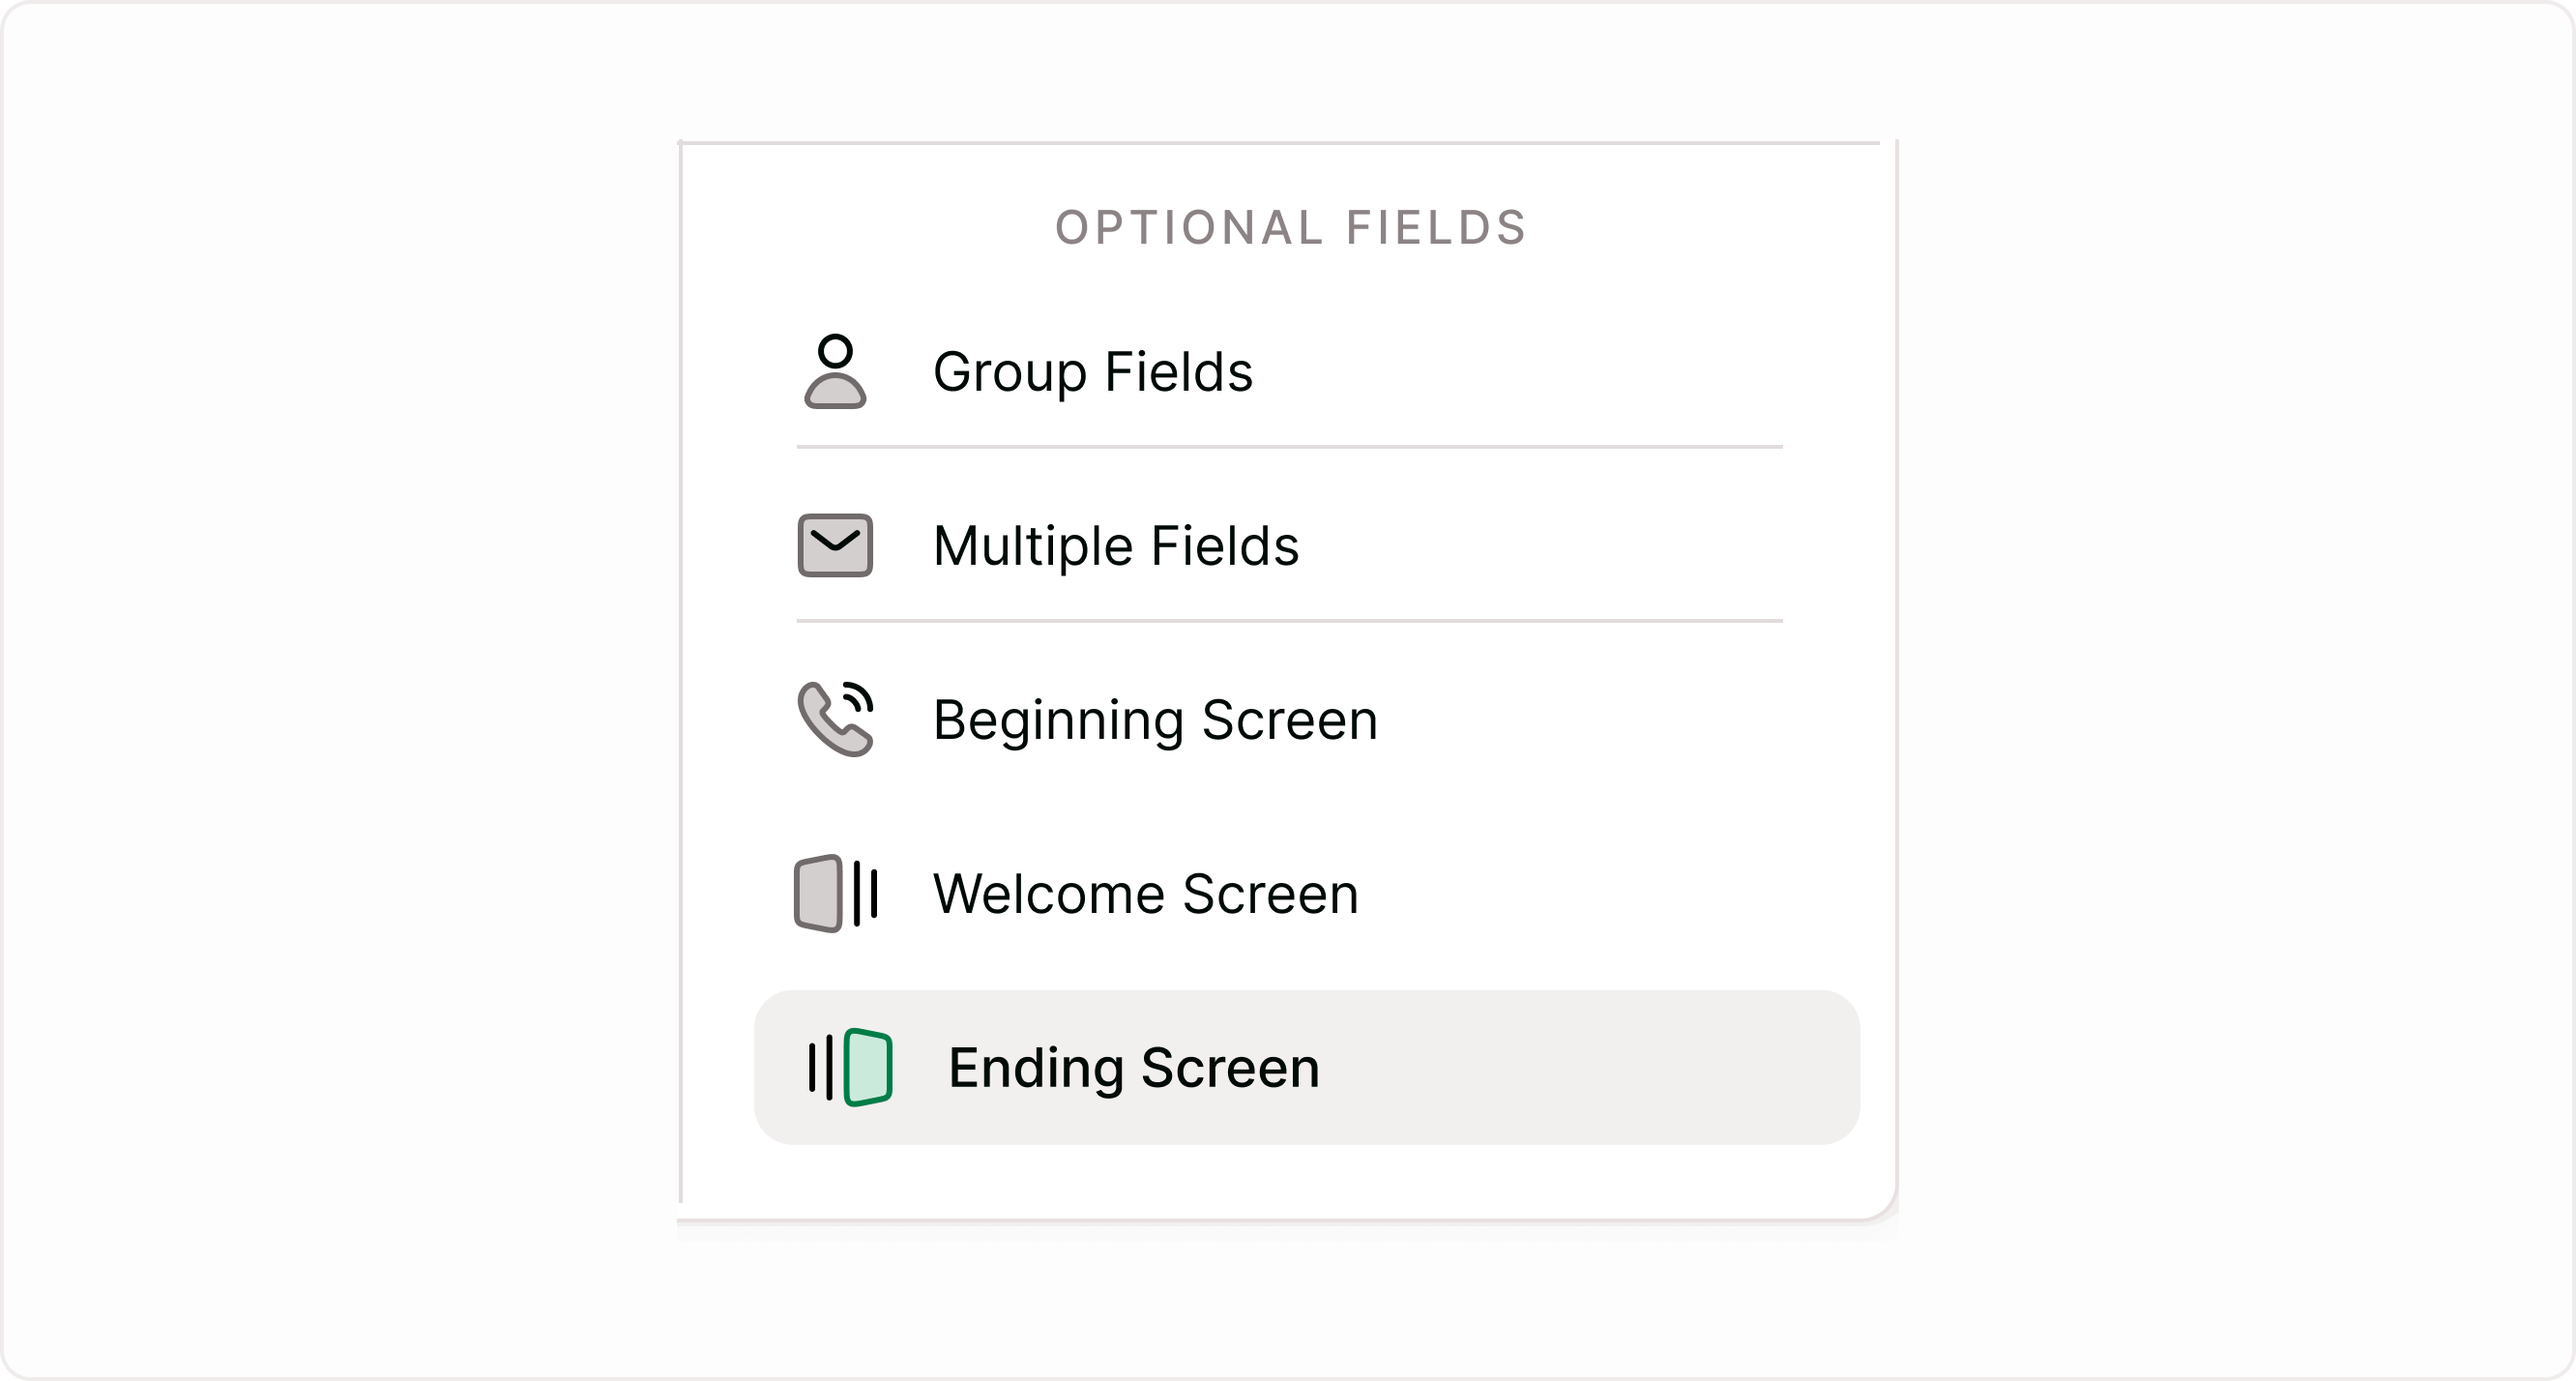
Click + Add Content
Select Ending Screen
The Ending Screen will appear in the Endings section of your form
This is the fastest way to insert a basic ending step.
Method 2: Using the Setup Endings Panel
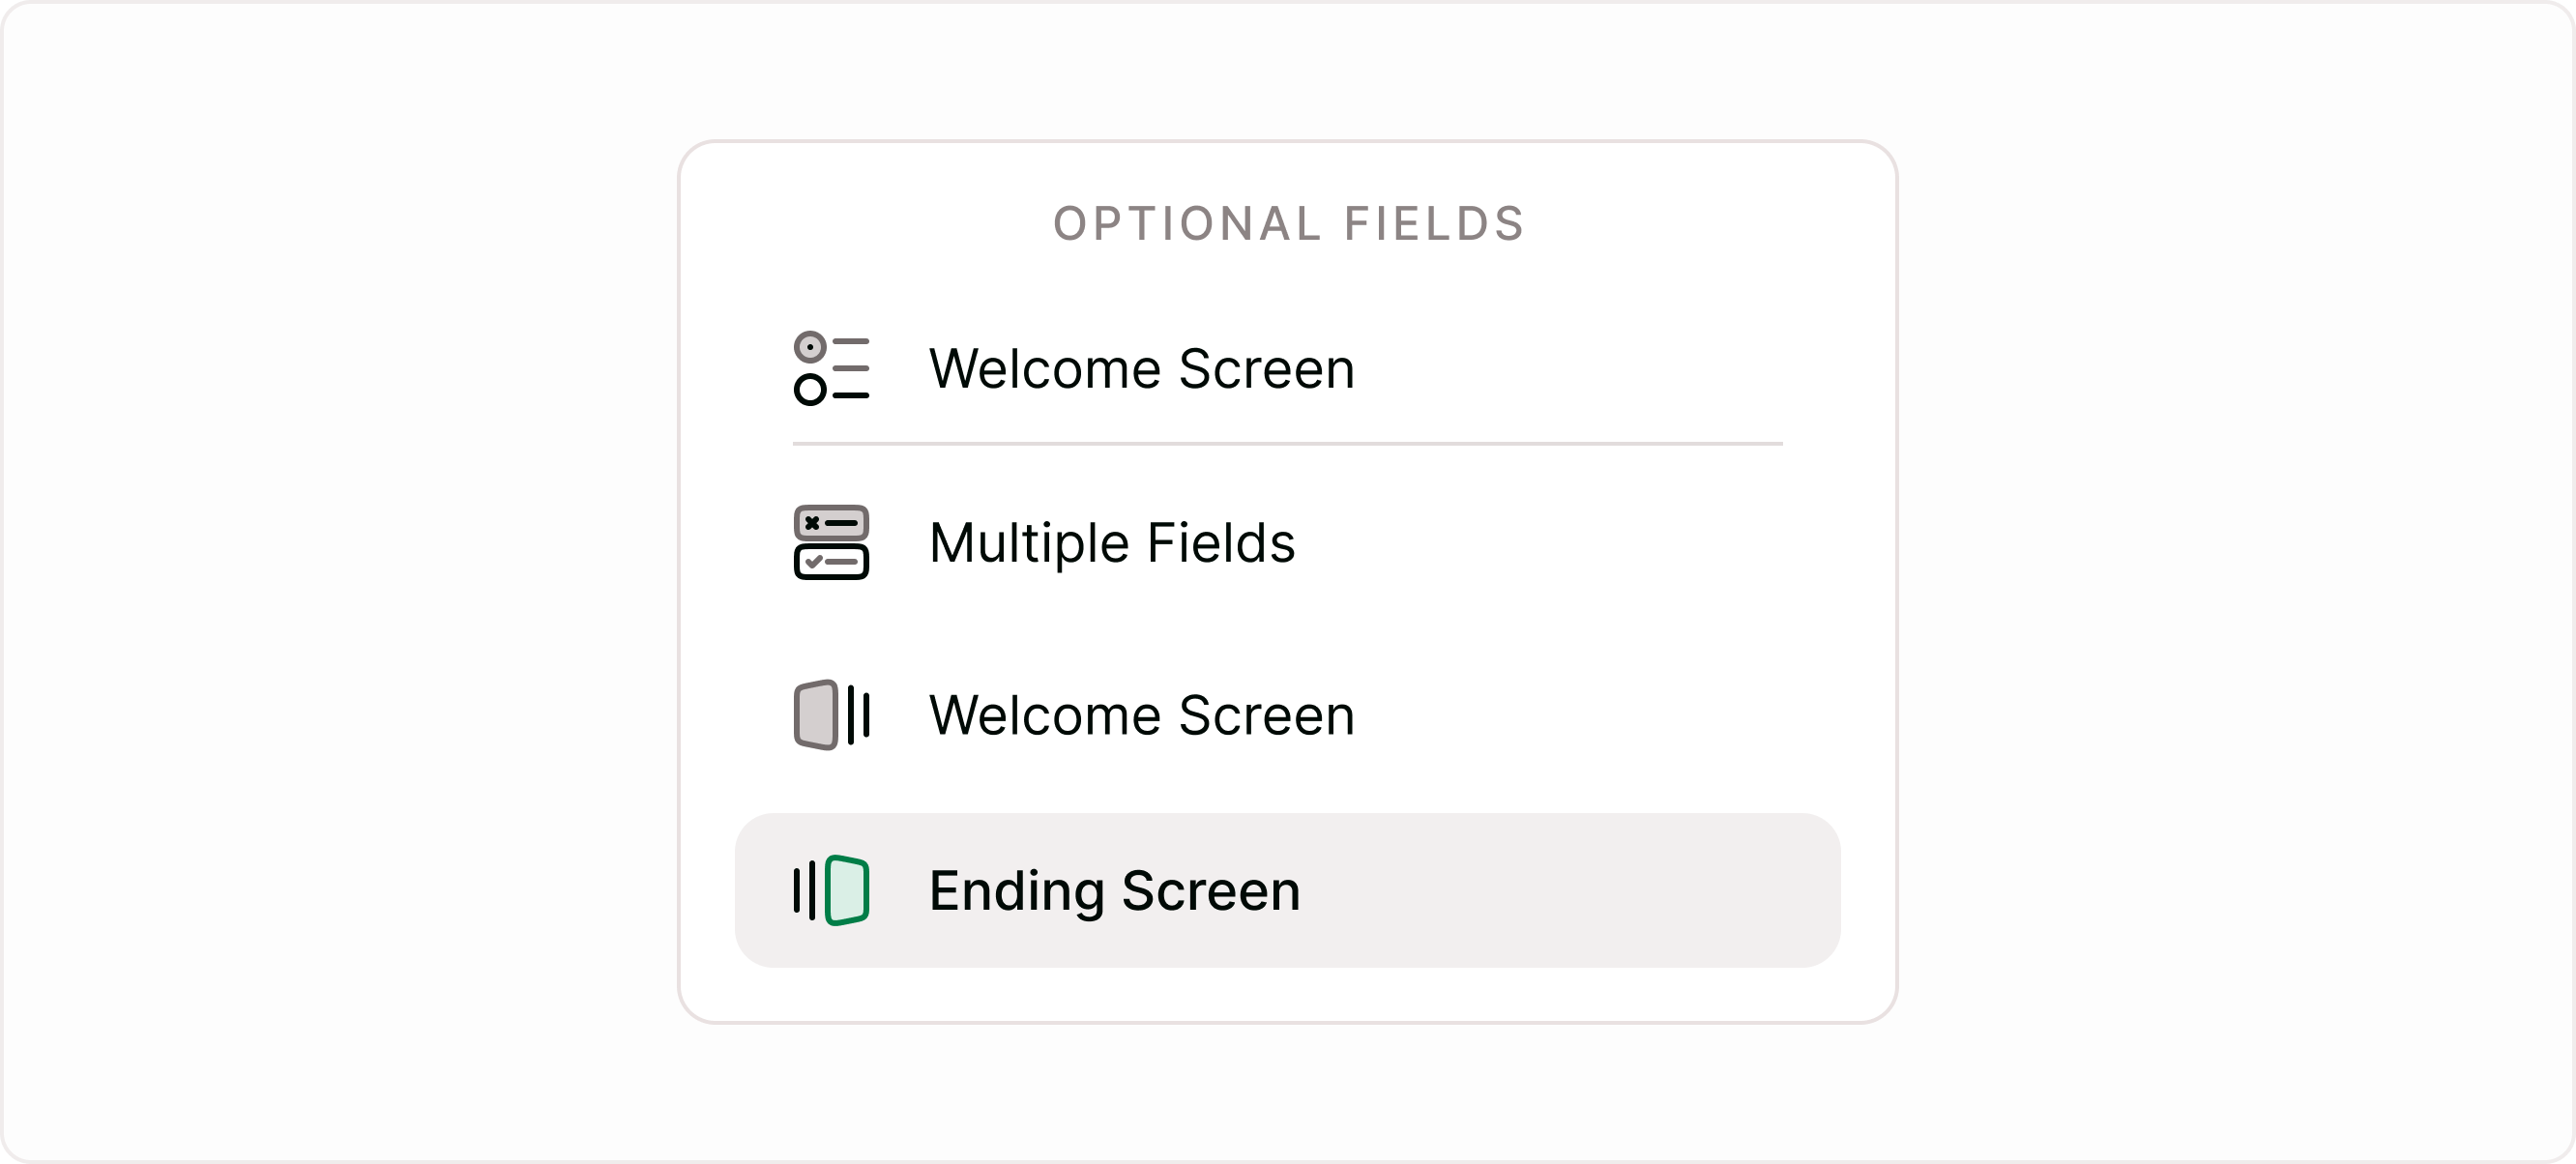
Scroll to the Endings section in the left sidebar
Click + Add Ending
Choose one of the options:
Ending Screen
Redirect to Link
Connect to Apps
Automated Message
This method gives you more control over how the form ends.
Customizing the Ending Screen
Once added, select the Ending Screen from the left panel. Then configure it using the Answer Panel on the right.
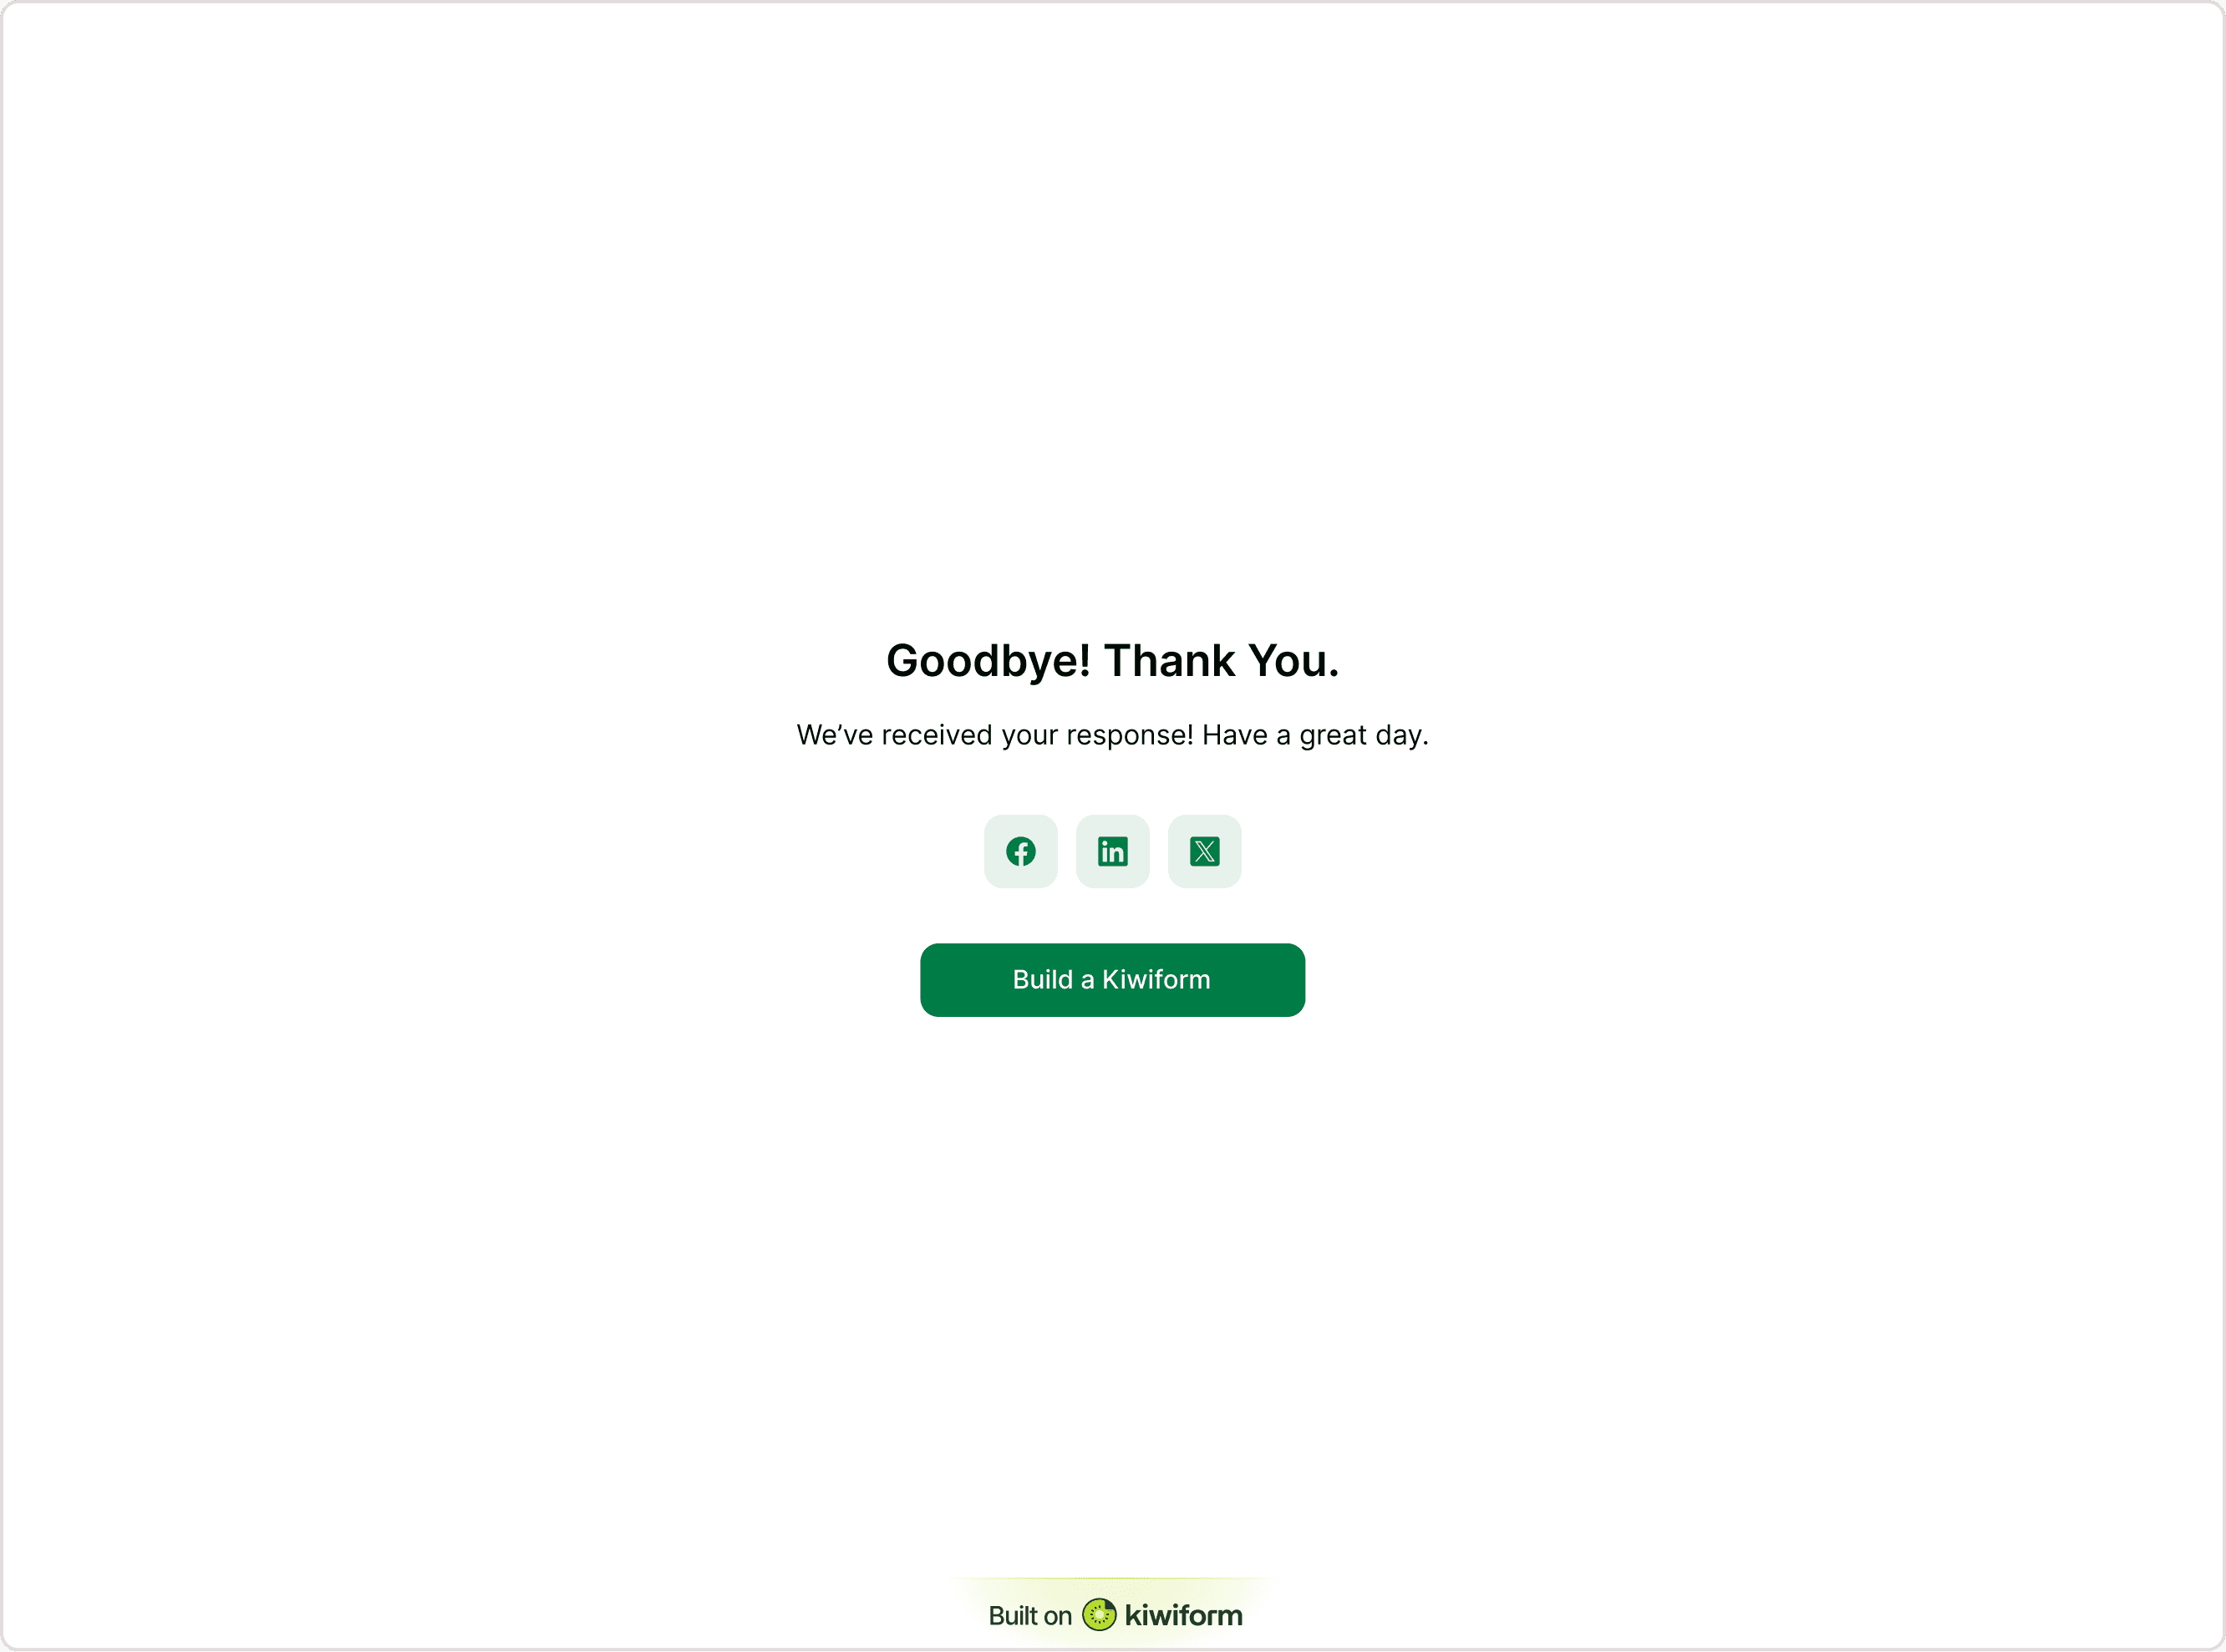
Edit the Thank You Message
You can customize:Headline (e.g., “Goodbye! Thank You.”)
Description text
Optional dynamic text
This helps you confirm submission clearly and professionally.
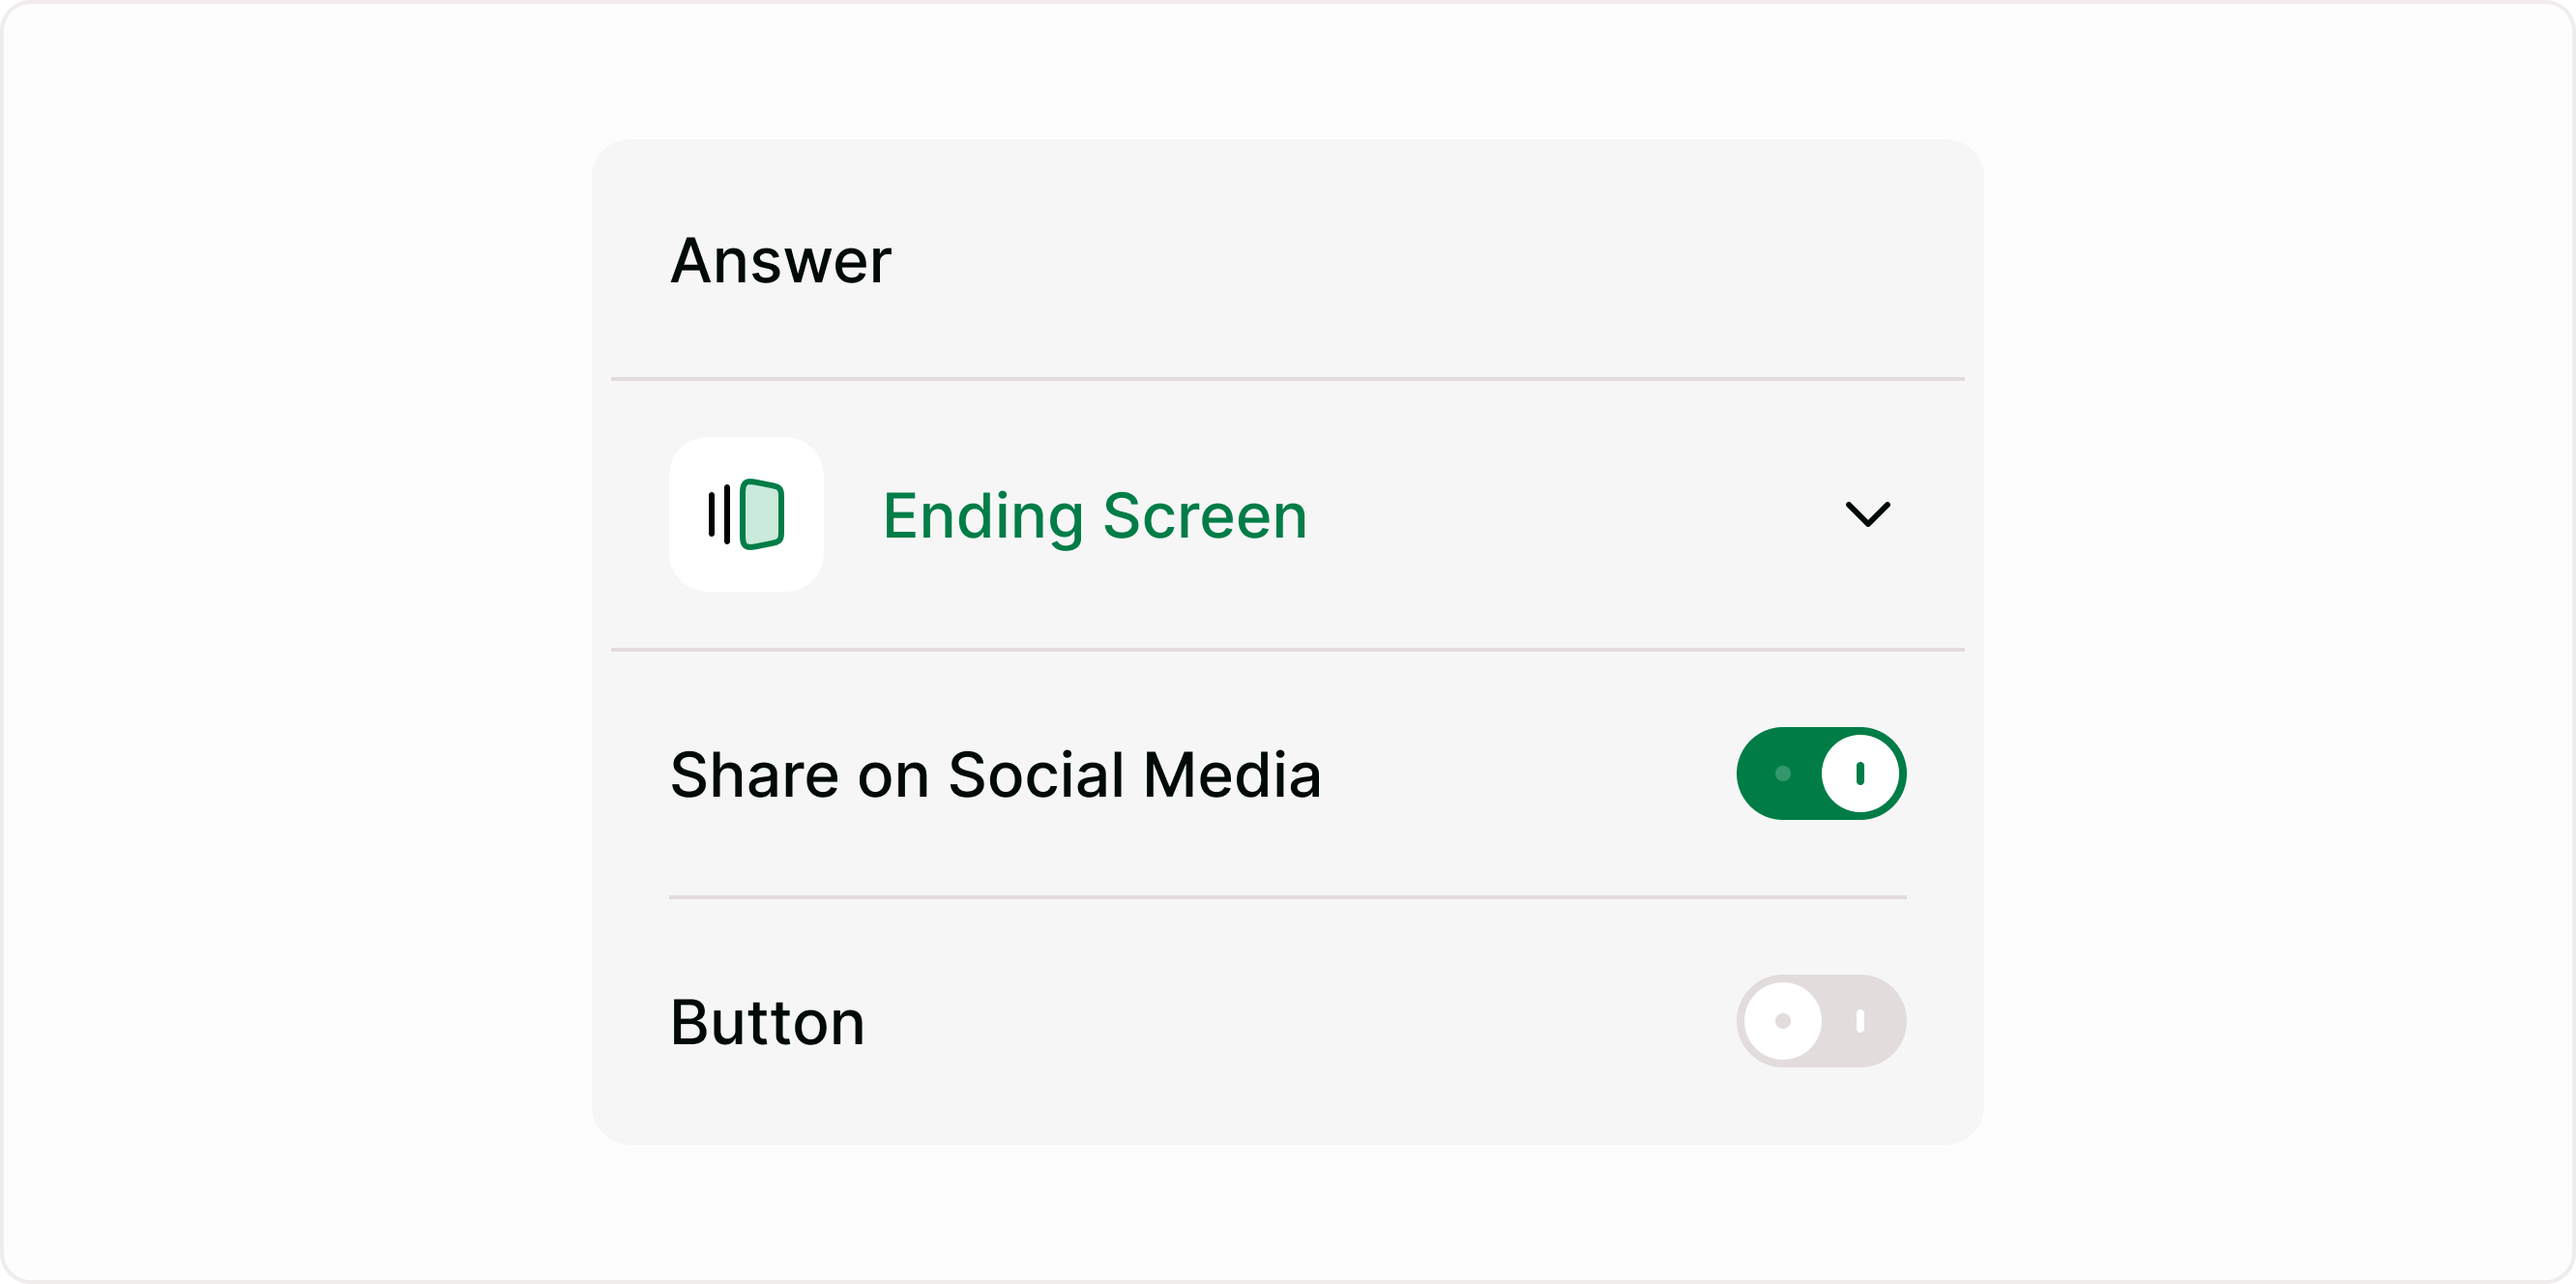
Enable Social Sharing
Toggle Share on Social Media ON to display social icons at the end of the form.
When enabled:Users can instantly share your form
You increase reach and visibility
When disabled:
No social icons will appear
Use this for campaigns, surveys, community forms, or feedback collection.
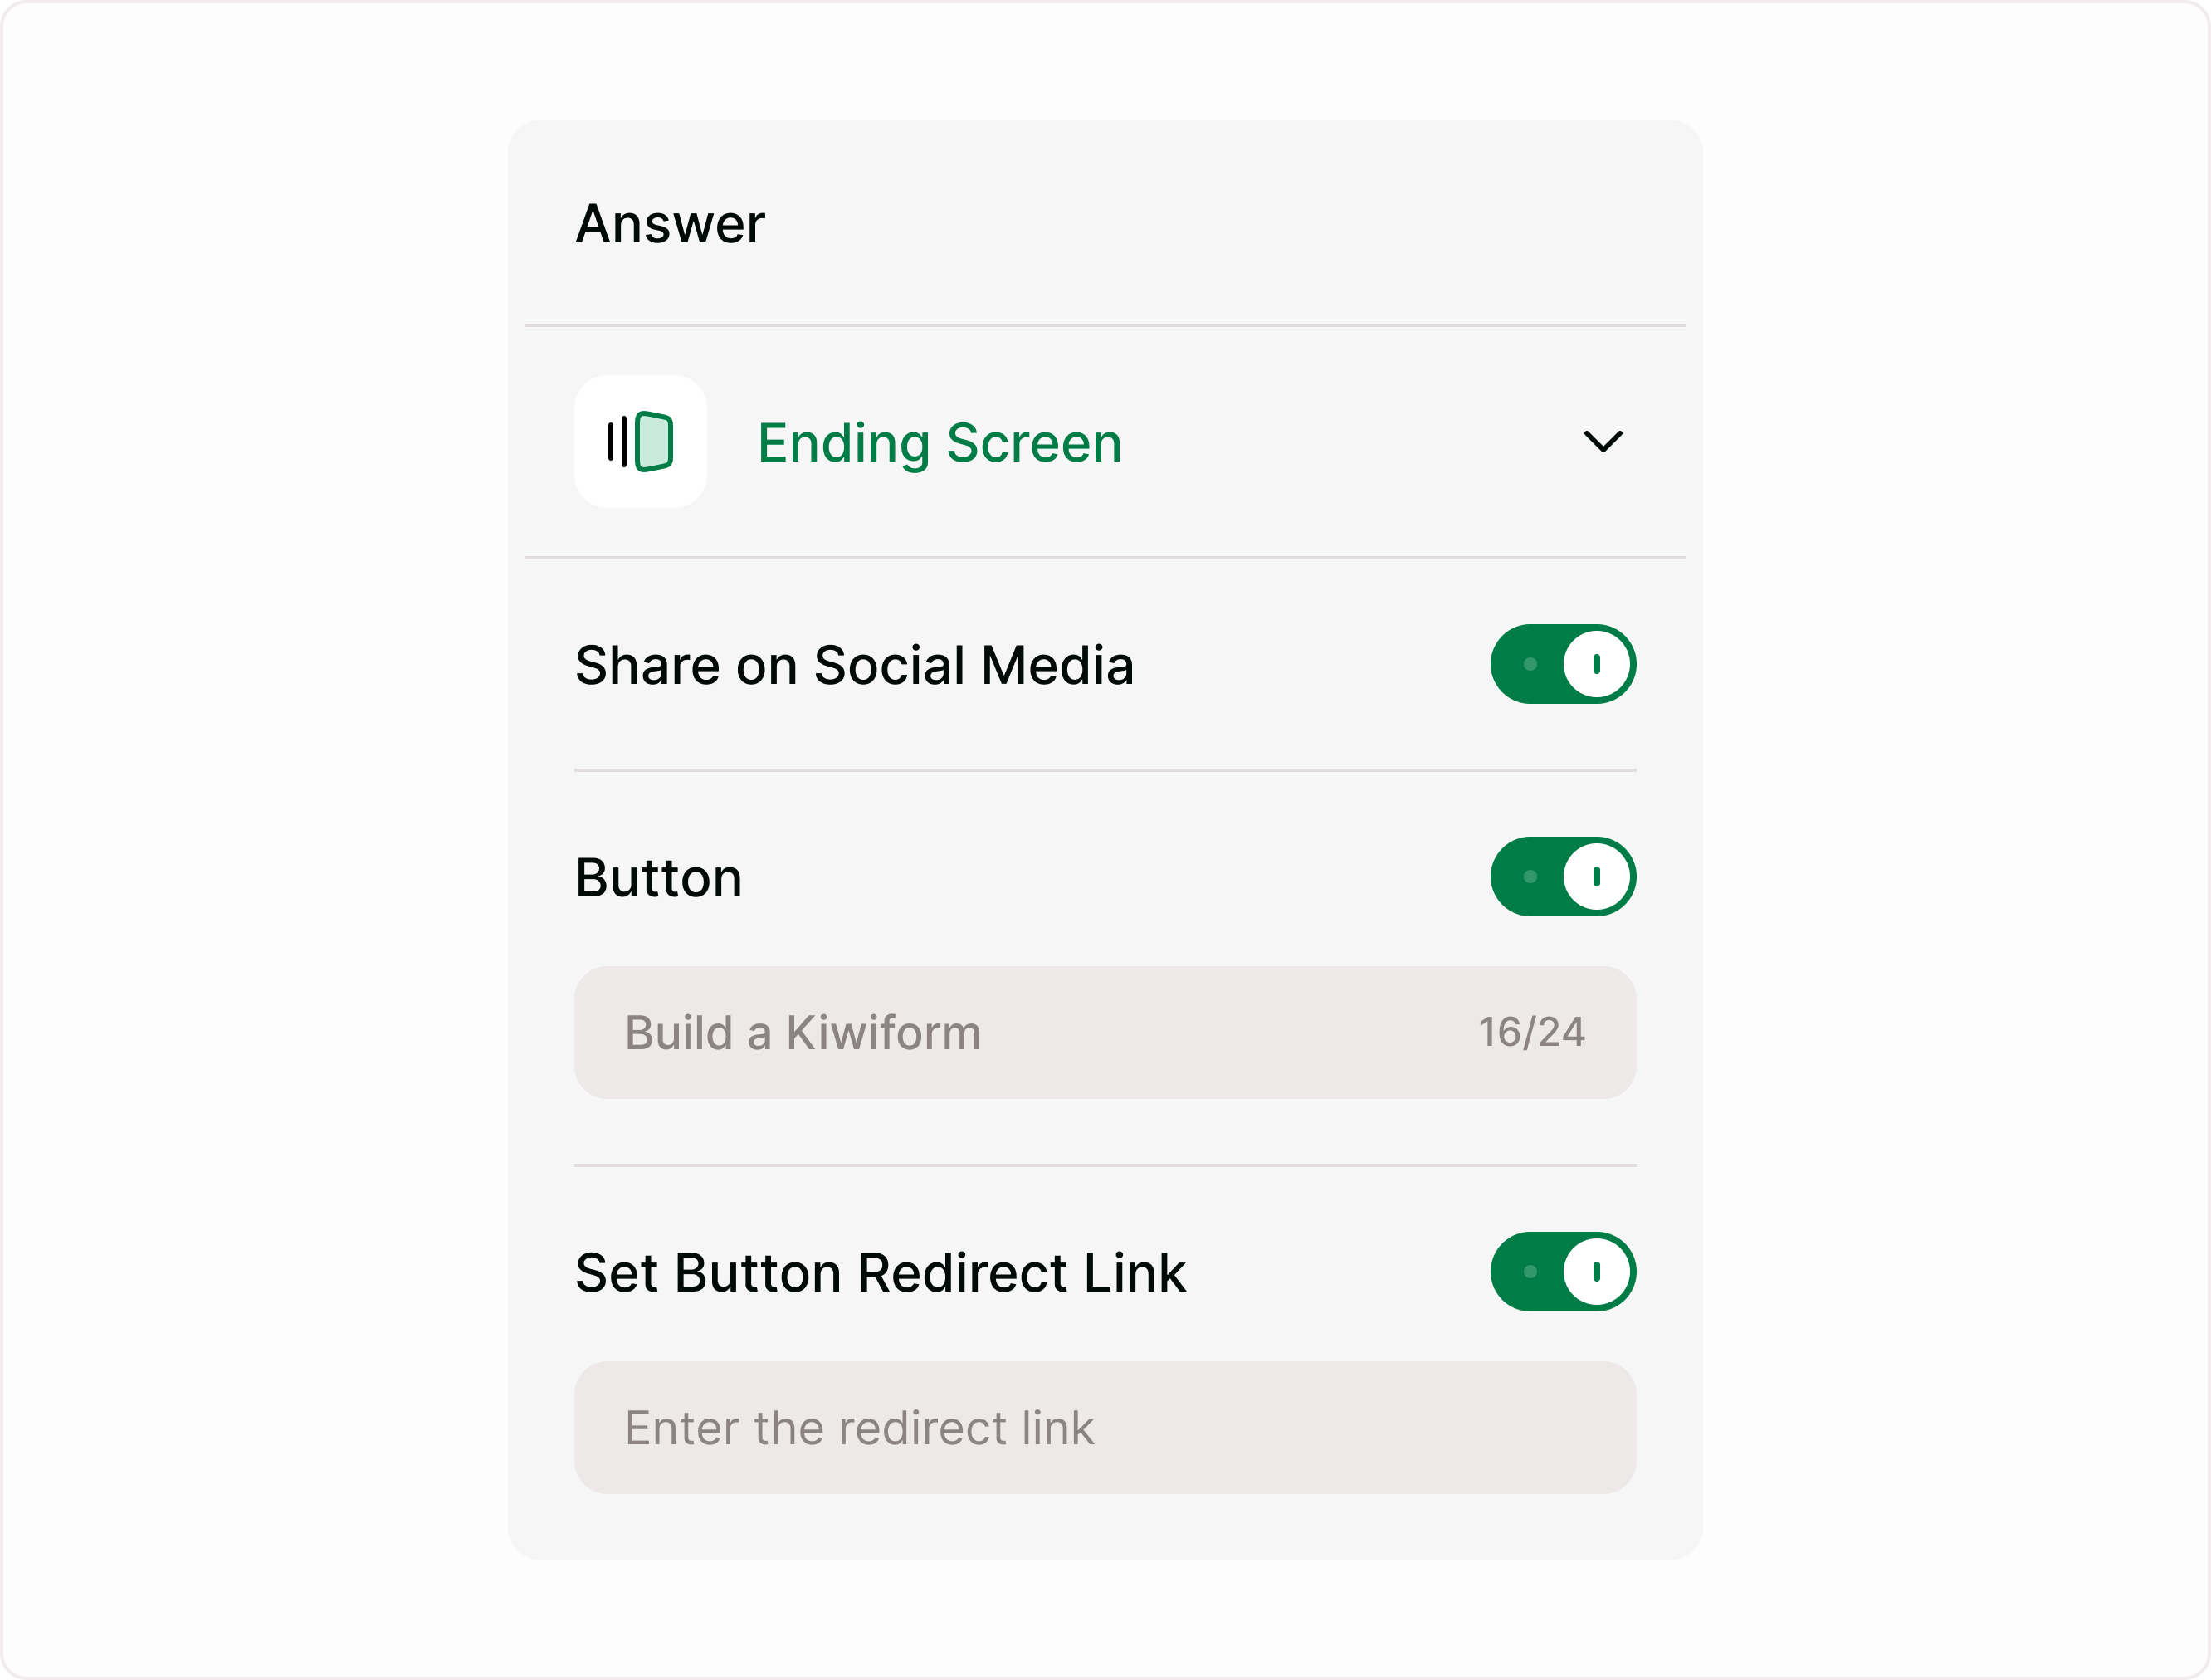
Add a Call-to-Action Button
Toggle Button ON to show a customizable button on the Ending Screen.
You can:
Change button label (character limit shown)
Create a strong CTA (e.g., “Visit Website”, “Download Guide”, “Book a Call”)
When disabled:
No button appears
This is ideal for:
Driving traffic
Converting leads
Sending users to onboarding pages
Set Button Redirect Link
If the button is enabled, you can turn on Set Button Redirect Link.
When enabled:
Add a URL
Users will be redirected after clicking the button
When disabled:
The button remains static (no redirect)
Use cases:
Thank-you page → Product page
Survey → Resource download
Lead form → Booking calendar
Ending Screen vs Redirect to Link
Kiwiform allows two different post-submission actions:
Ending Screen
Shows a thank-you page inside the form experience.
Redirect to Link
Automatically sends users to another website without showing a thank-you screen.
Choose based on your goal:
Want confirmation + CTA? → Ending Screen
Want instant redirection? → Redirect to Link
Common Use Cases
Lead generation follow-up
Survey completion confirmation
Event registration next steps
Course sign-up onboarding
Download confirmation
Product waitlist thank you page
Best practices
Keep your message short and clear
Add one focused CTA
Use redirect strategically
Enable social sharing for viral campaigns
Match tone with your brand
Your Ending Screen is an opportunity to move users forward, not just close the form.
Summary
Learn how to design a thoughtful ending screen that wraps up your form experience. Show confirmation messages, share next steps, display results, or redirect respondents after submission to leave a lasting impression.