What the File Upload field does
The File Upload field enables respondents to attach files as part of their form submission. Instead of asking users to email documents separately, you can collect everything in one structured flow.
This is useful when you need:
Resume or CV submissions
Portfolio or design samples
Identity verification documents
Assignment or coursework uploads
Signed agreements or contracts
Screenshots or supporting evidence
Medical or application records
By embedding file collection directly into the form, you reduce friction and improve completion rates.
Suggested image: File Upload field visible in form preview with drag-and-drop area

Add a File Upload field to your form
To collect files:
Open your form in the builder
Click Add Content
Select File Upload from the form fields list
Click on the field to open its settings in the Answer panel
Once added, respondents will see a drag-and-drop upload area or a button to select files from their device.
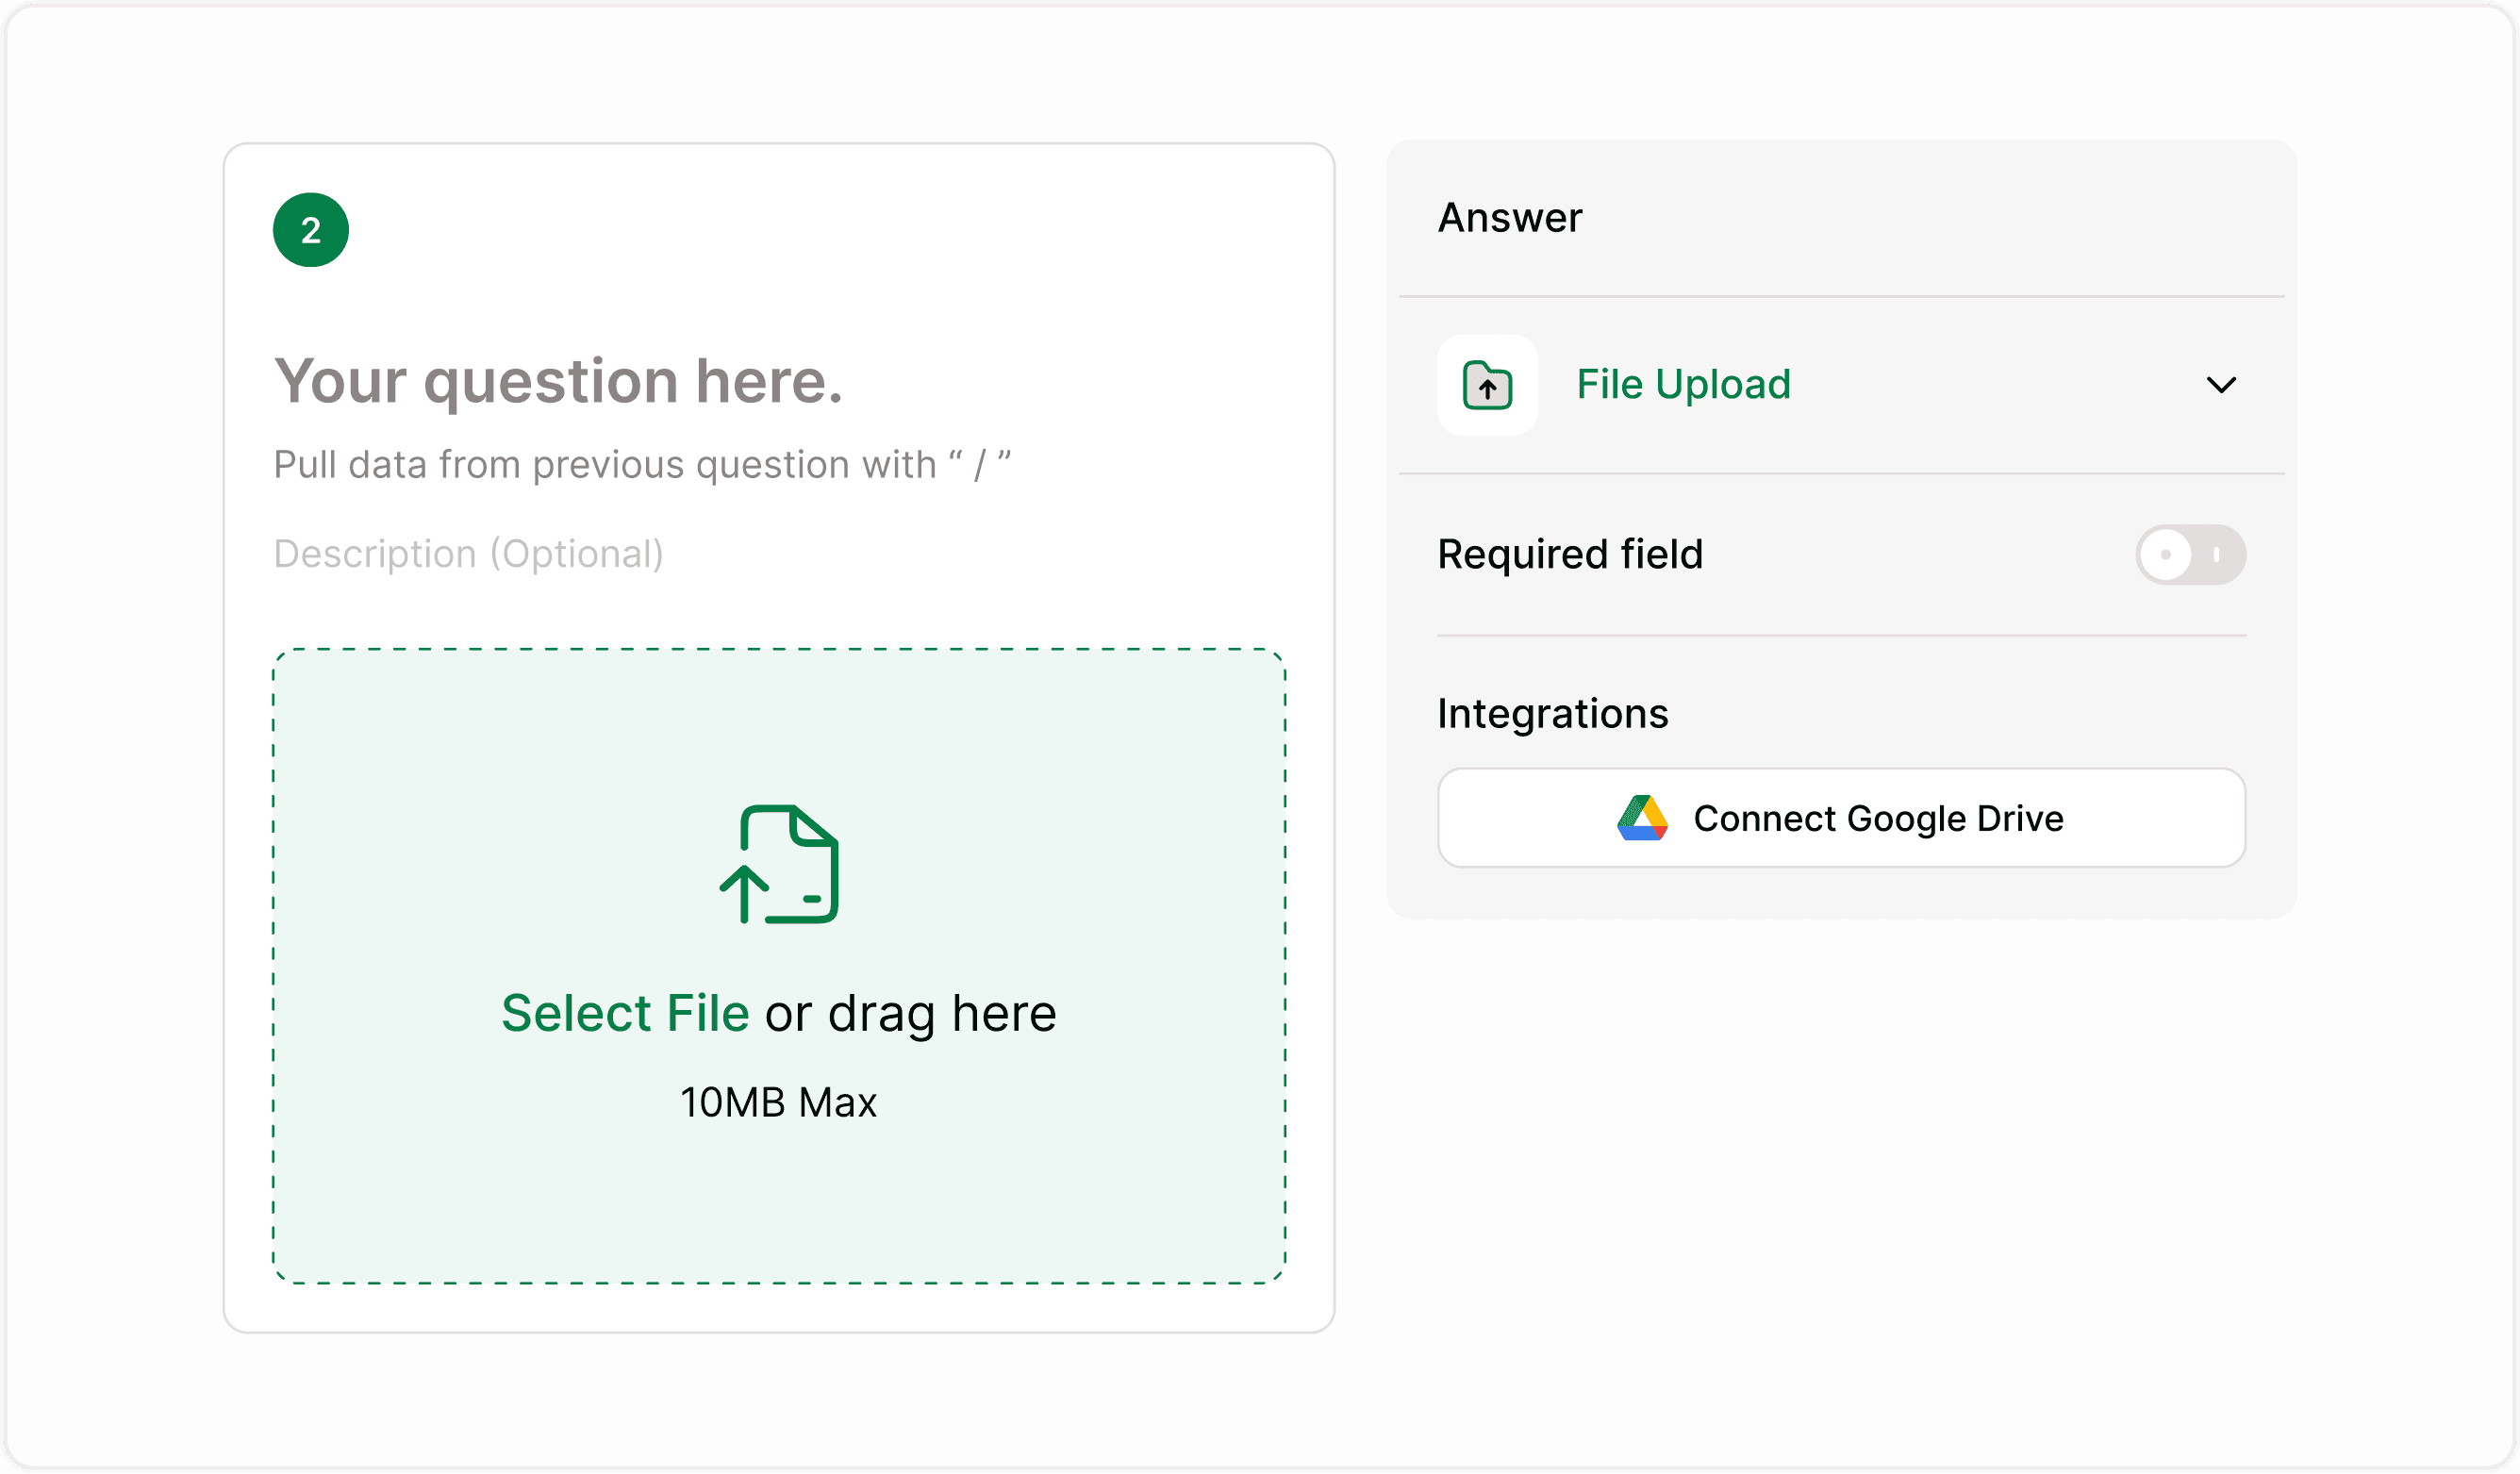
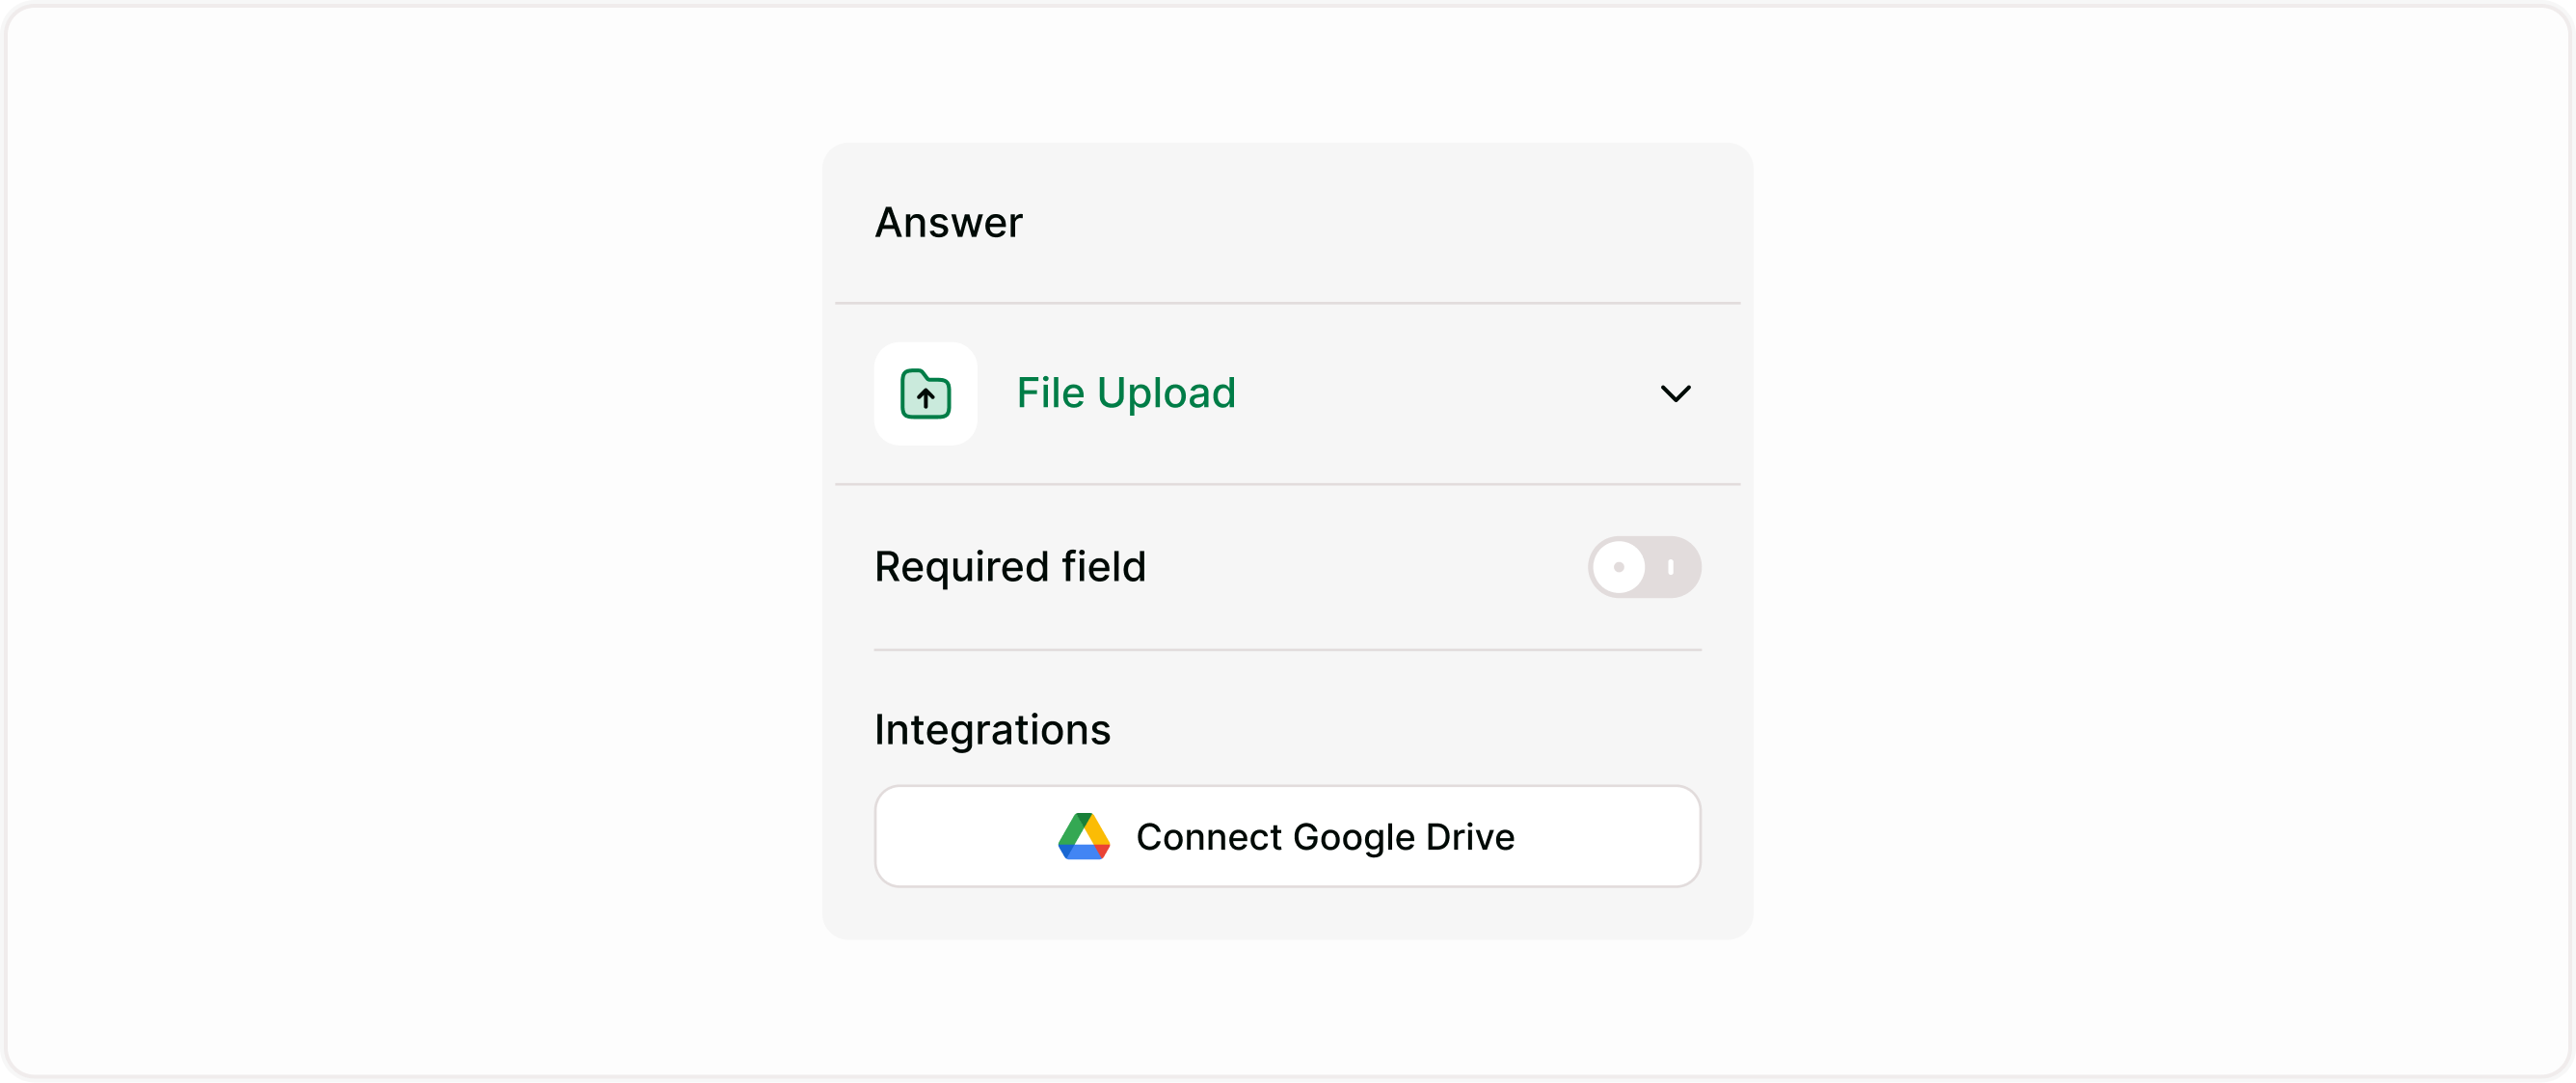
Configure File Upload settings
Mark as Required
You can make the File Upload field mandatory.
When enabled:
Respondents cannot submit the form without uploading a file
Useful for job applications, document verification, and mandatory submissions
If disabled, file uploads remain optional.
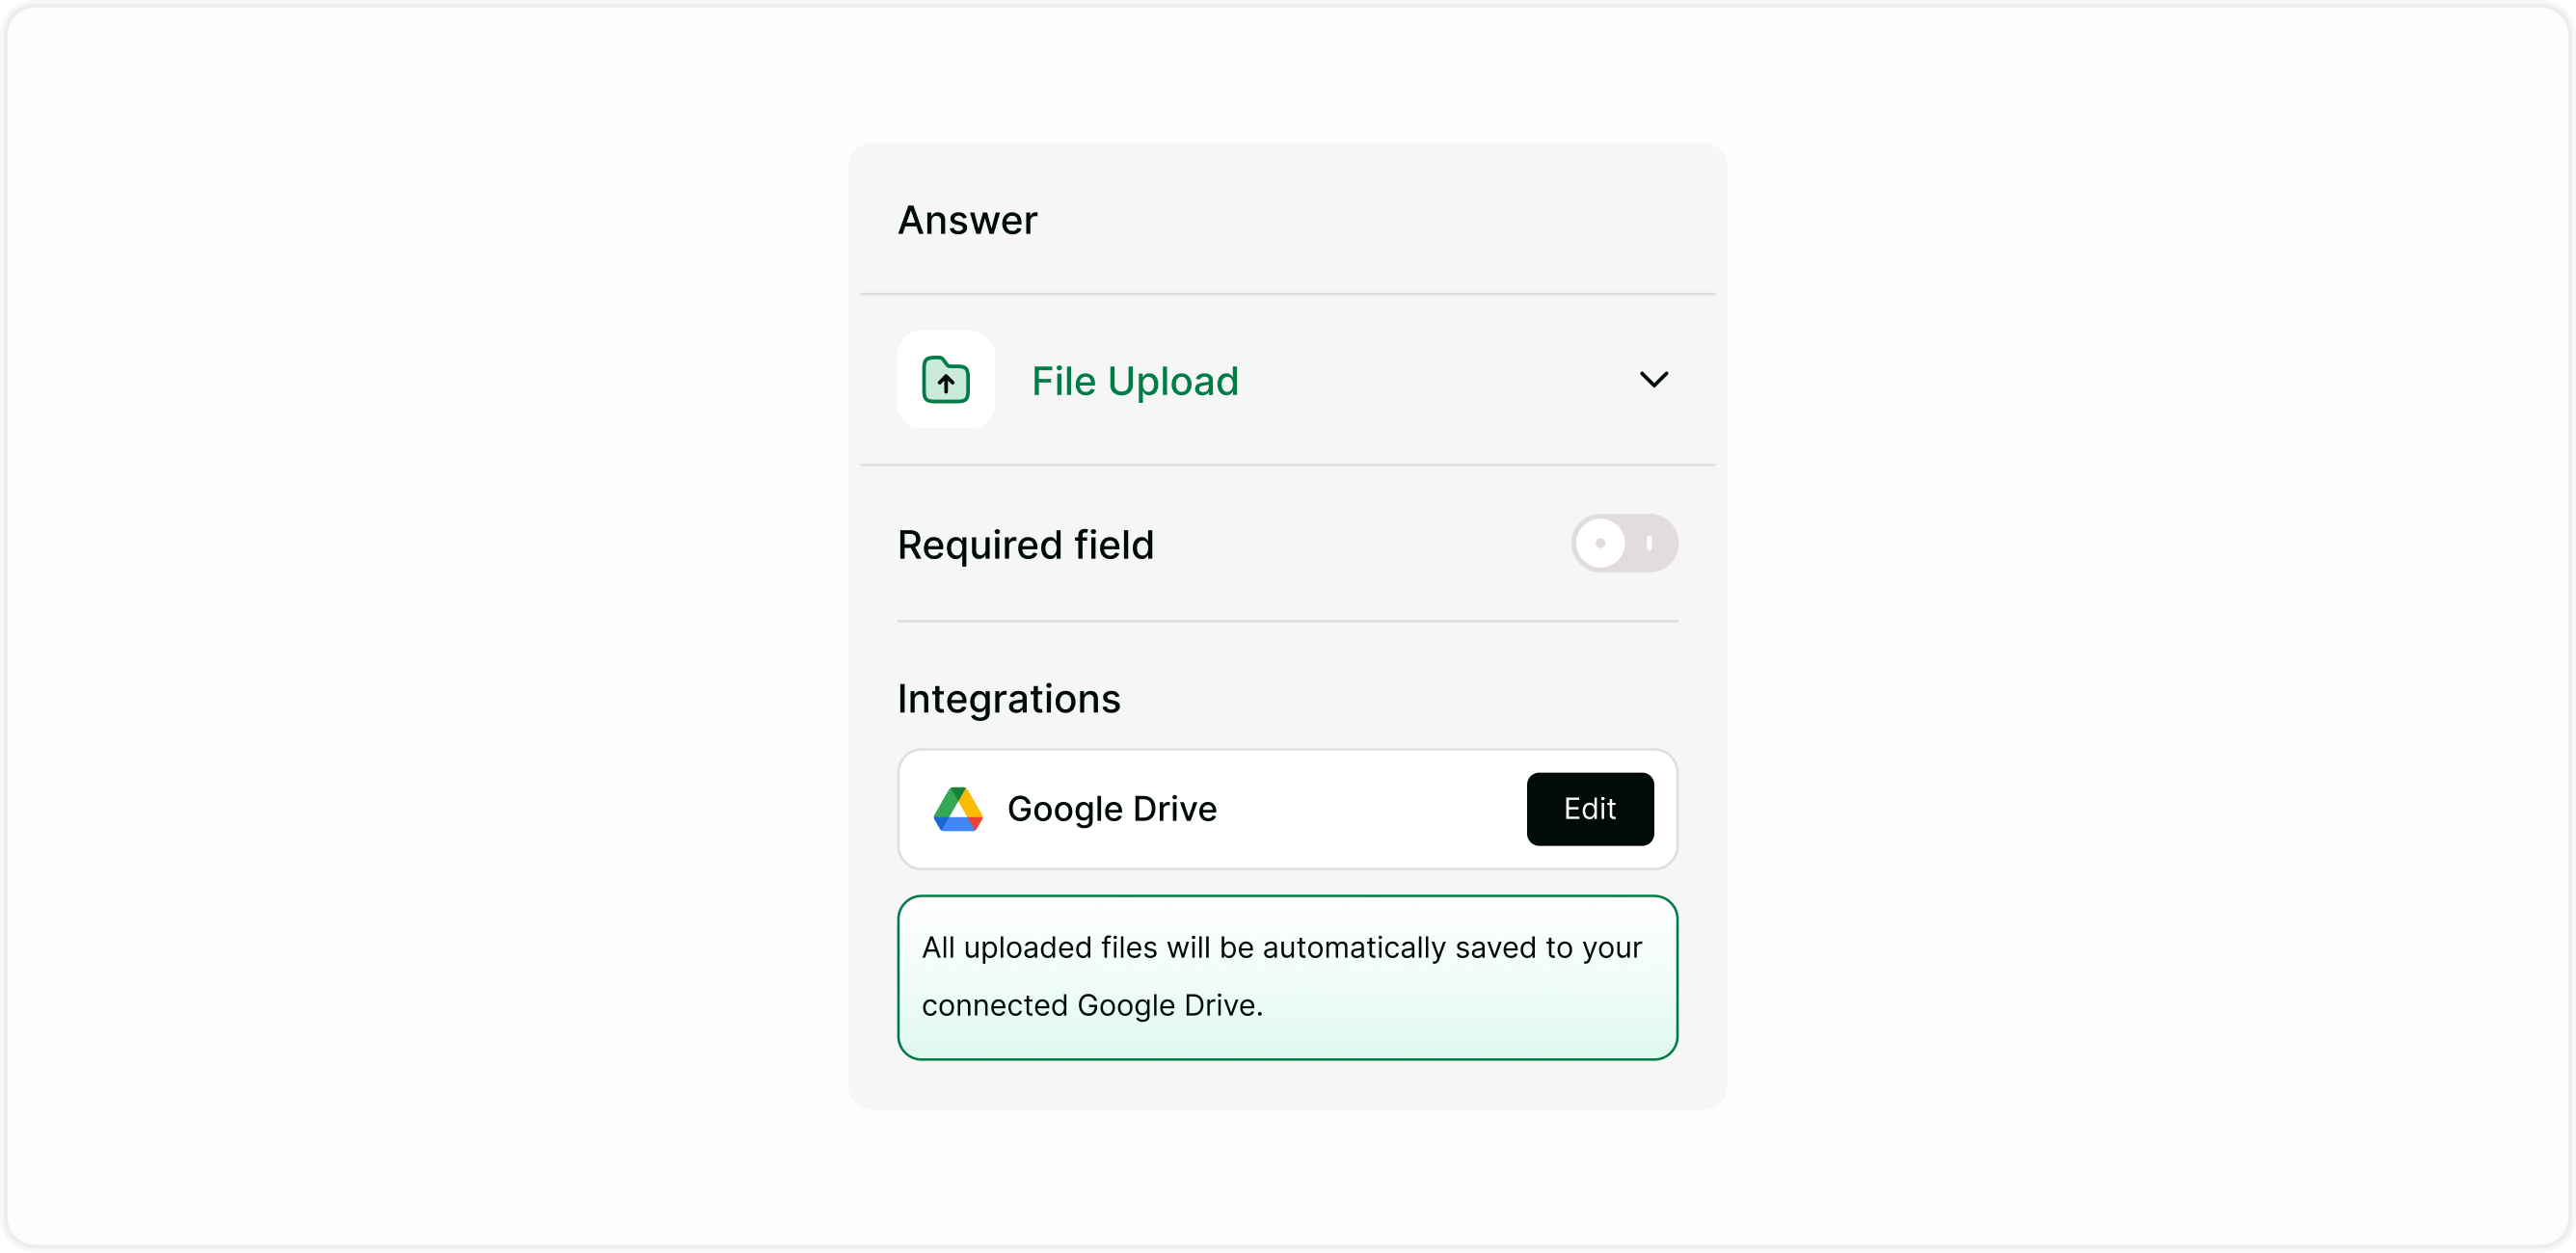
Once connected, the account will appear in the dropdown. You can switch accounts if needed.
Connect Google Drive for automatic storage
Kiwiform integrates with Google Drive to automatically store uploaded files in your connected Drive account.
To connect Google Drive:
Select the File Upload field
In the Answer panel, find Integrations
Click Connect Google Drive
Sign in and authorize access
Once connected:
All uploaded files are automatically saved to your connected Google Drive
Files are organized and accessible without manual downloads
You can edit or change the connected account anytime
This removes the need to manually transfer files and ensures centralized storage.
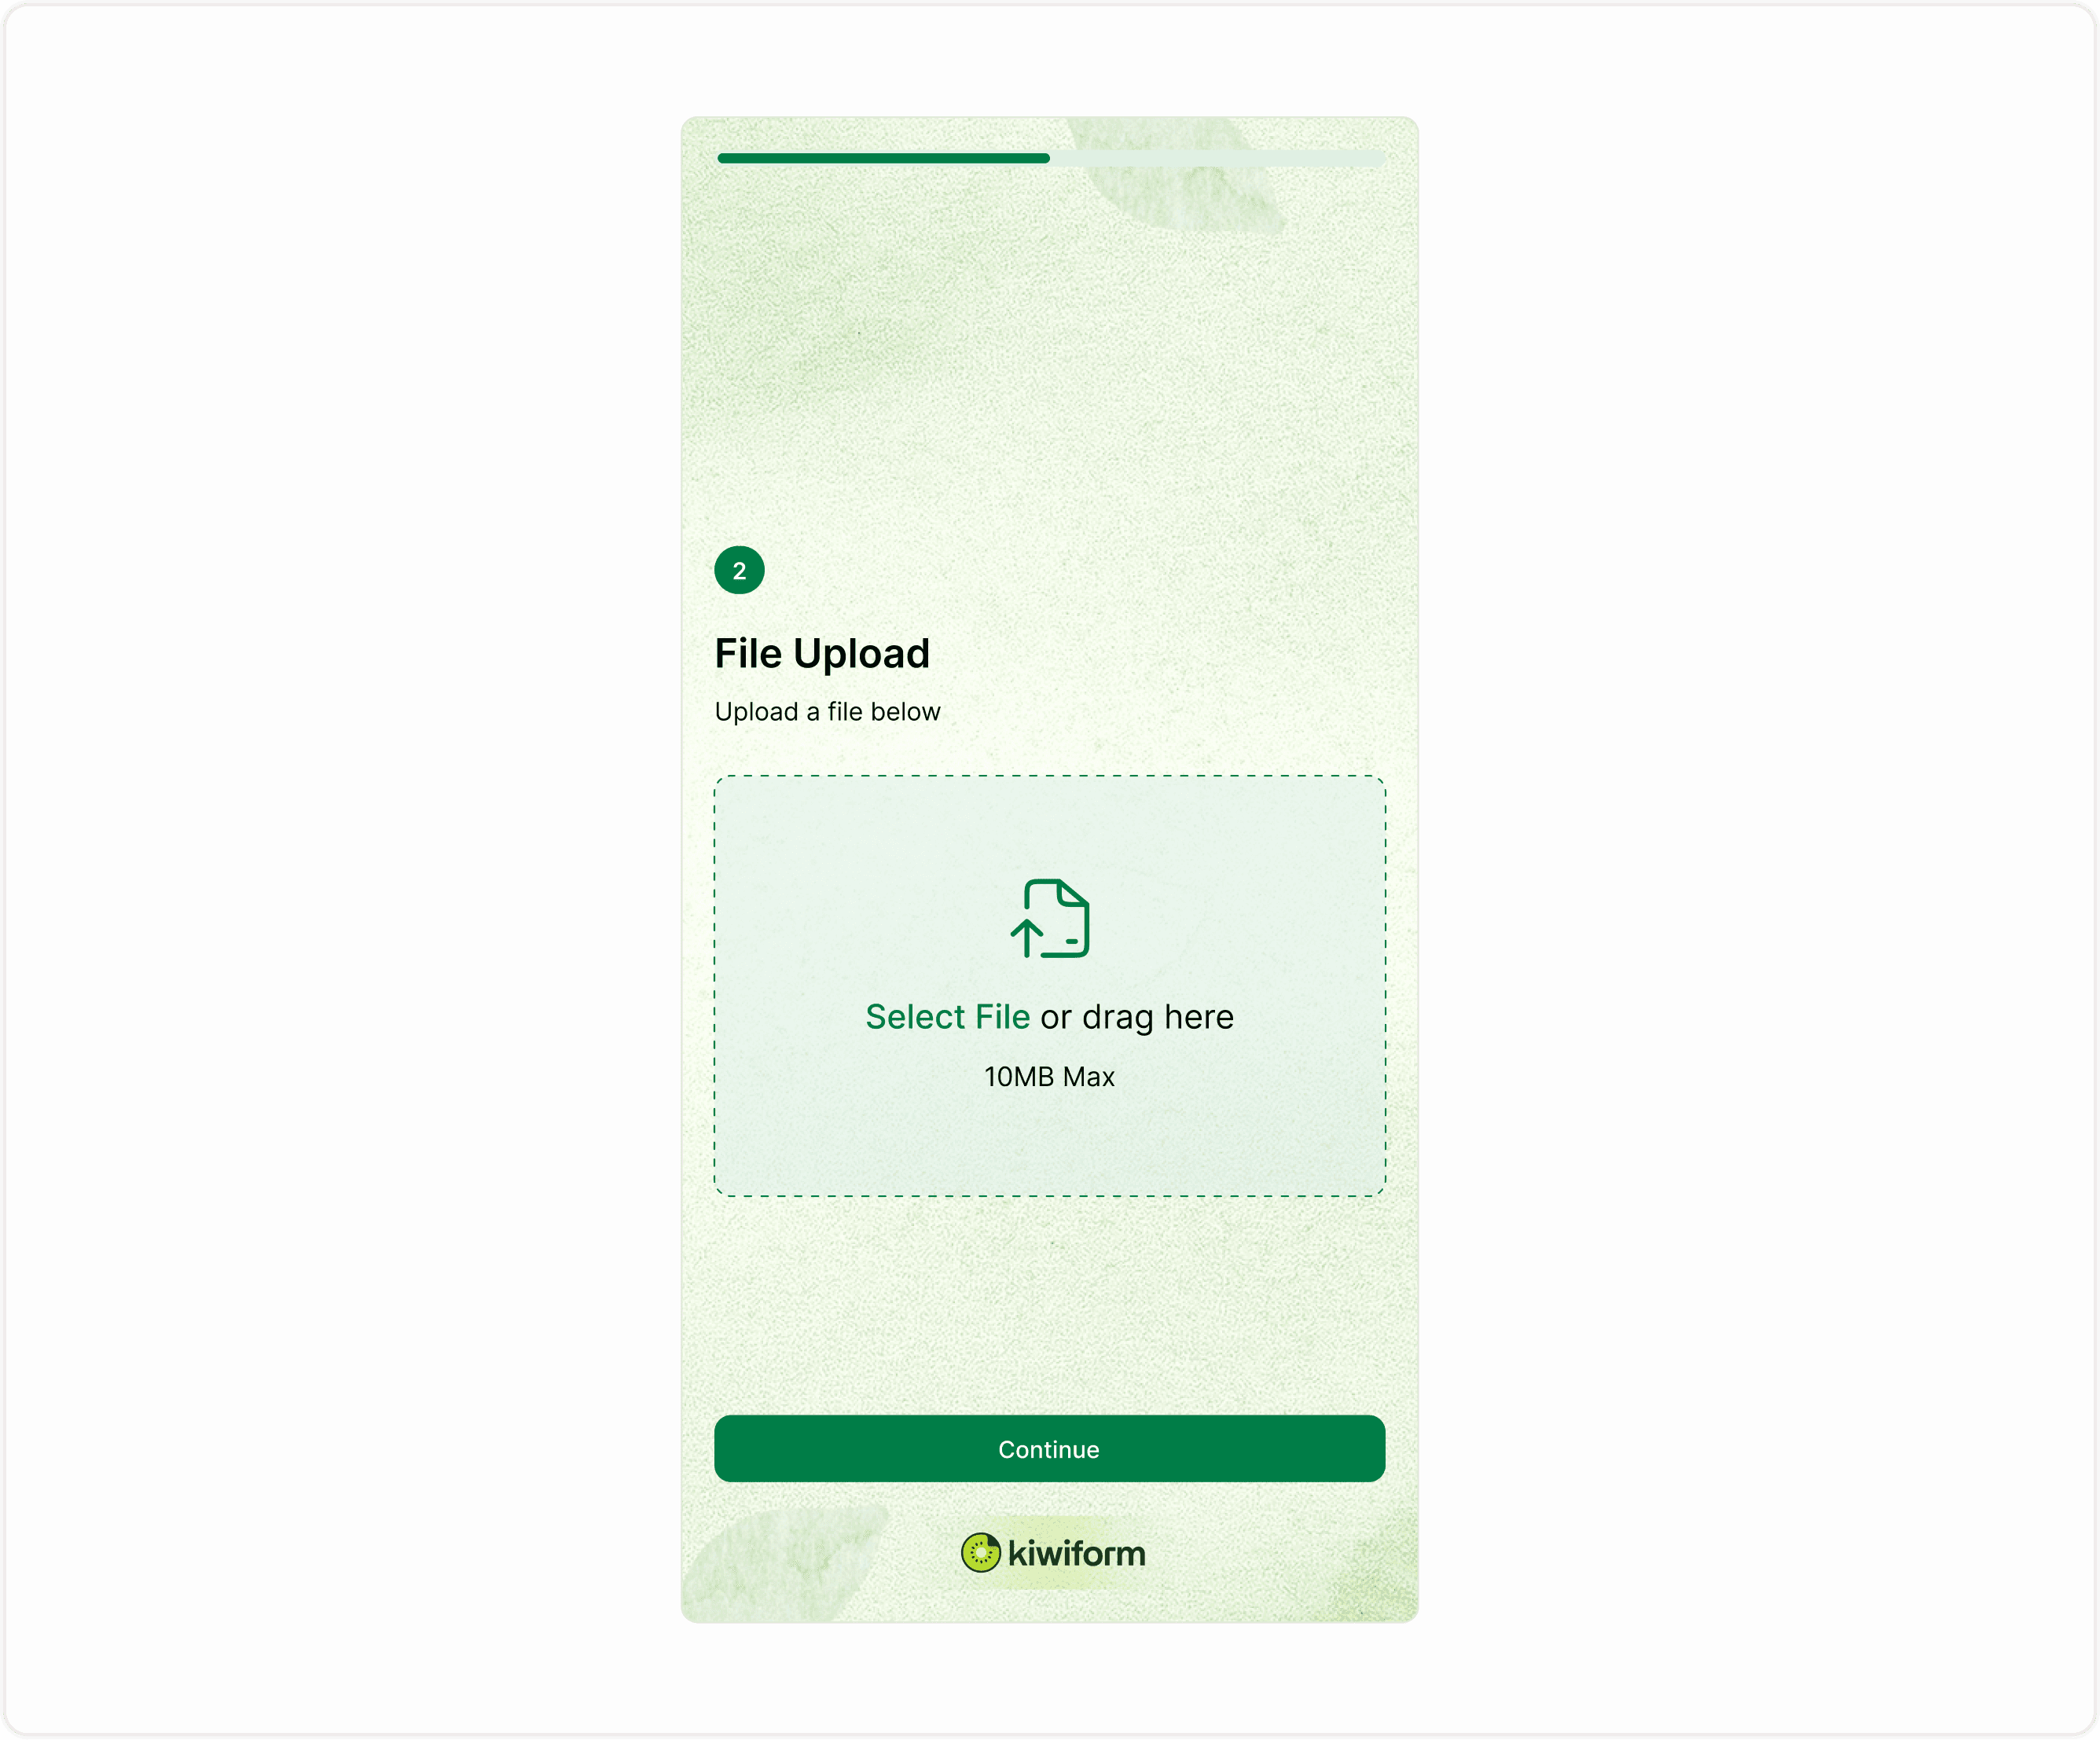
How file uploads work for respondents
When respondents reach the File Upload field:
They see a clear upload area
They can click Select File or drag and drop a file
The maximum file size limit is displayed
The upload completes before they continue
The experience is designed to be simple and mobile-friendly.
Where uploaded files are stored
There are two main storage behaviors:
With Google Drive connected
Files are automatically saved to your connected Google Drive account. This is the recommended setup for production forms. Files are also stored within your form responses and accessible through the Results section.
Without Google Drive connected
Files are stored within your form responses and accessible through the Results section. However, connecting Drive is strongly recommended for long-term storage and organization.
Common use cases
Job applications
Client onboarding
Education and courses
Customer support
Event registrations
Best practices
Clearly explain what to upload
Place uploads logically
Make uploads required only when necessary
Test the upload process
Summary
The File Upload field allows respondents to upload files directly inside your form. You can mark it as required, connect Google Drive for automatic storage, and manage uploads securely. This guide covers setup, storage behaviour, use cases, and best practices so you can confidently collect files without manual back-and-forth emails.