What images do in a form
Images in Kiwiform are not decorative add-ons by default—they are content elements that live alongside questions. When used intentionally, they can:
Give visual context before or during a question
Improve clarity for complex or visual answers
Increase engagement without slowing users down
Support accessibility when paired with proper alt text
Images can appear above, beside, or between form fields, depending on the layout you choose.
Adding an image to your form
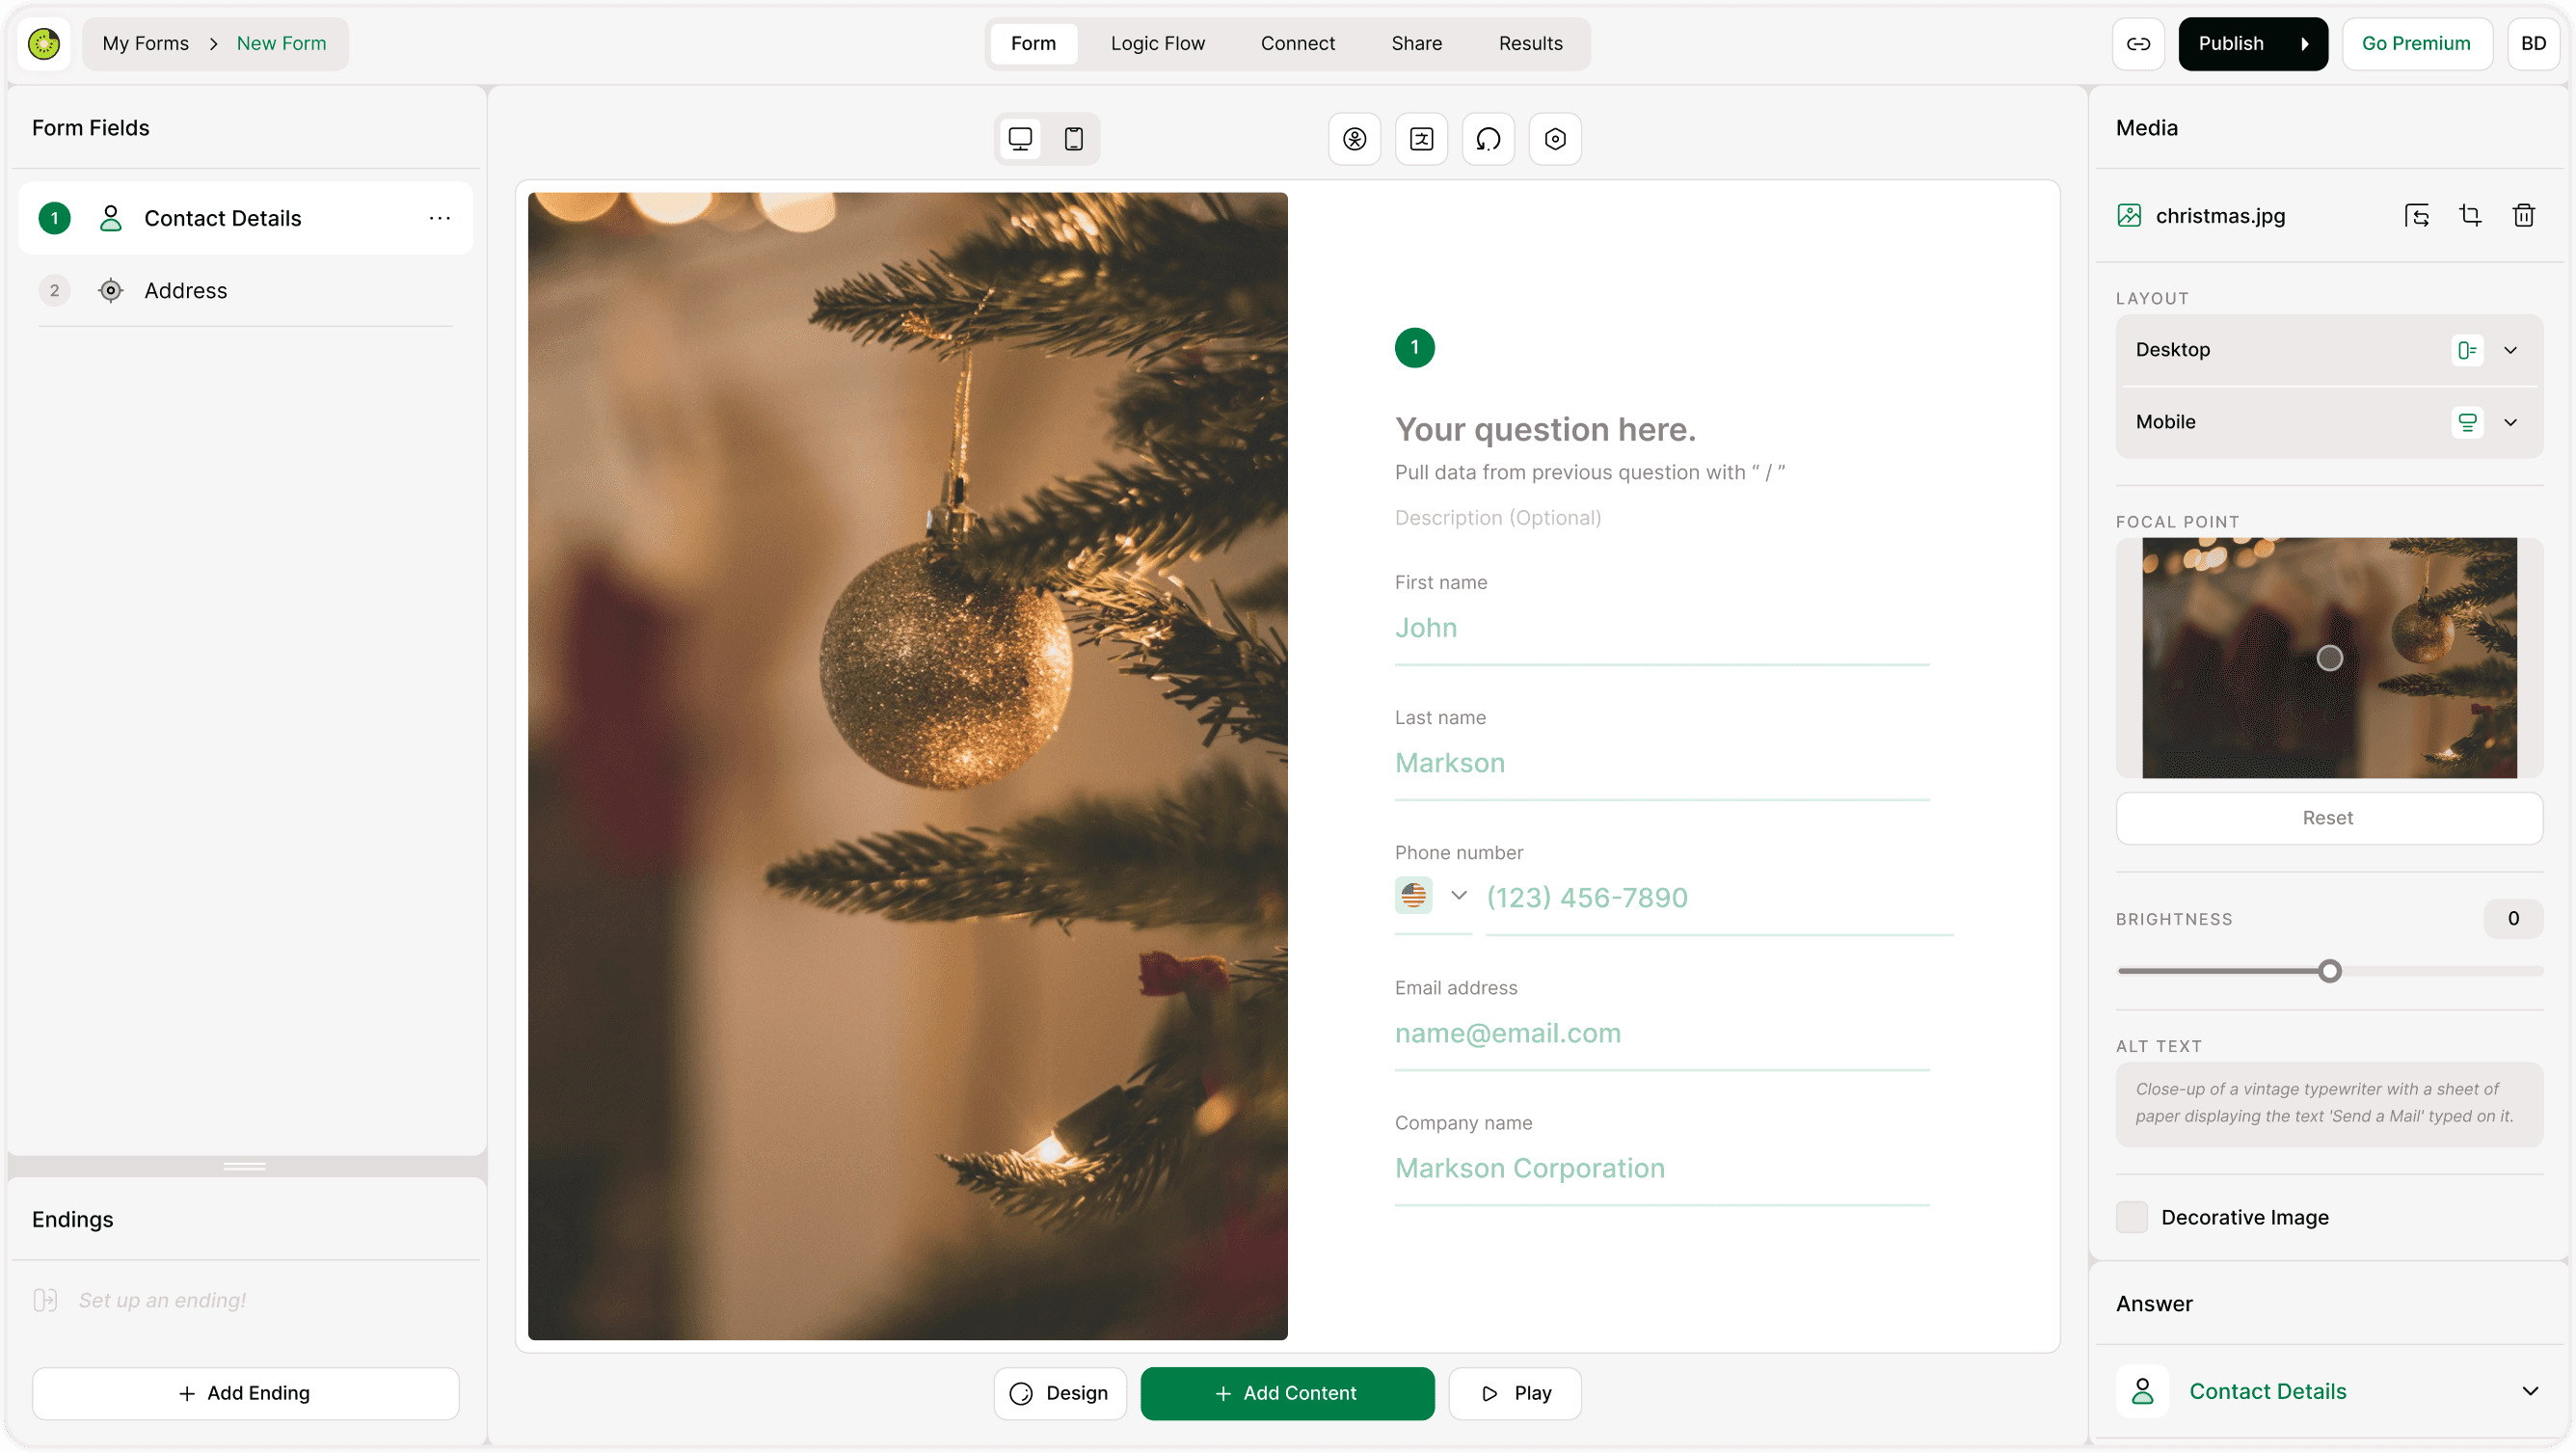
You can add an image to any step directly from the Media panel on the right side of the builder.
How it works:
Select a form step or question
Open the Media panel
Click Add Media
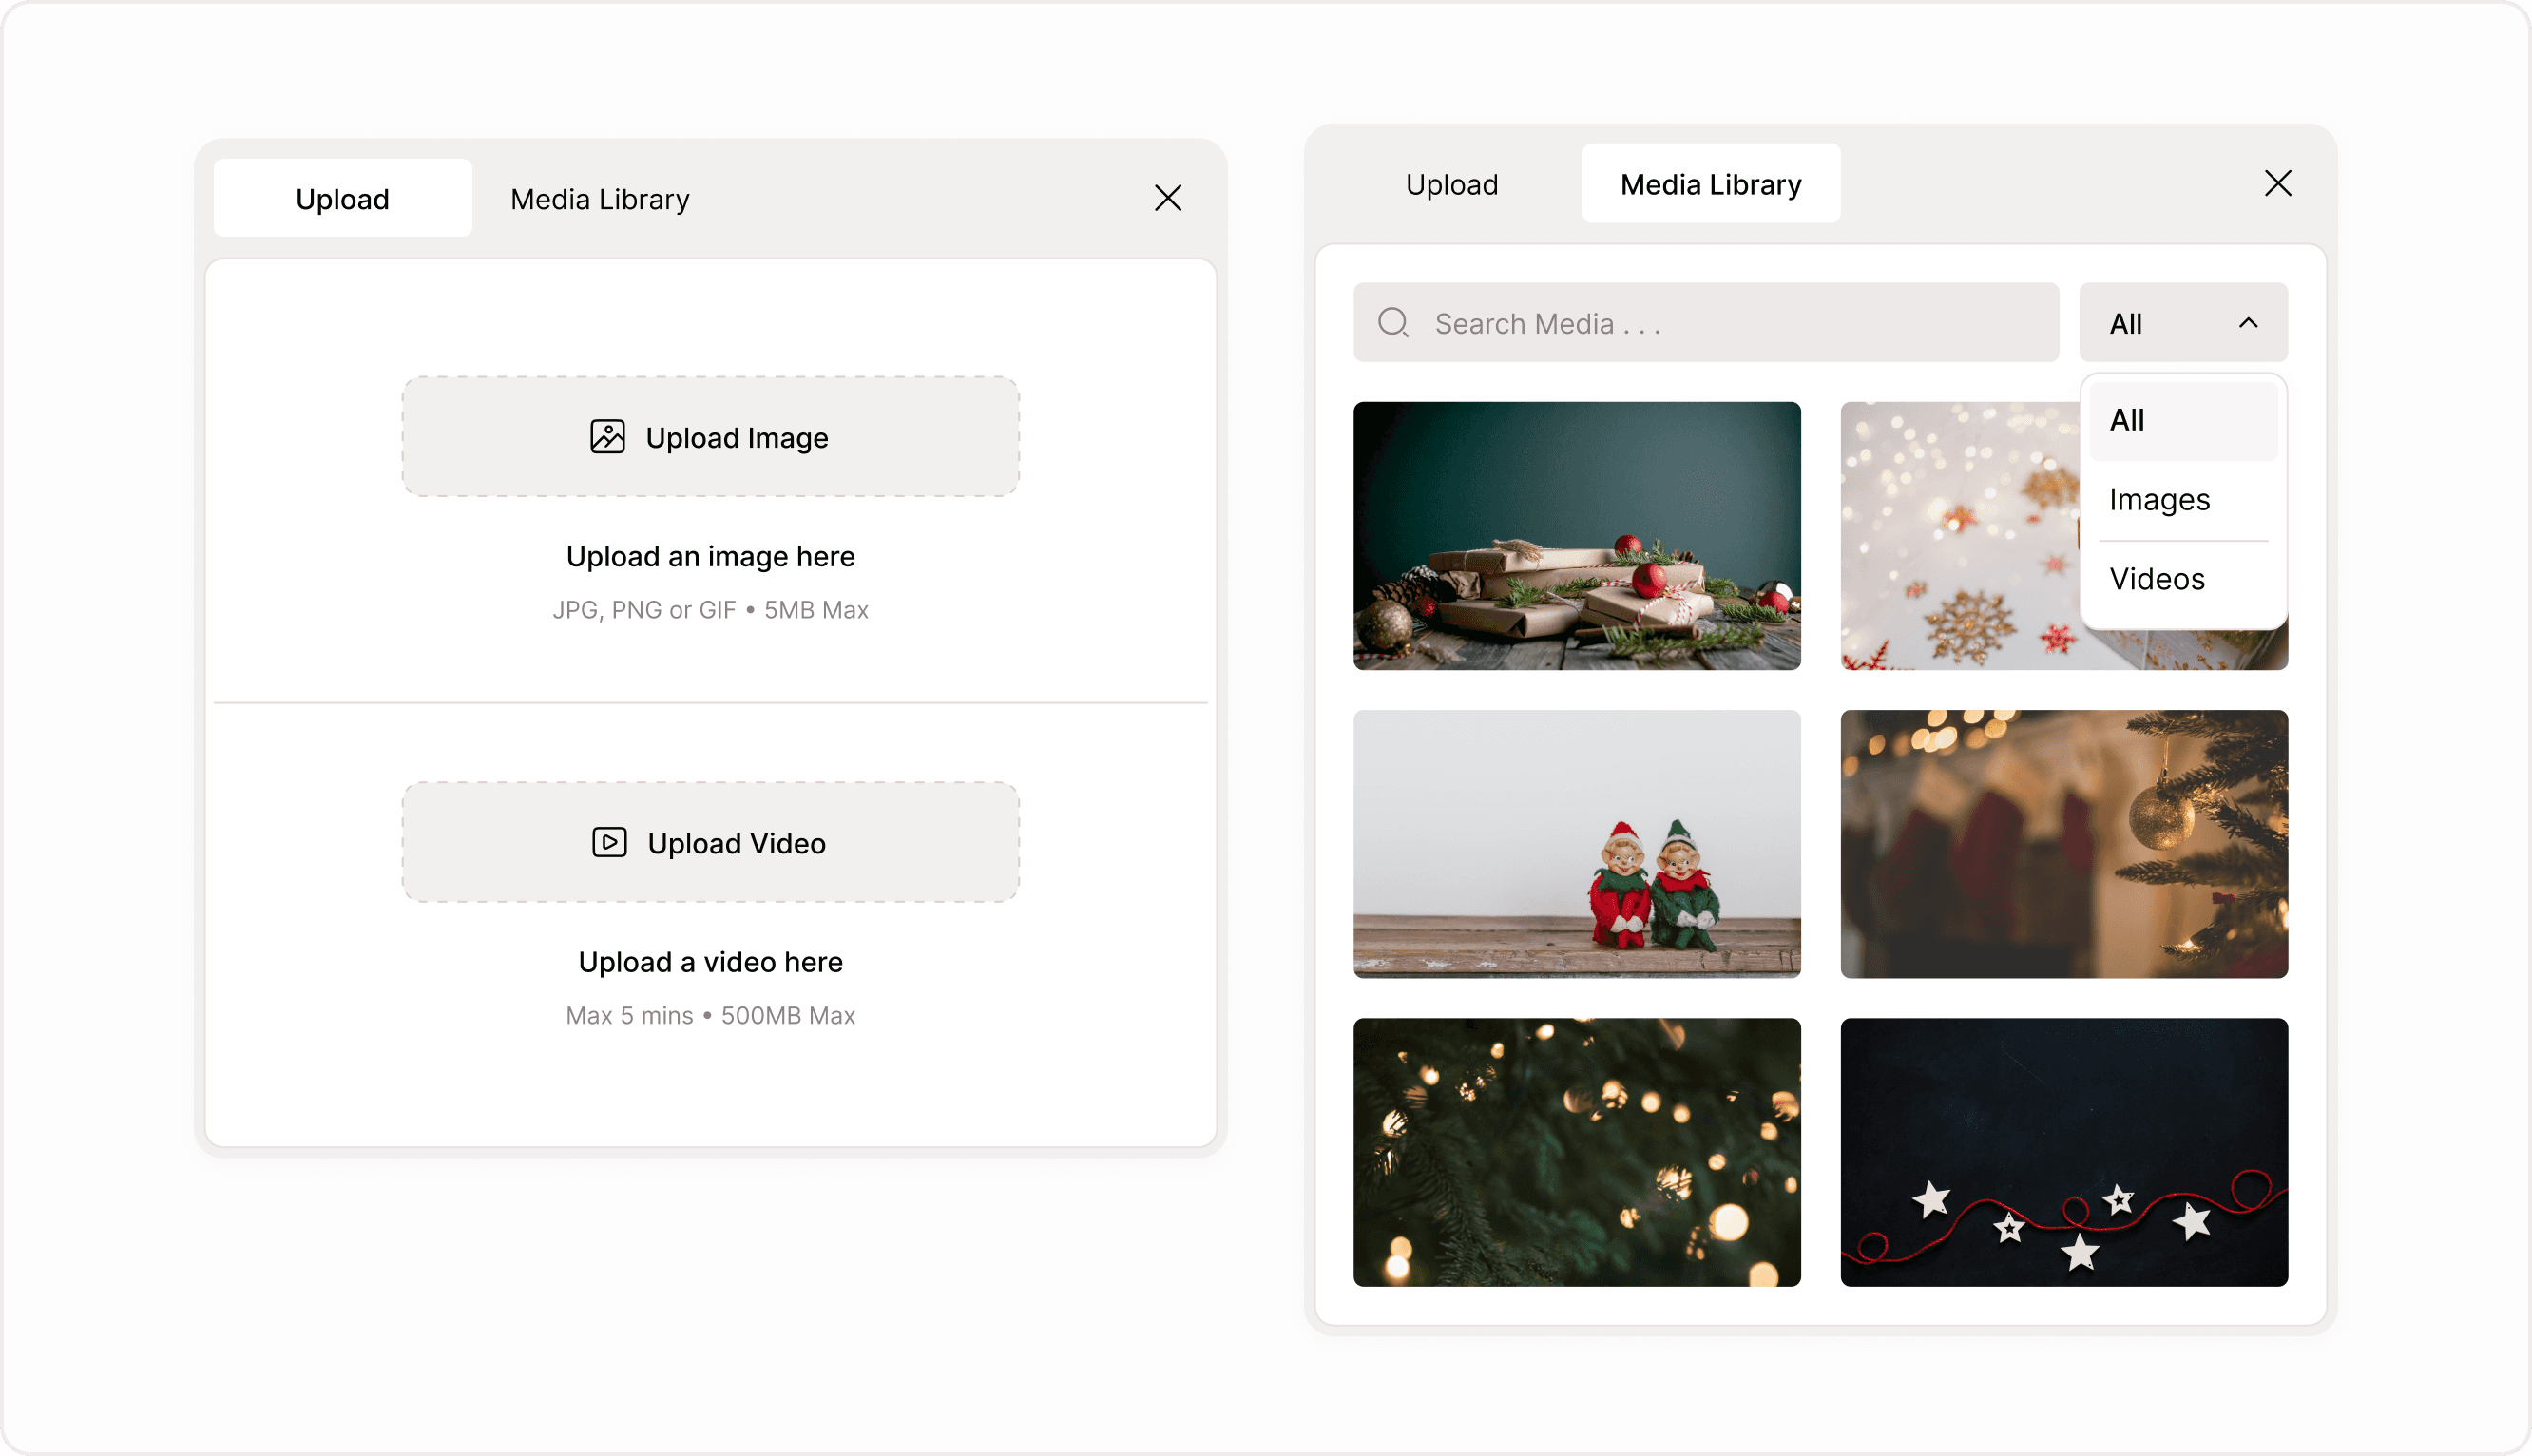
Choose to upload a new image or select one from the Media Library
Once added, the image becomes part of that step and can be adjusted independently for desktop and mobile.
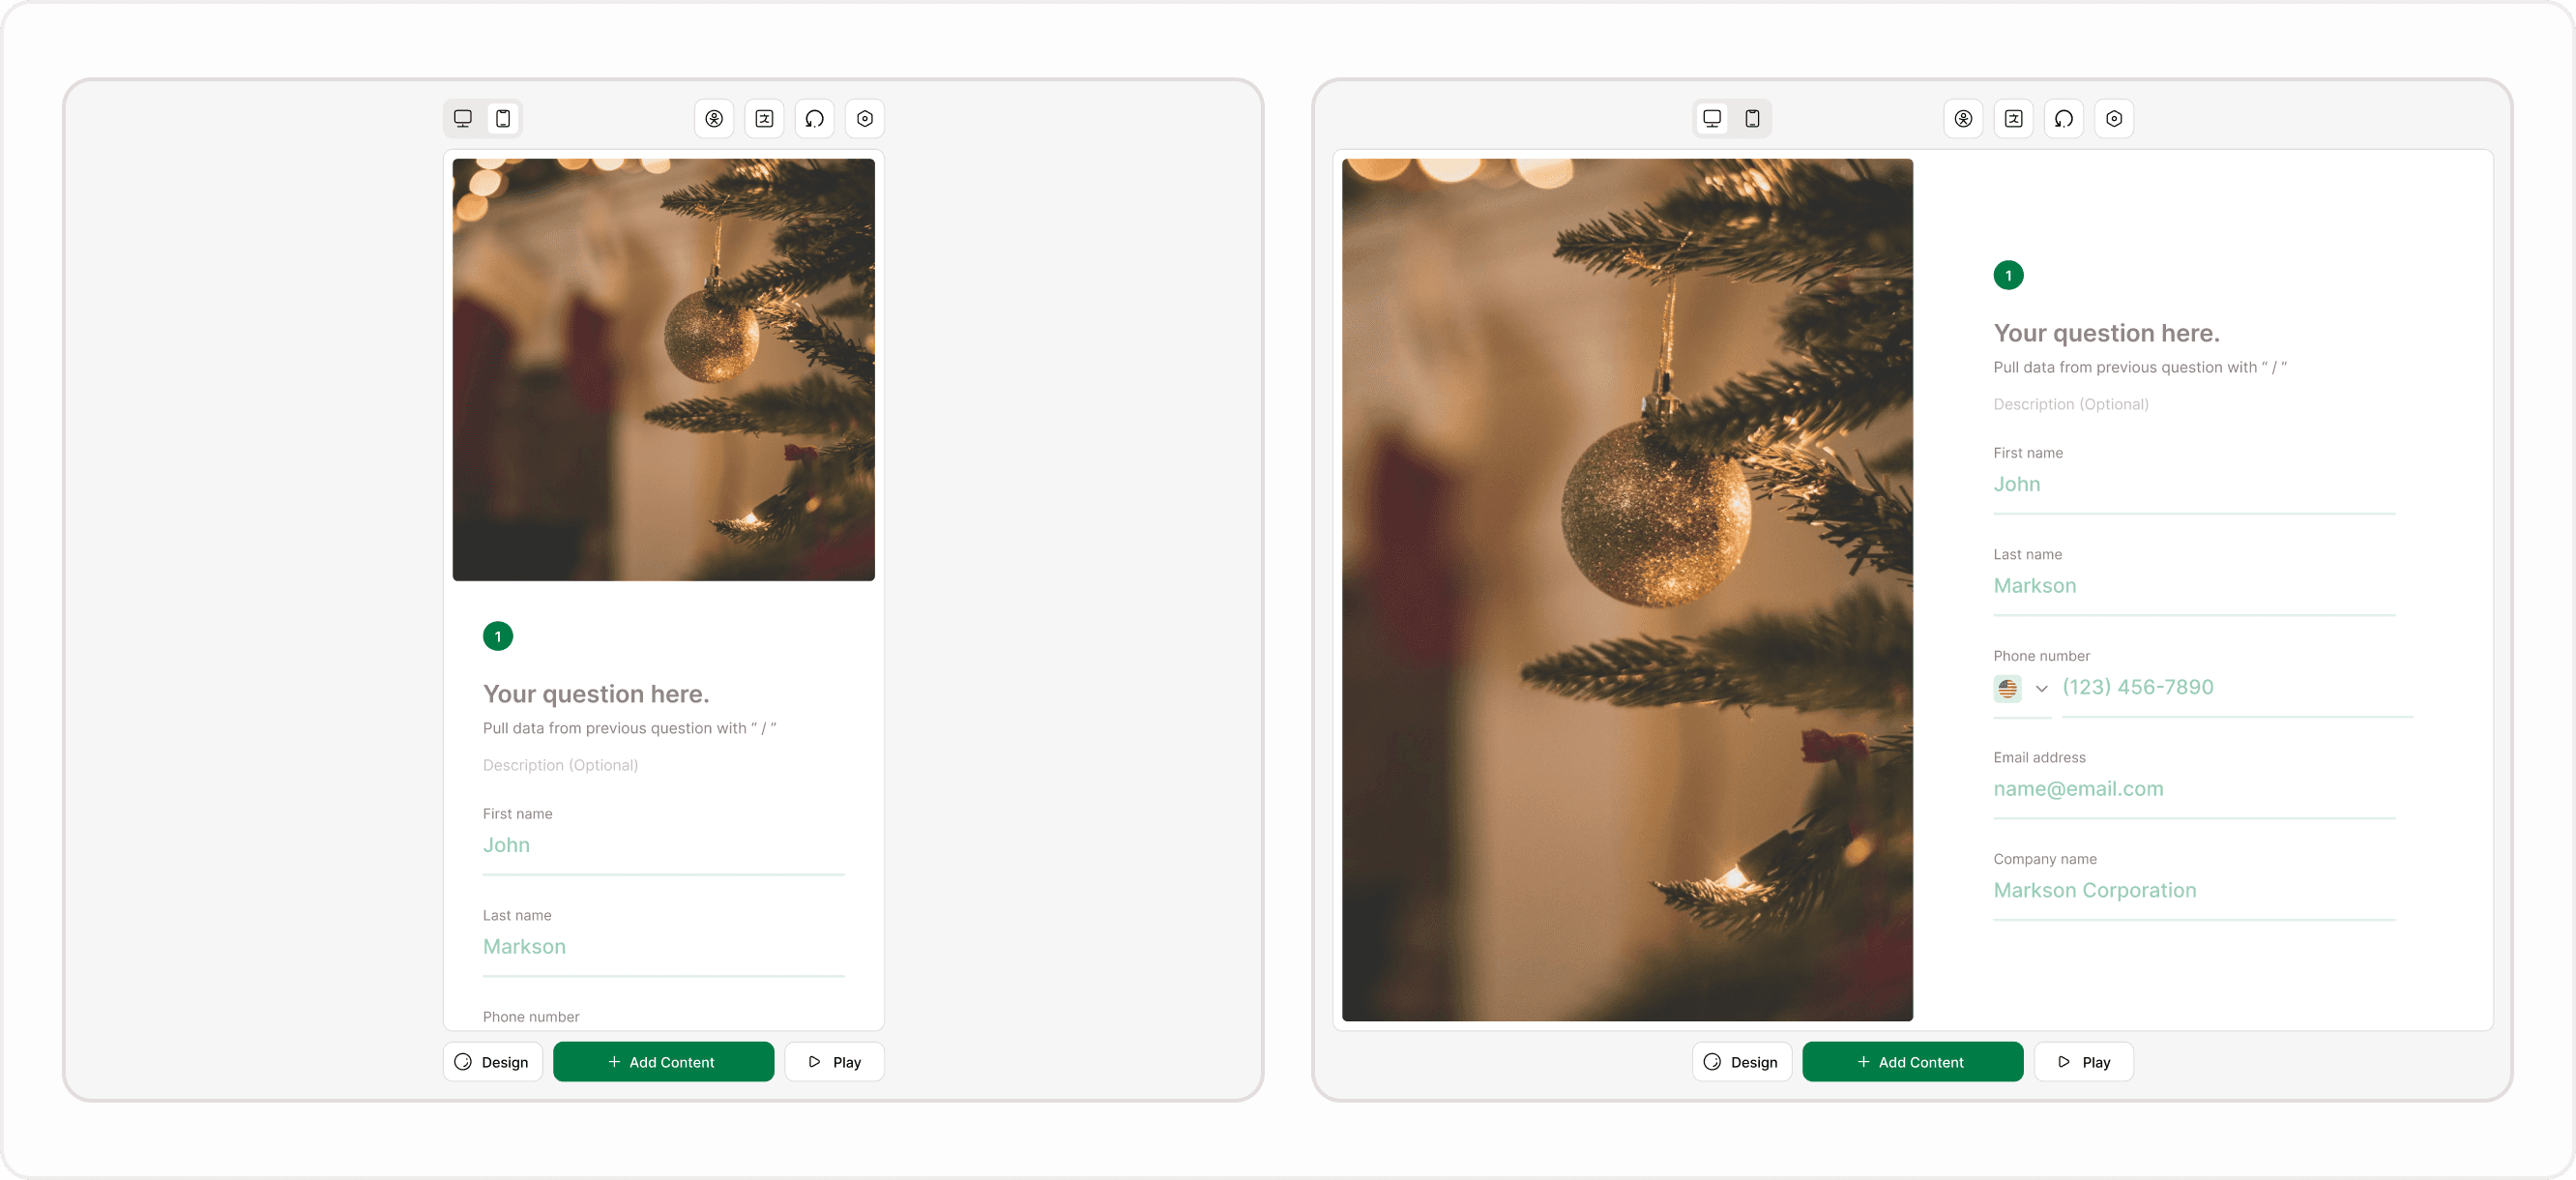
Desktop and mobile image layouts
Images can be positioned differently for desktop and mobile to keep forms readable on every screen size.
Desktop layout options:
Image beside the question
Image above the question
Image aligned to the left or right
Mobile layout options:
Image above the question
Image stacked for vertical scrolling
Compact layouts to reduce visual overload
Each layout is configured separately, so your form looks intentional, not resized; on smaller screens.
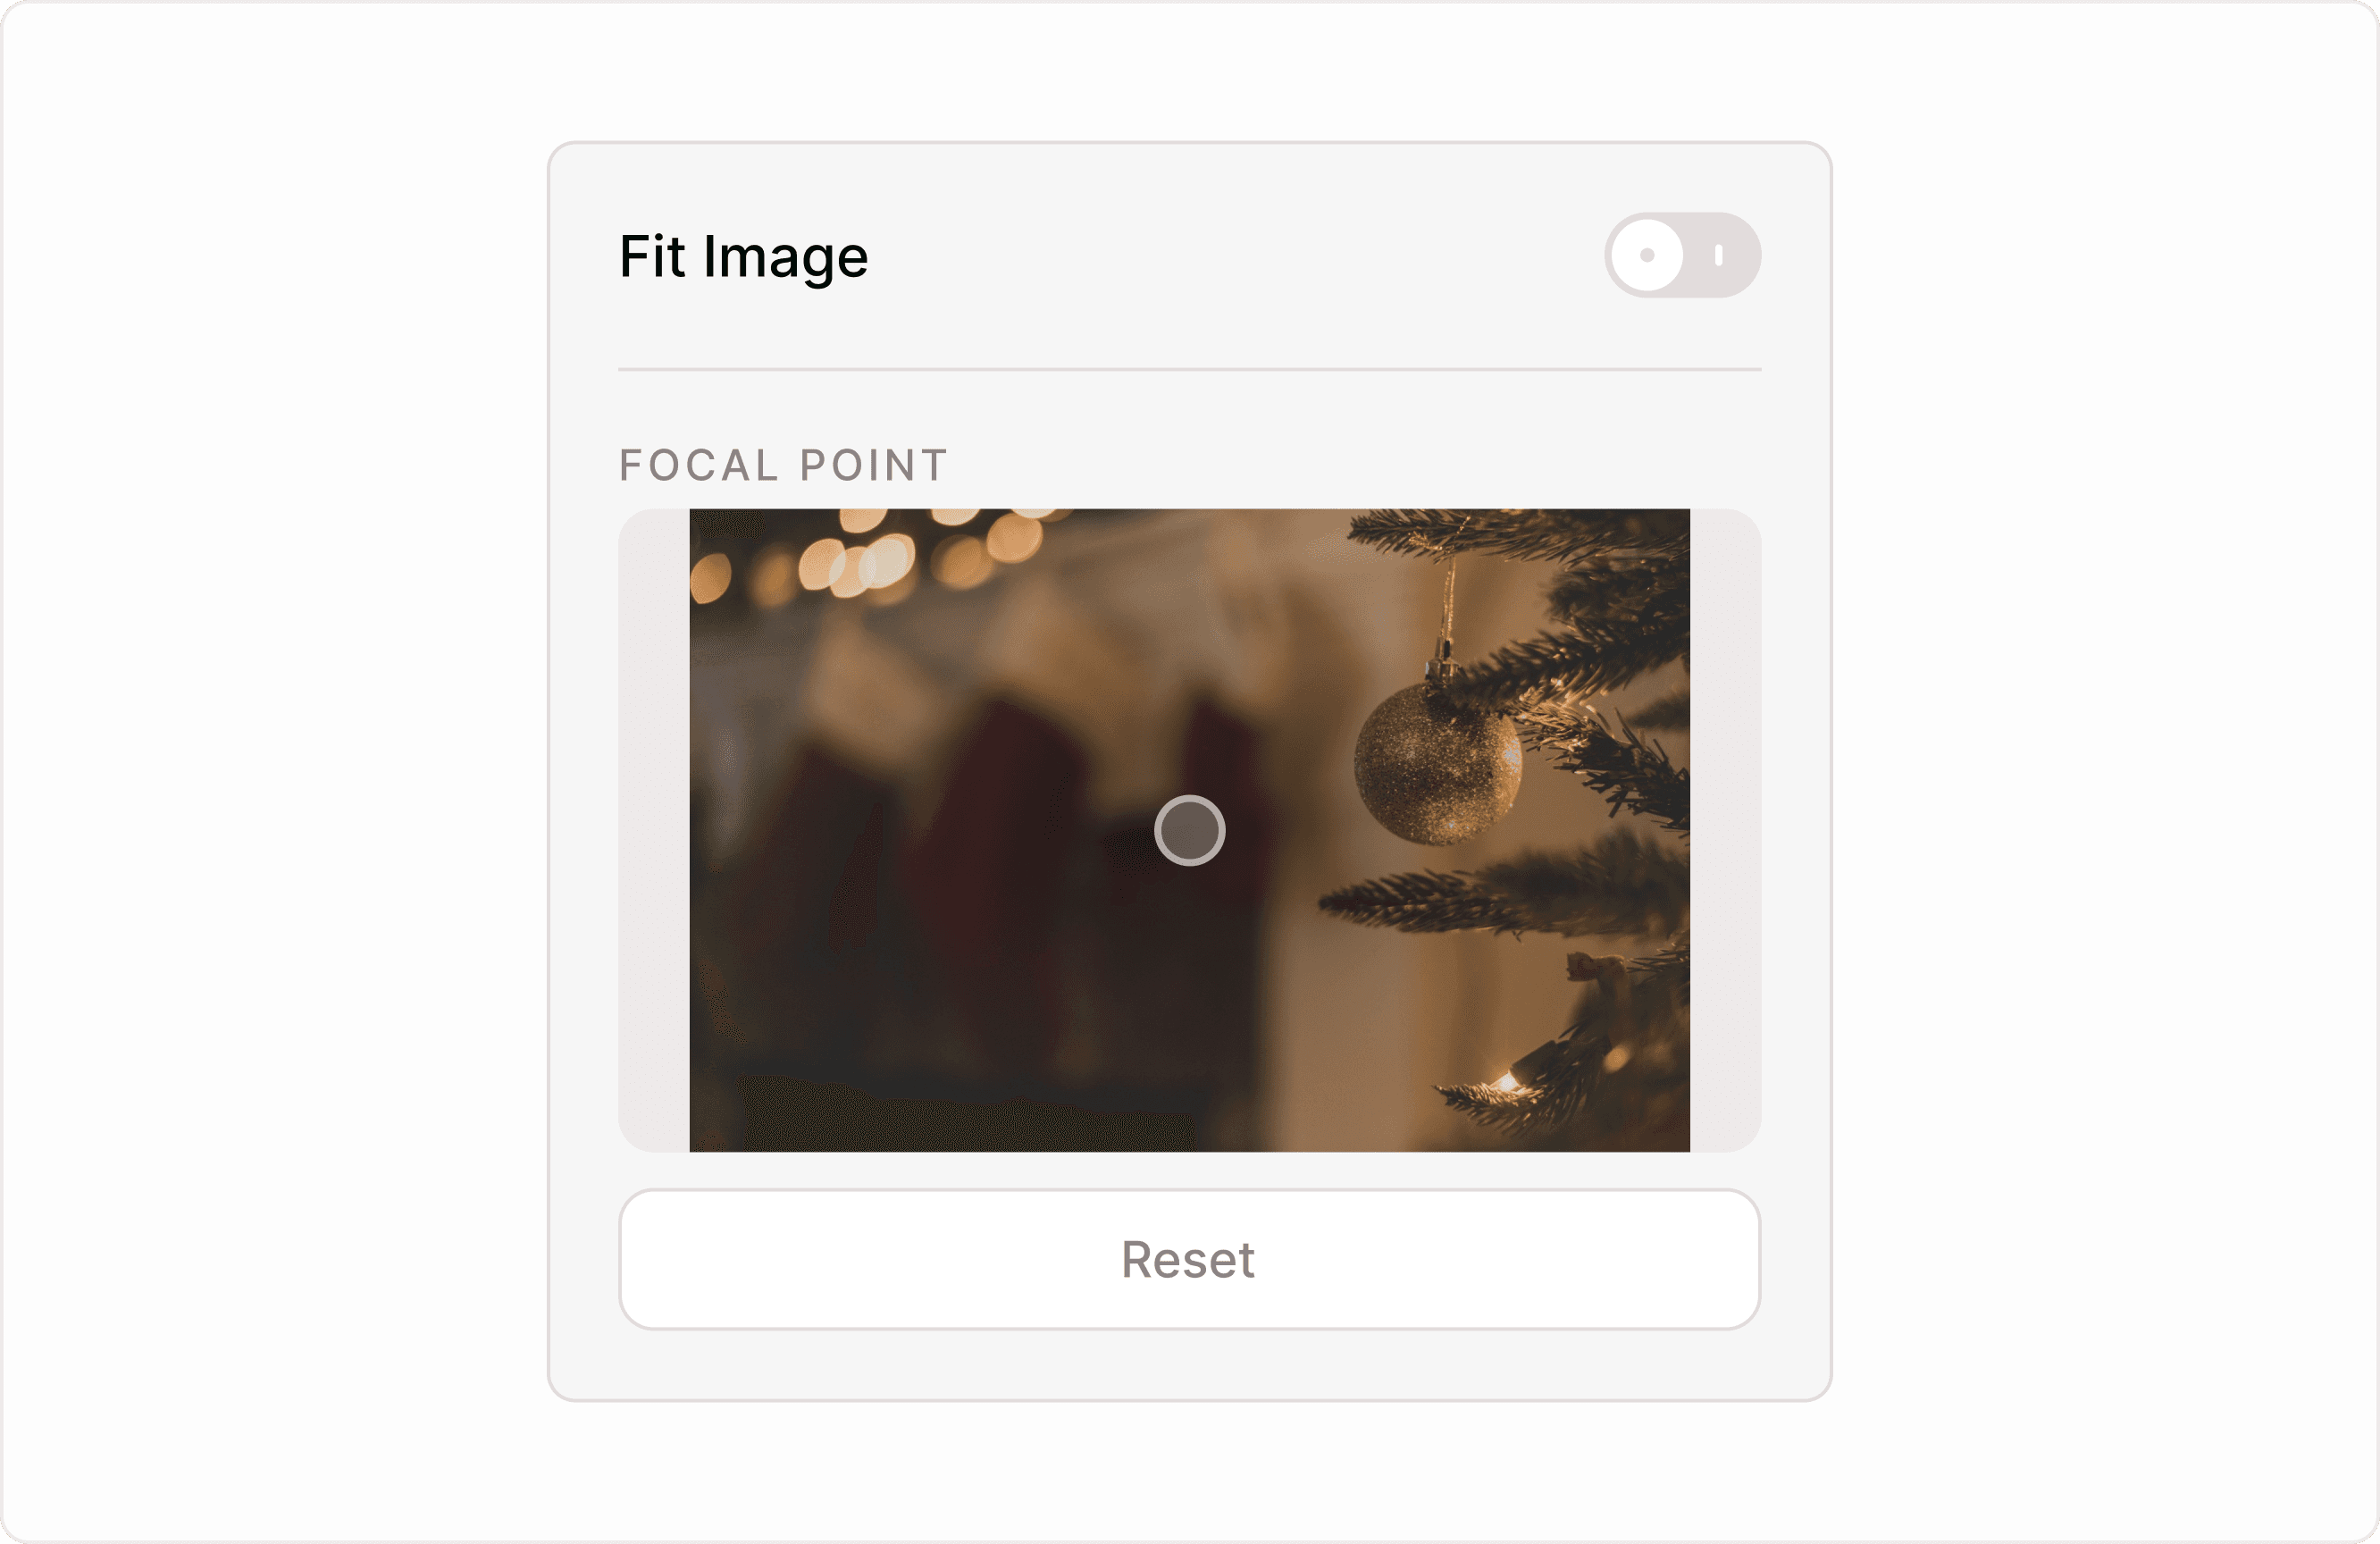
Fit Image: what it does and when to use it
Fit Image ensures the entire image fits inside the available media area without being cropped. When this option is enabled, Kiwiform automatically scales the image to stay fully visible across desktop and mobile layouts. This is useful when the full visual must remain intact—such as product images, diagrams, instructions, or branded visuals where cropping could remove important details.
When Fit Image is OFF:
The image keeps its original proportions
Parts of the container may remain empty
Best for product photos, logos, or images where cropping would remove meaning
When Fit Image is ON:
The image fills the entire container
Edges may be cropped to maintain aspect ratio
Best for background-style visuals or immersive layouts
When Fit Image is turned on, some editing controls become unnecessary and are therefore disabled in the Media panel:
Crop/Image positioning controls are disabled because the image is no longer cropped.
Focal Point selection is disabled because the system is already showing the full image.
Any manual framing or crop adjustments are removed, as the image is scaled proportionally to fit.
Use Fit Image when the entire image needs to remain visible and centered. Turn it off if you want more control over framing, cropping, or emphasis within the image.

Focal point: controlling what stays visible
The Focal Point setting lets you choose which part of an image should stay centered and visible when the image is cropped to fit different layouts. By selecting a focal point, you guide Kiwiform on what area matters most—such as a face, product, or key visual element—so that it remains in view across screen sizes.
This is especially helpful when images appear differently on desktop and mobile. Instead of manually adjusting each layout, you can place the focal point on the most important part of the image, and Kiwiform will keep that area visible as the image adapts to different screen proportions.
Drag the focal point to faces, objects, or text
Ensures critical content stays visible across layouts
Especially useful for responsive and mobile views
Use focal point selection when your image includes extra space around the main subject and you want to ensure the most important part always stays in focus.
Decorative Image: accessibility behavior explained
The Decorative Image option affects how screen readers interpret the image.
When Decorative Image is OFF:
The image is announced to screen readers
Alt text is required and used
Best when the image adds meaning or context
When Decorative Image is ON:
The image is ignored by assistive technologies
Alt text is not read
Best for purely visual or branding-only images
This setting helps you build forms that are both visually rich and accessible.
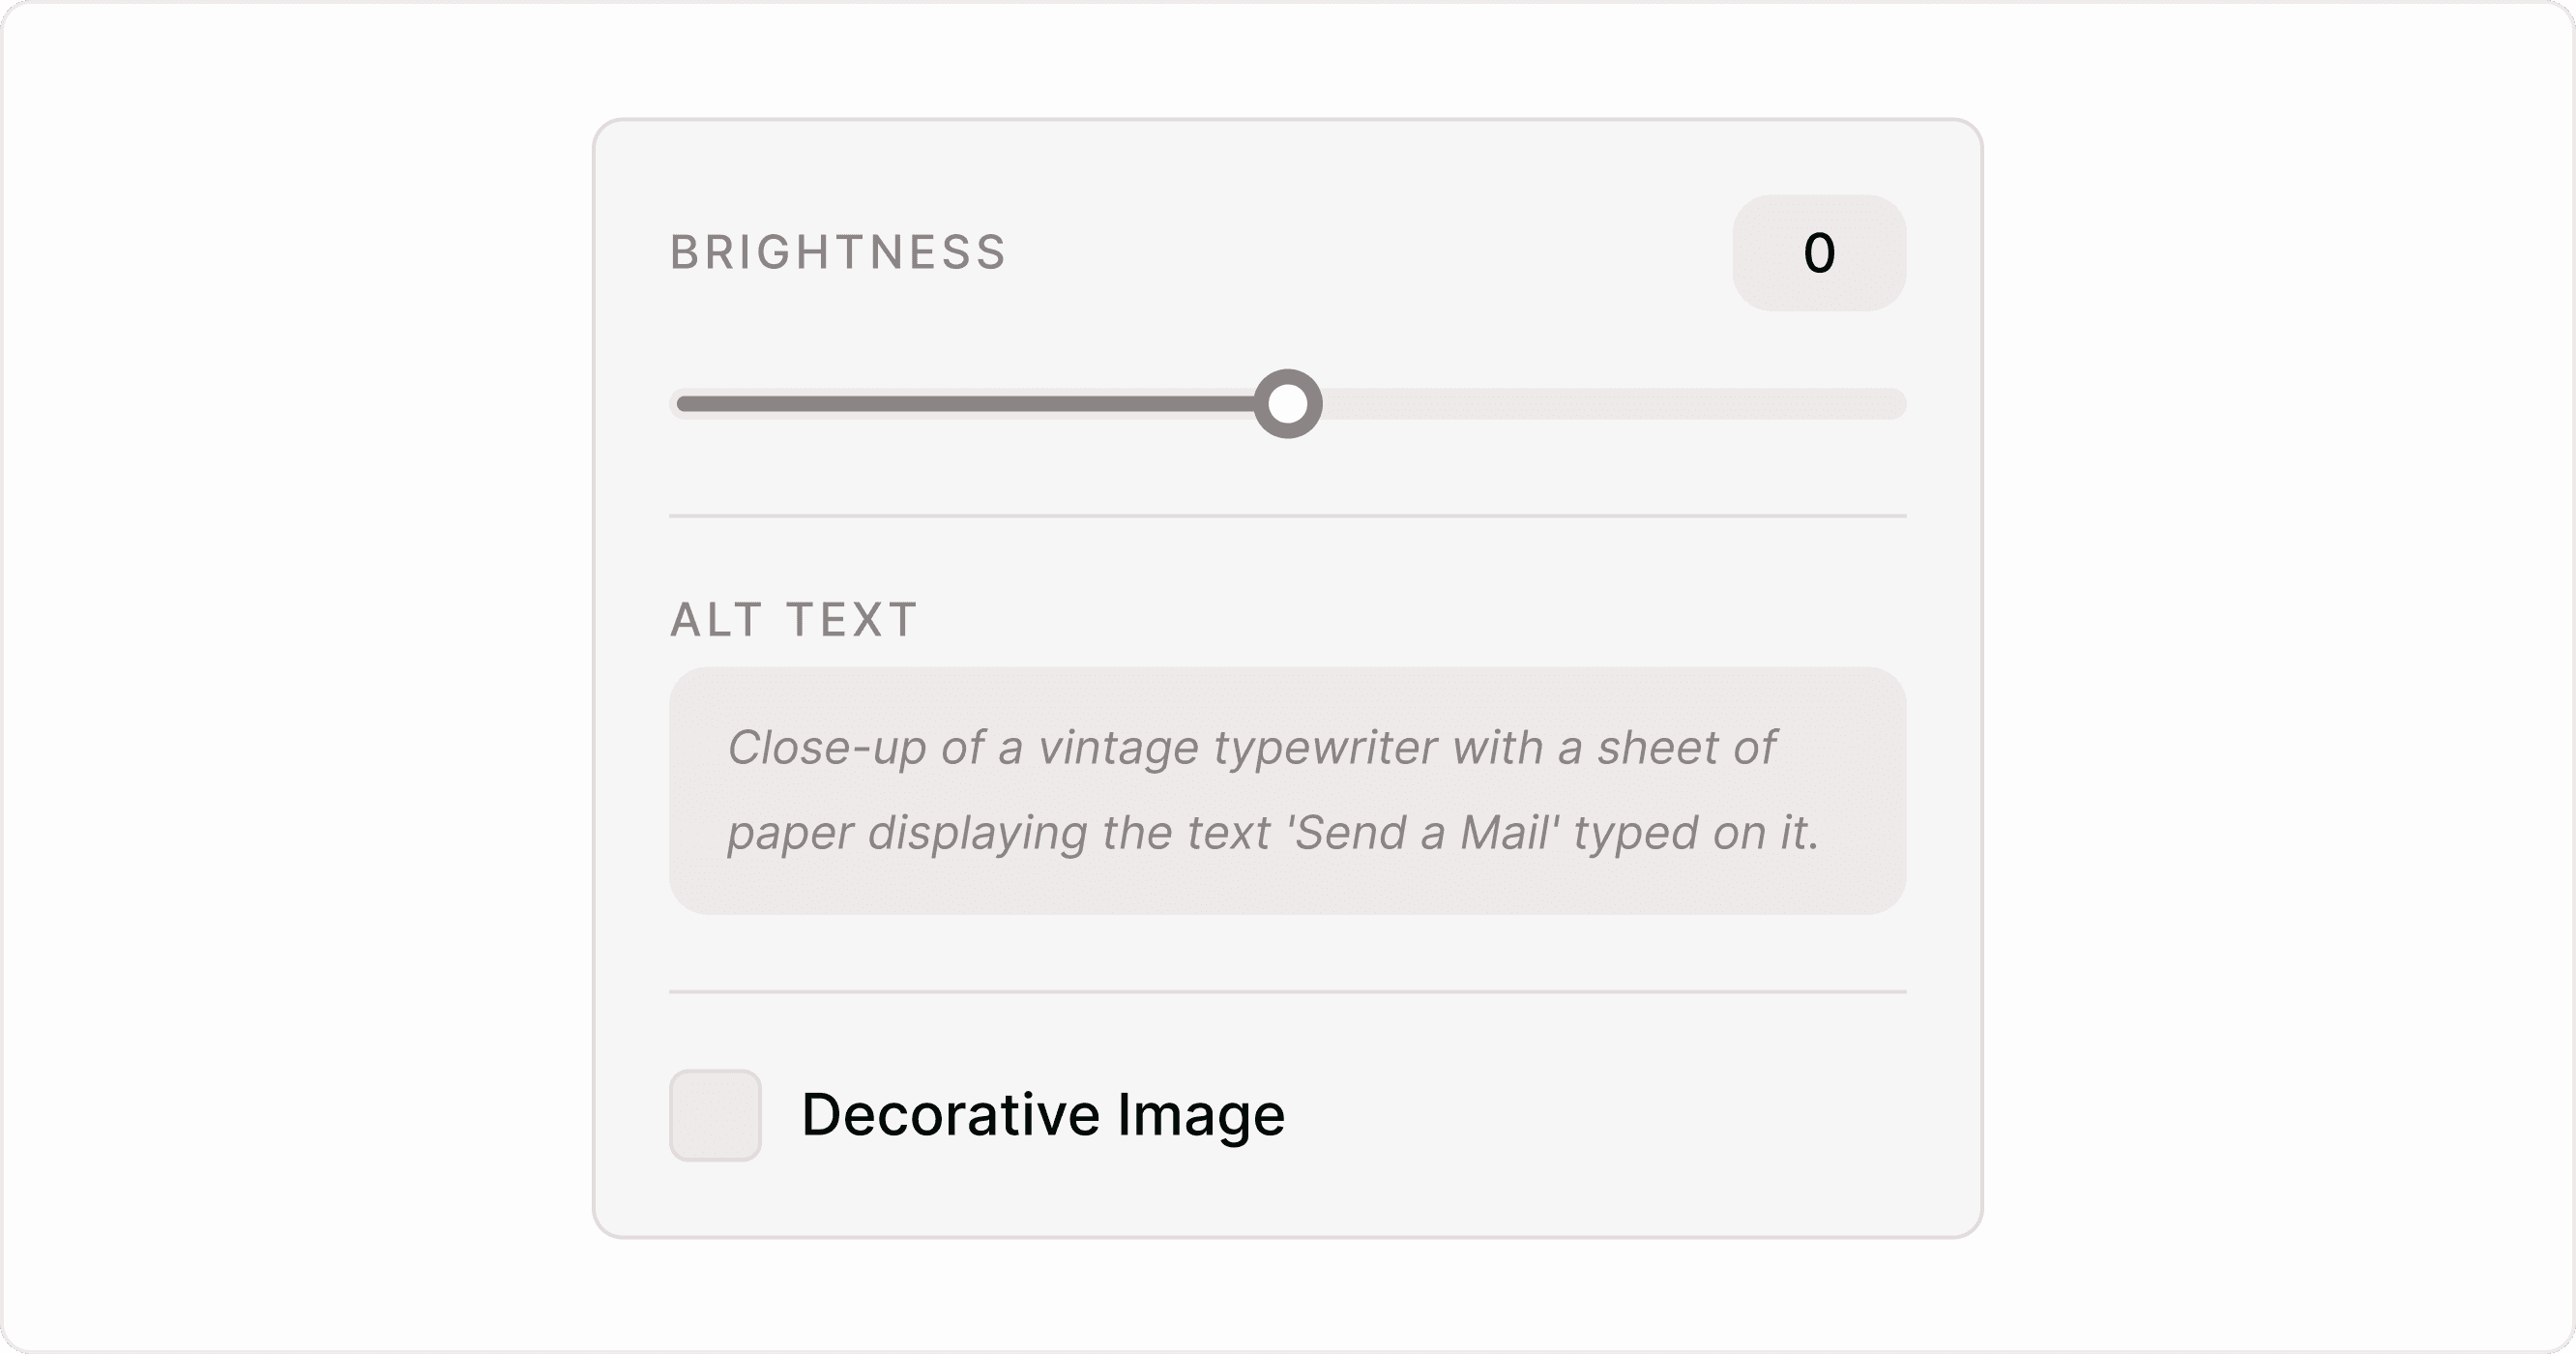
Alt text and brightness controls
To fine-tune usability and accessibility, Kiwiform provides:
Alt text: Describe the image for screen readers
Brightness control: Improve text contrast when images appear behind or near questions
These controls help maintain readability without redesigning the form.
When to use images (and when not to)
Images work best when they:
Explain or support the question
Reduce confusion
Add emotional or visual clarity
Avoid images when they:
Distract from simple inputs
Push important fields below the fold
Add no informational value
Used well, images make forms feel intentional—not heavy.
Summary
Building better forms with images, Images in Kiwiform are designed to enhance form clarity, not interrupt it. With flexible layouts, responsive controls, and accessibility-first options, you can add visuals confidently while keeping forms fast, focused, and easy to complete—just like you’d expect from a free Typeform alternative built for modern form experiences.