Where to Upload a Logo
Logo settings are available when creating or editing a theme.
To access logo options:
Open your form in the builder.
Click Design.
Select Create New Theme or edit an existing theme.
Switch to the Logo tab.
Here, you can upload and manage your logo settings.
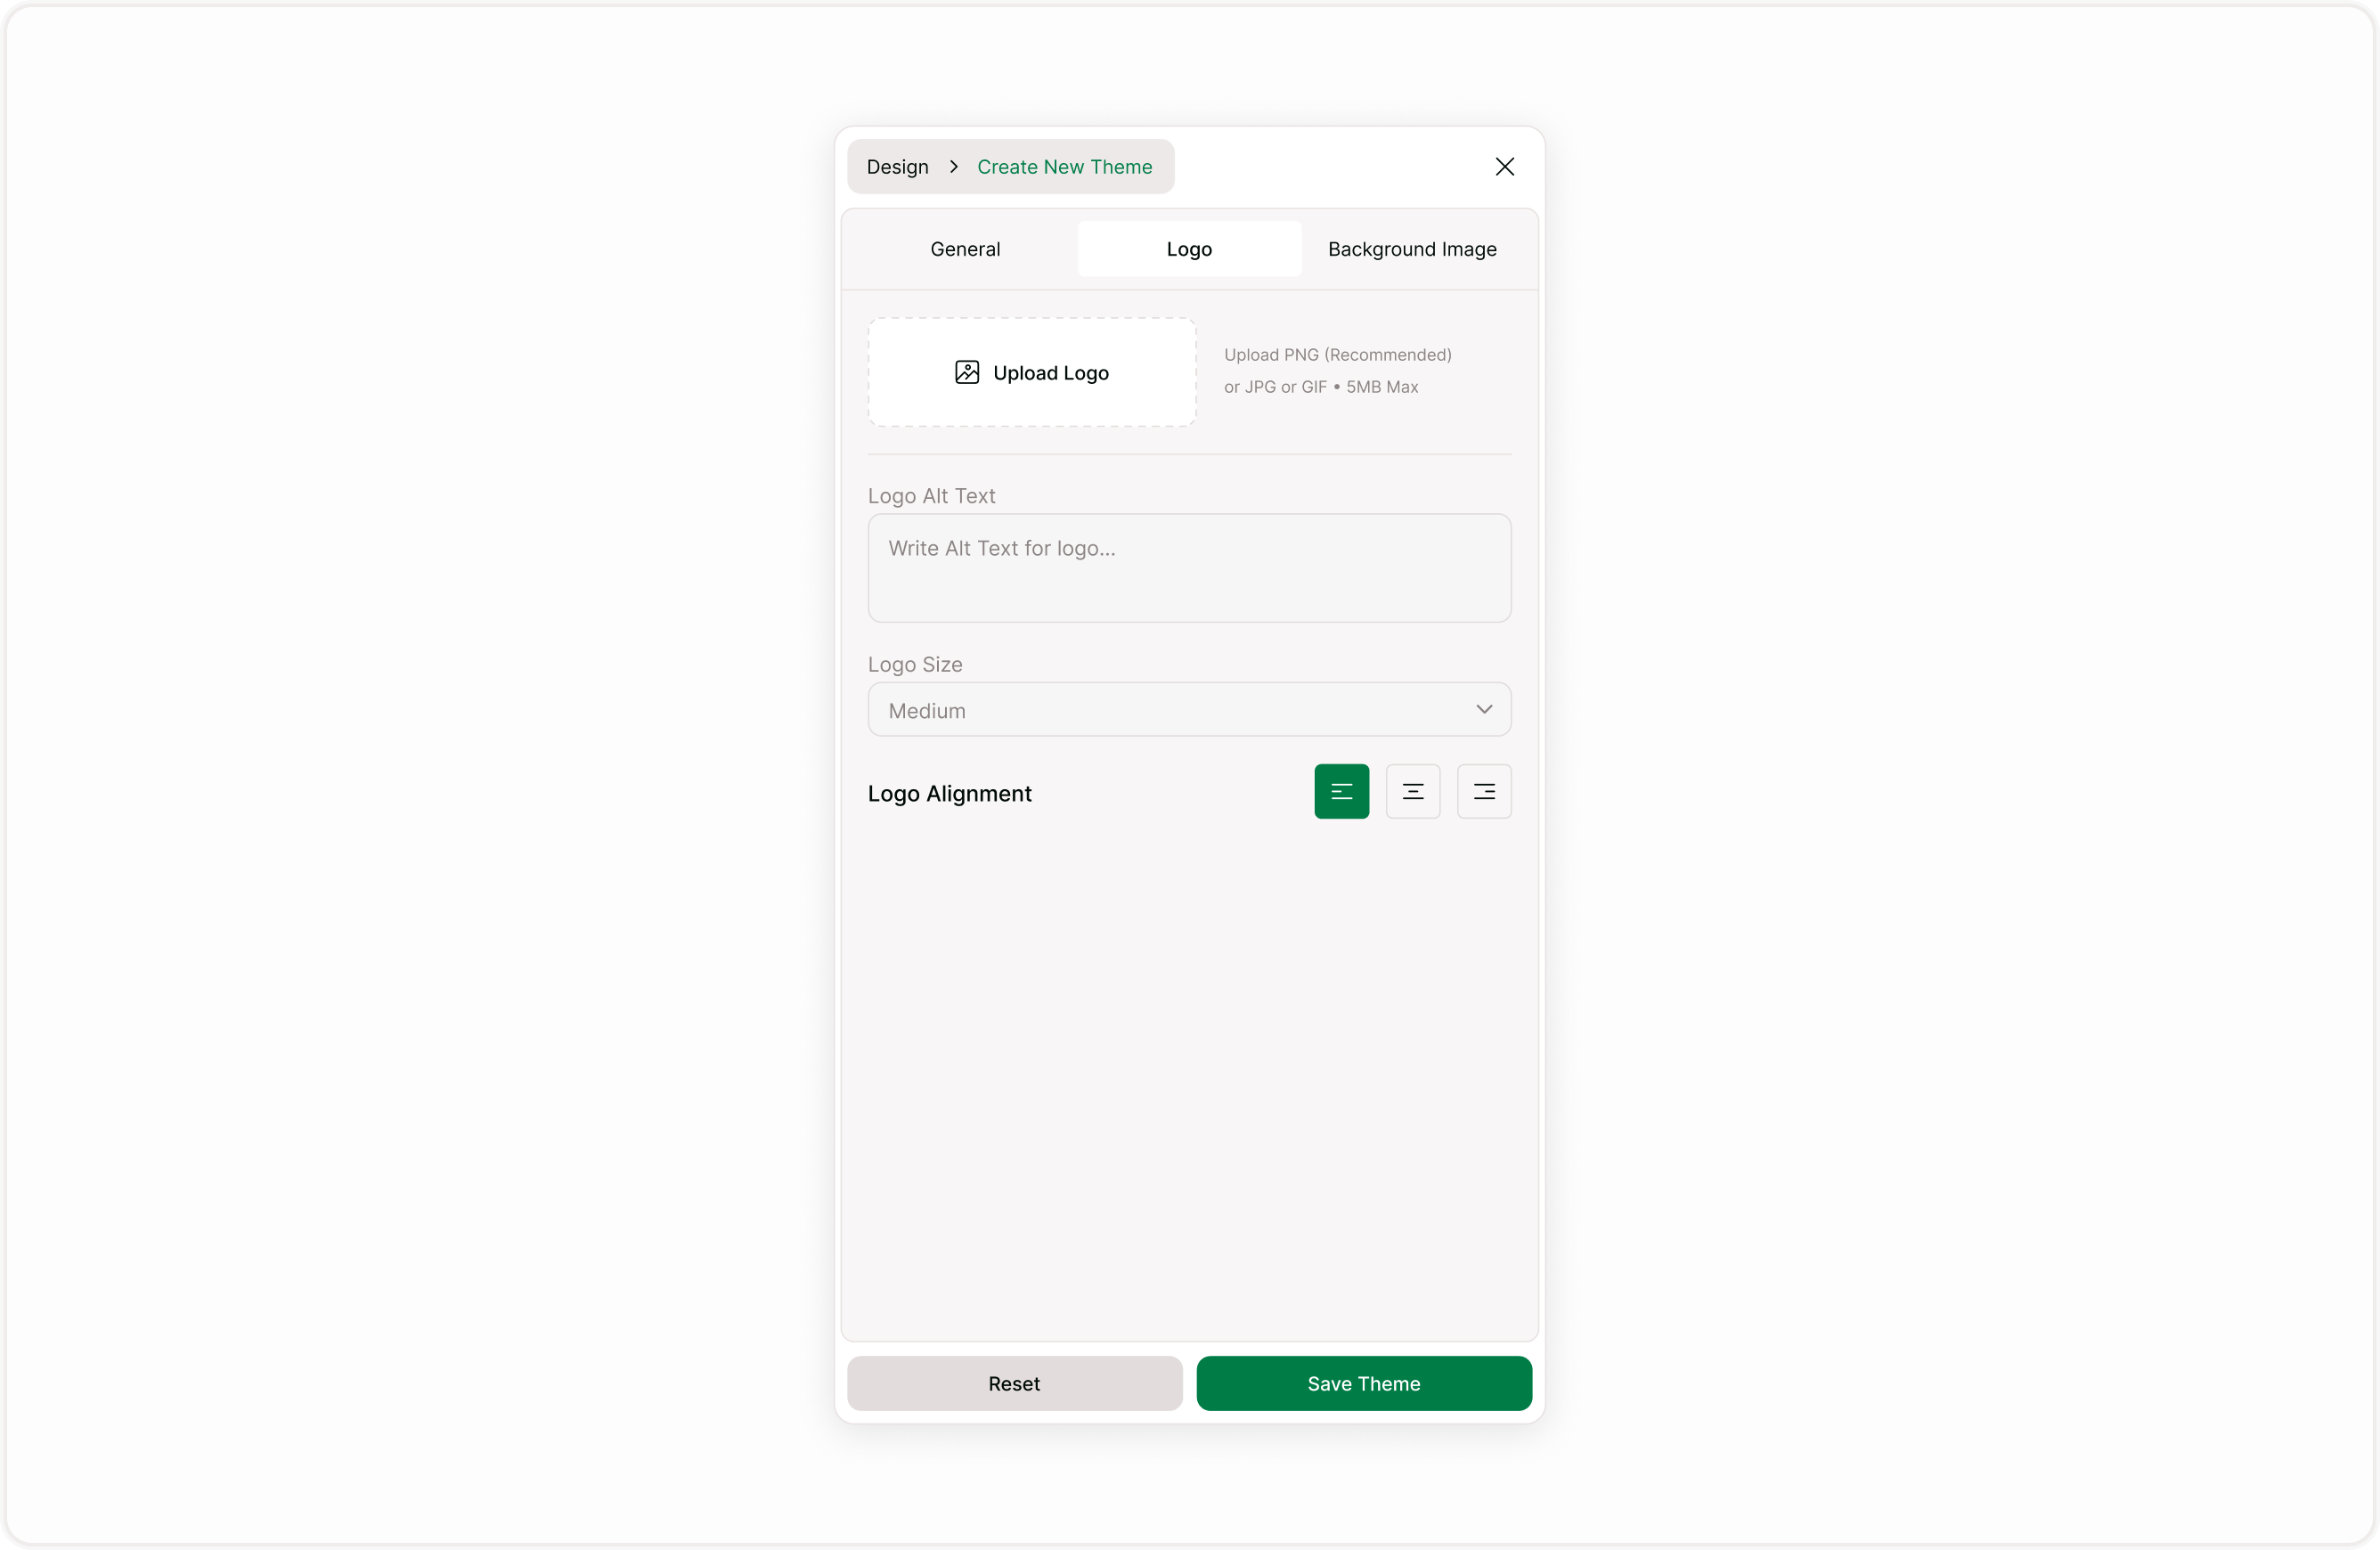
Upload a Logo
To add a logo:
Click the upload area in the Logo tab.
Select an image file from your device.
Save the theme after configuring settings.
Once uploaded, the logo will appear at the top of the form.
Logos are useful for:
Company forms
Client-facing surveys
Event registrations
Internal HR forms
Branded campaign forms
Add Logo Alt Text
You can enter text in the Logo Alt Text field.
Alt text is important for:
Screen readers
Accessibility compliance
Users who cannot view images
The alt text should clearly describe the logo. For example:
“Nexa Pro Product Retail Logo”
“Company Brand Logo”
This improves accessibility and ensures a better experience for all respondents.
Adjust Logo Size
Under Logo Size, you can choose how large the logo appears on the form.
Available size options allow you to:
Keep branding subtle (Small)
Make branding more prominent (larger sizes).
Choose a size that maintains balance without overwhelming the form content.
Set Logo Alignment
You can control logo alignment:
Left
Center
Right
Alignment affects how the logo appears on Welcome Screens, Form Fields screens, and Ending Screens.
Centered logos are often used for promotional or event forms.
Left-aligned logos are common for professional or corporate layouts.
Replace or Remove a Logo
After uploading a logo, you can:
Replace it with a new image.
Delete it entirely.
Removing a logo is helpful when:
You need a minimal form design.
The form is internal and does not require branding.
You are creating a neutral template.
How Logo Settings Work with Themes
Logo settings are saved as part of a theme.
If you edit a theme’s logo:
All forms using that theme may reflect the updated logo.
You should review affected forms before saving changes.
If you want different logos for different use cases, consider duplicating the theme before modifying it.
Best Practices for Logo Usage
Use high-resolution images for clarity.
Avoid logos with busy backgrounds.
Ensure the logo contrasts well with the background.
Keep the logo size proportional to the form layout.
Always add descriptive alt text.
A well-placed logo reinforces trust and recognition without distracting from the form content.
When to Use a Logo
Logo upload is recommended when:
Collecting external responses.
Running branded campaigns.
Gathering client or customer data.
Hosting event registrations.
Creating official organizational forms.
For simple internal forms, you may prefer a minimal design without a logo.
Summary
This guide explains how to upload a logo, configure logo size and alignment, add alt text, replace or remove a logo, and understand how logo settings work within themes. By the end of this guide, you will be able to display your brand identity clearly and consistently across your forms.