What Are Multiple Endings?
By default, a form shows one final screen after submission. With Multiple Endings, you can create different ending screens and control which one is shown based on logic.
Instead of sending every respondent to the same “Thank You” page, you can:
Show different confirmation messages
Redirect qualified leads to booking links
Display custom next steps
Segment respondents by answers
Deliver personalized calls-to-action
Multiple Endings work together with Conditional Logic, Branching, Tagging, and Quiz Result.
When Should You Use Multiple Endings?
Use Multiple Endings when:
Different users need different next steps
You want to qualify leads before showing booking links
You’re running a personality or outcome quiz
You want to show different offers based on answers
You need custom thank-you messages for different segments
If your form serves more than one audience type, Multiple Endings help you personalize the final experience.
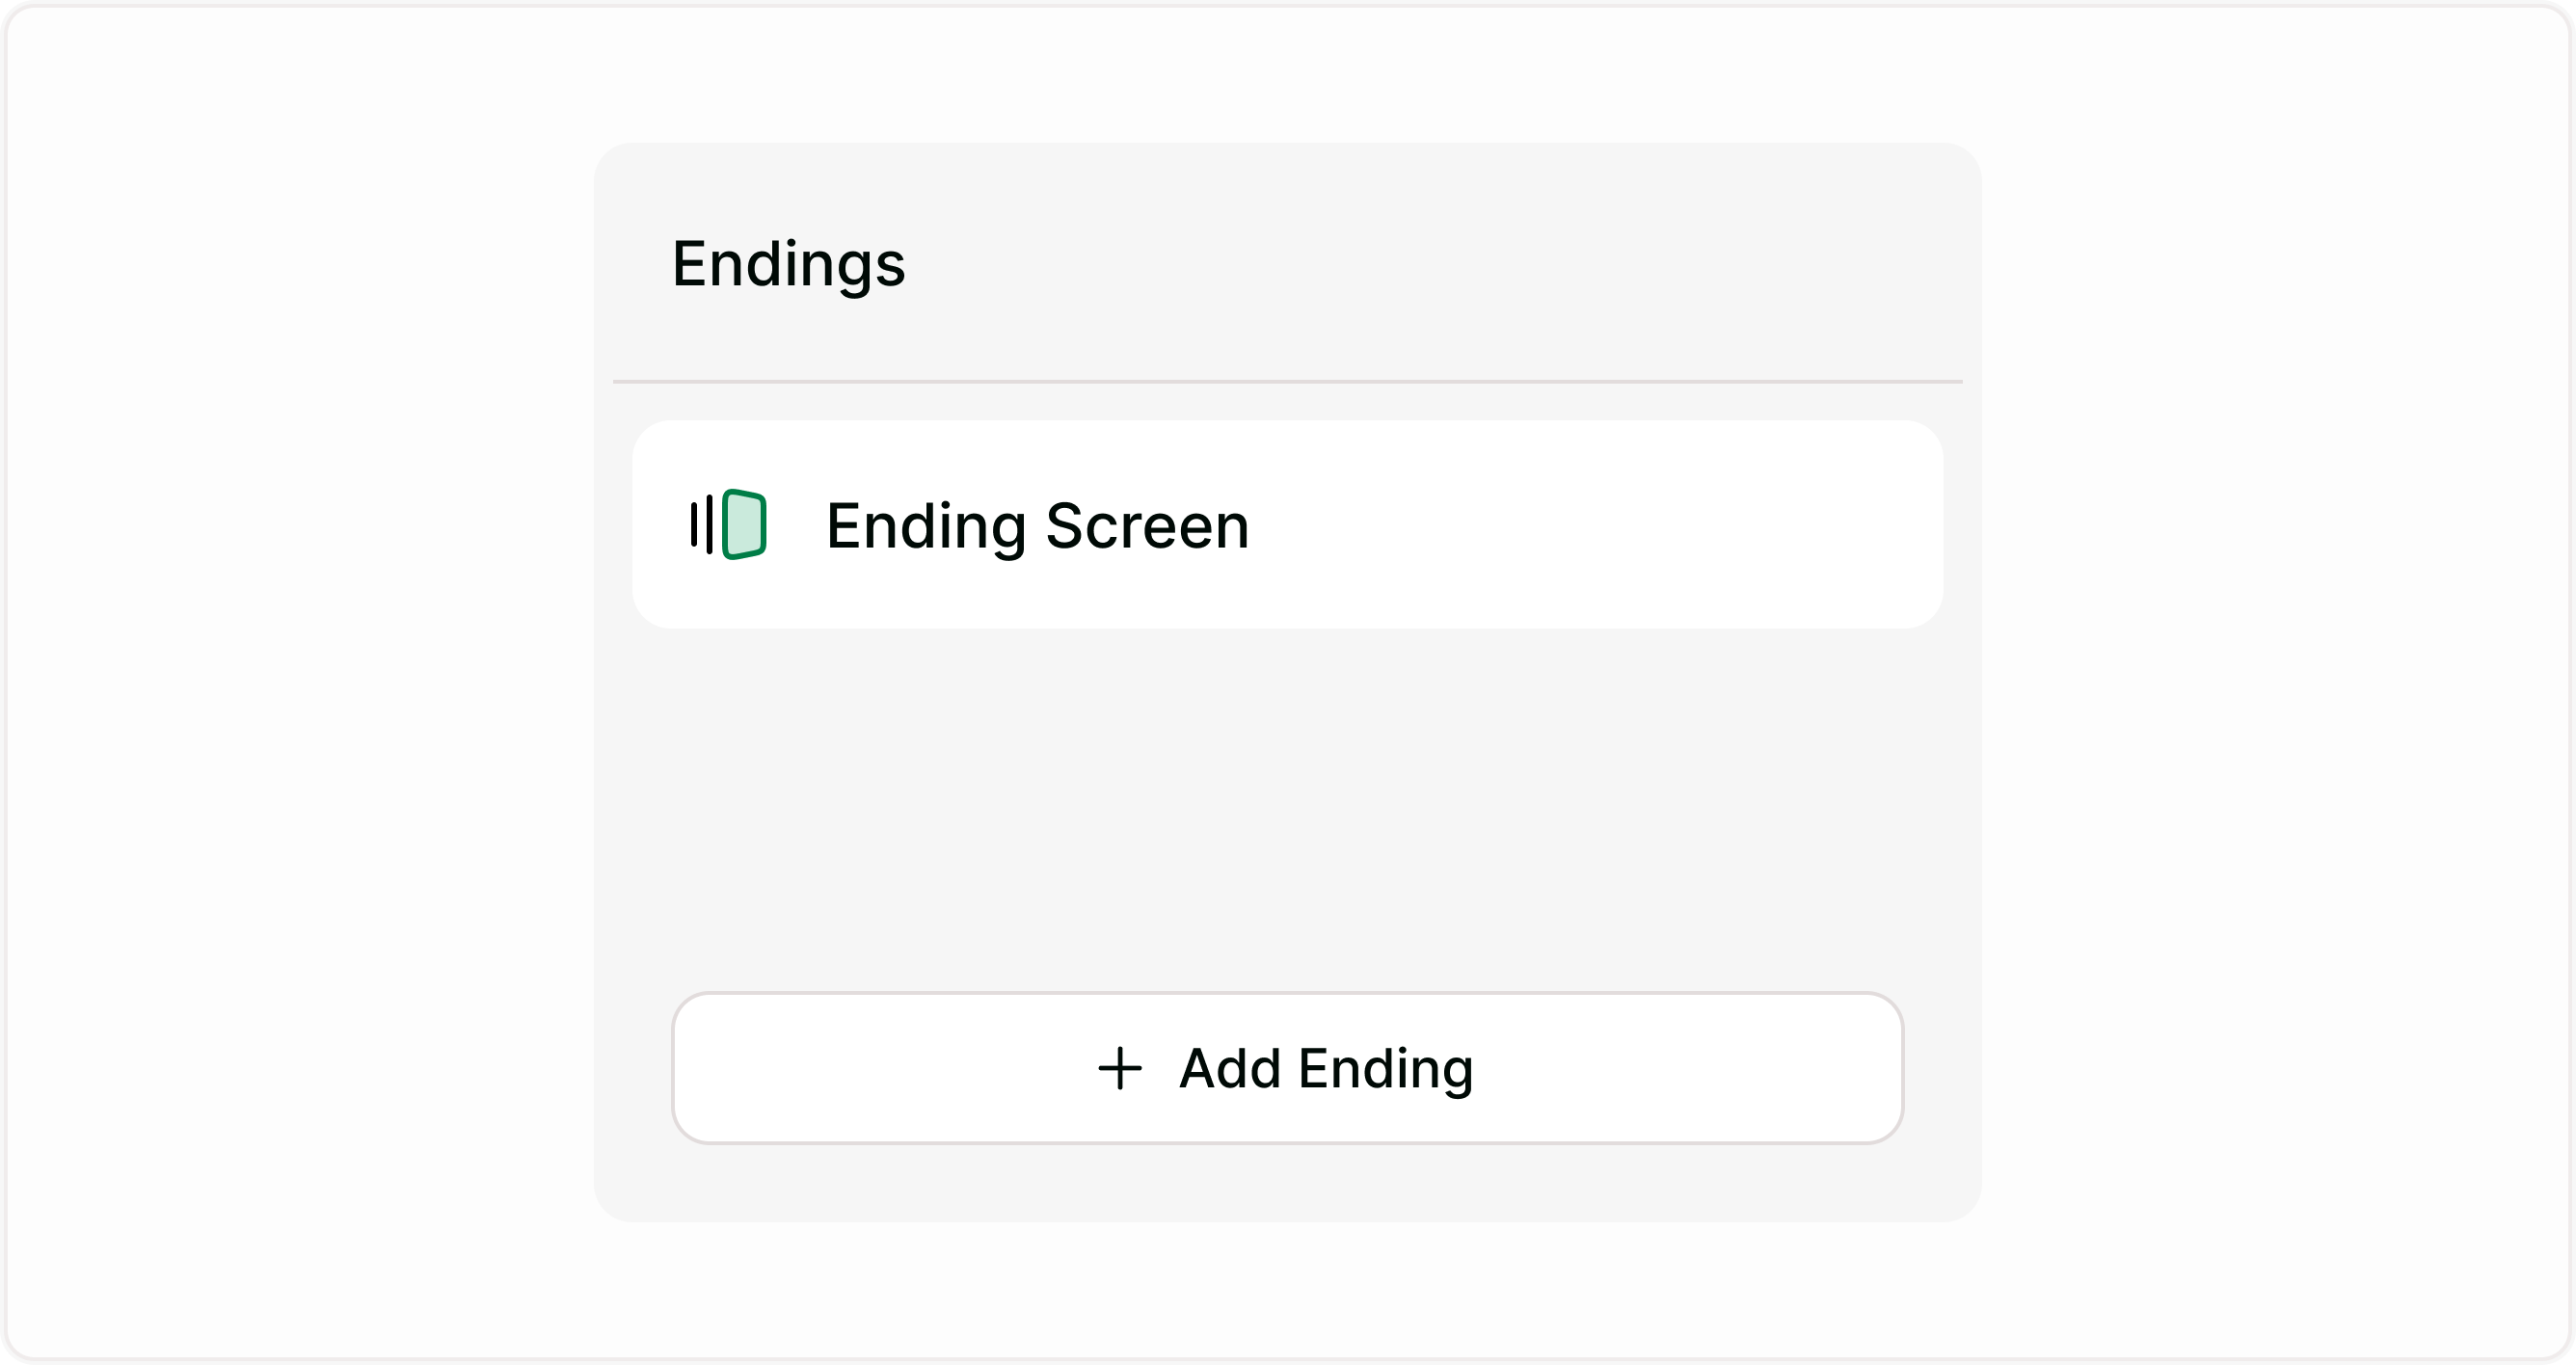
Where to Configure Multiple Endings
To create and manage multiple endings:
Open your form
Scroll to the Endings section in the left panel
Click + Add Ending
Or open Logic Flow and manage result-based endings from there
Each ending can be customized with:
Title
Description
Dynamic variables (using /)
Redirect links (if enabled)
How Multiple Endings Work
Multiple Endings are triggered using Logic.
You can route respondents to different endings based on:
Answers to specific questions
Score values
Custom variables
Tags
Conditional logic rules
Quiz outcomes
When the form is submitted, Kiwiform checks the rules and displays the matching ending.
If no rule matches, the Default Ending is shown.
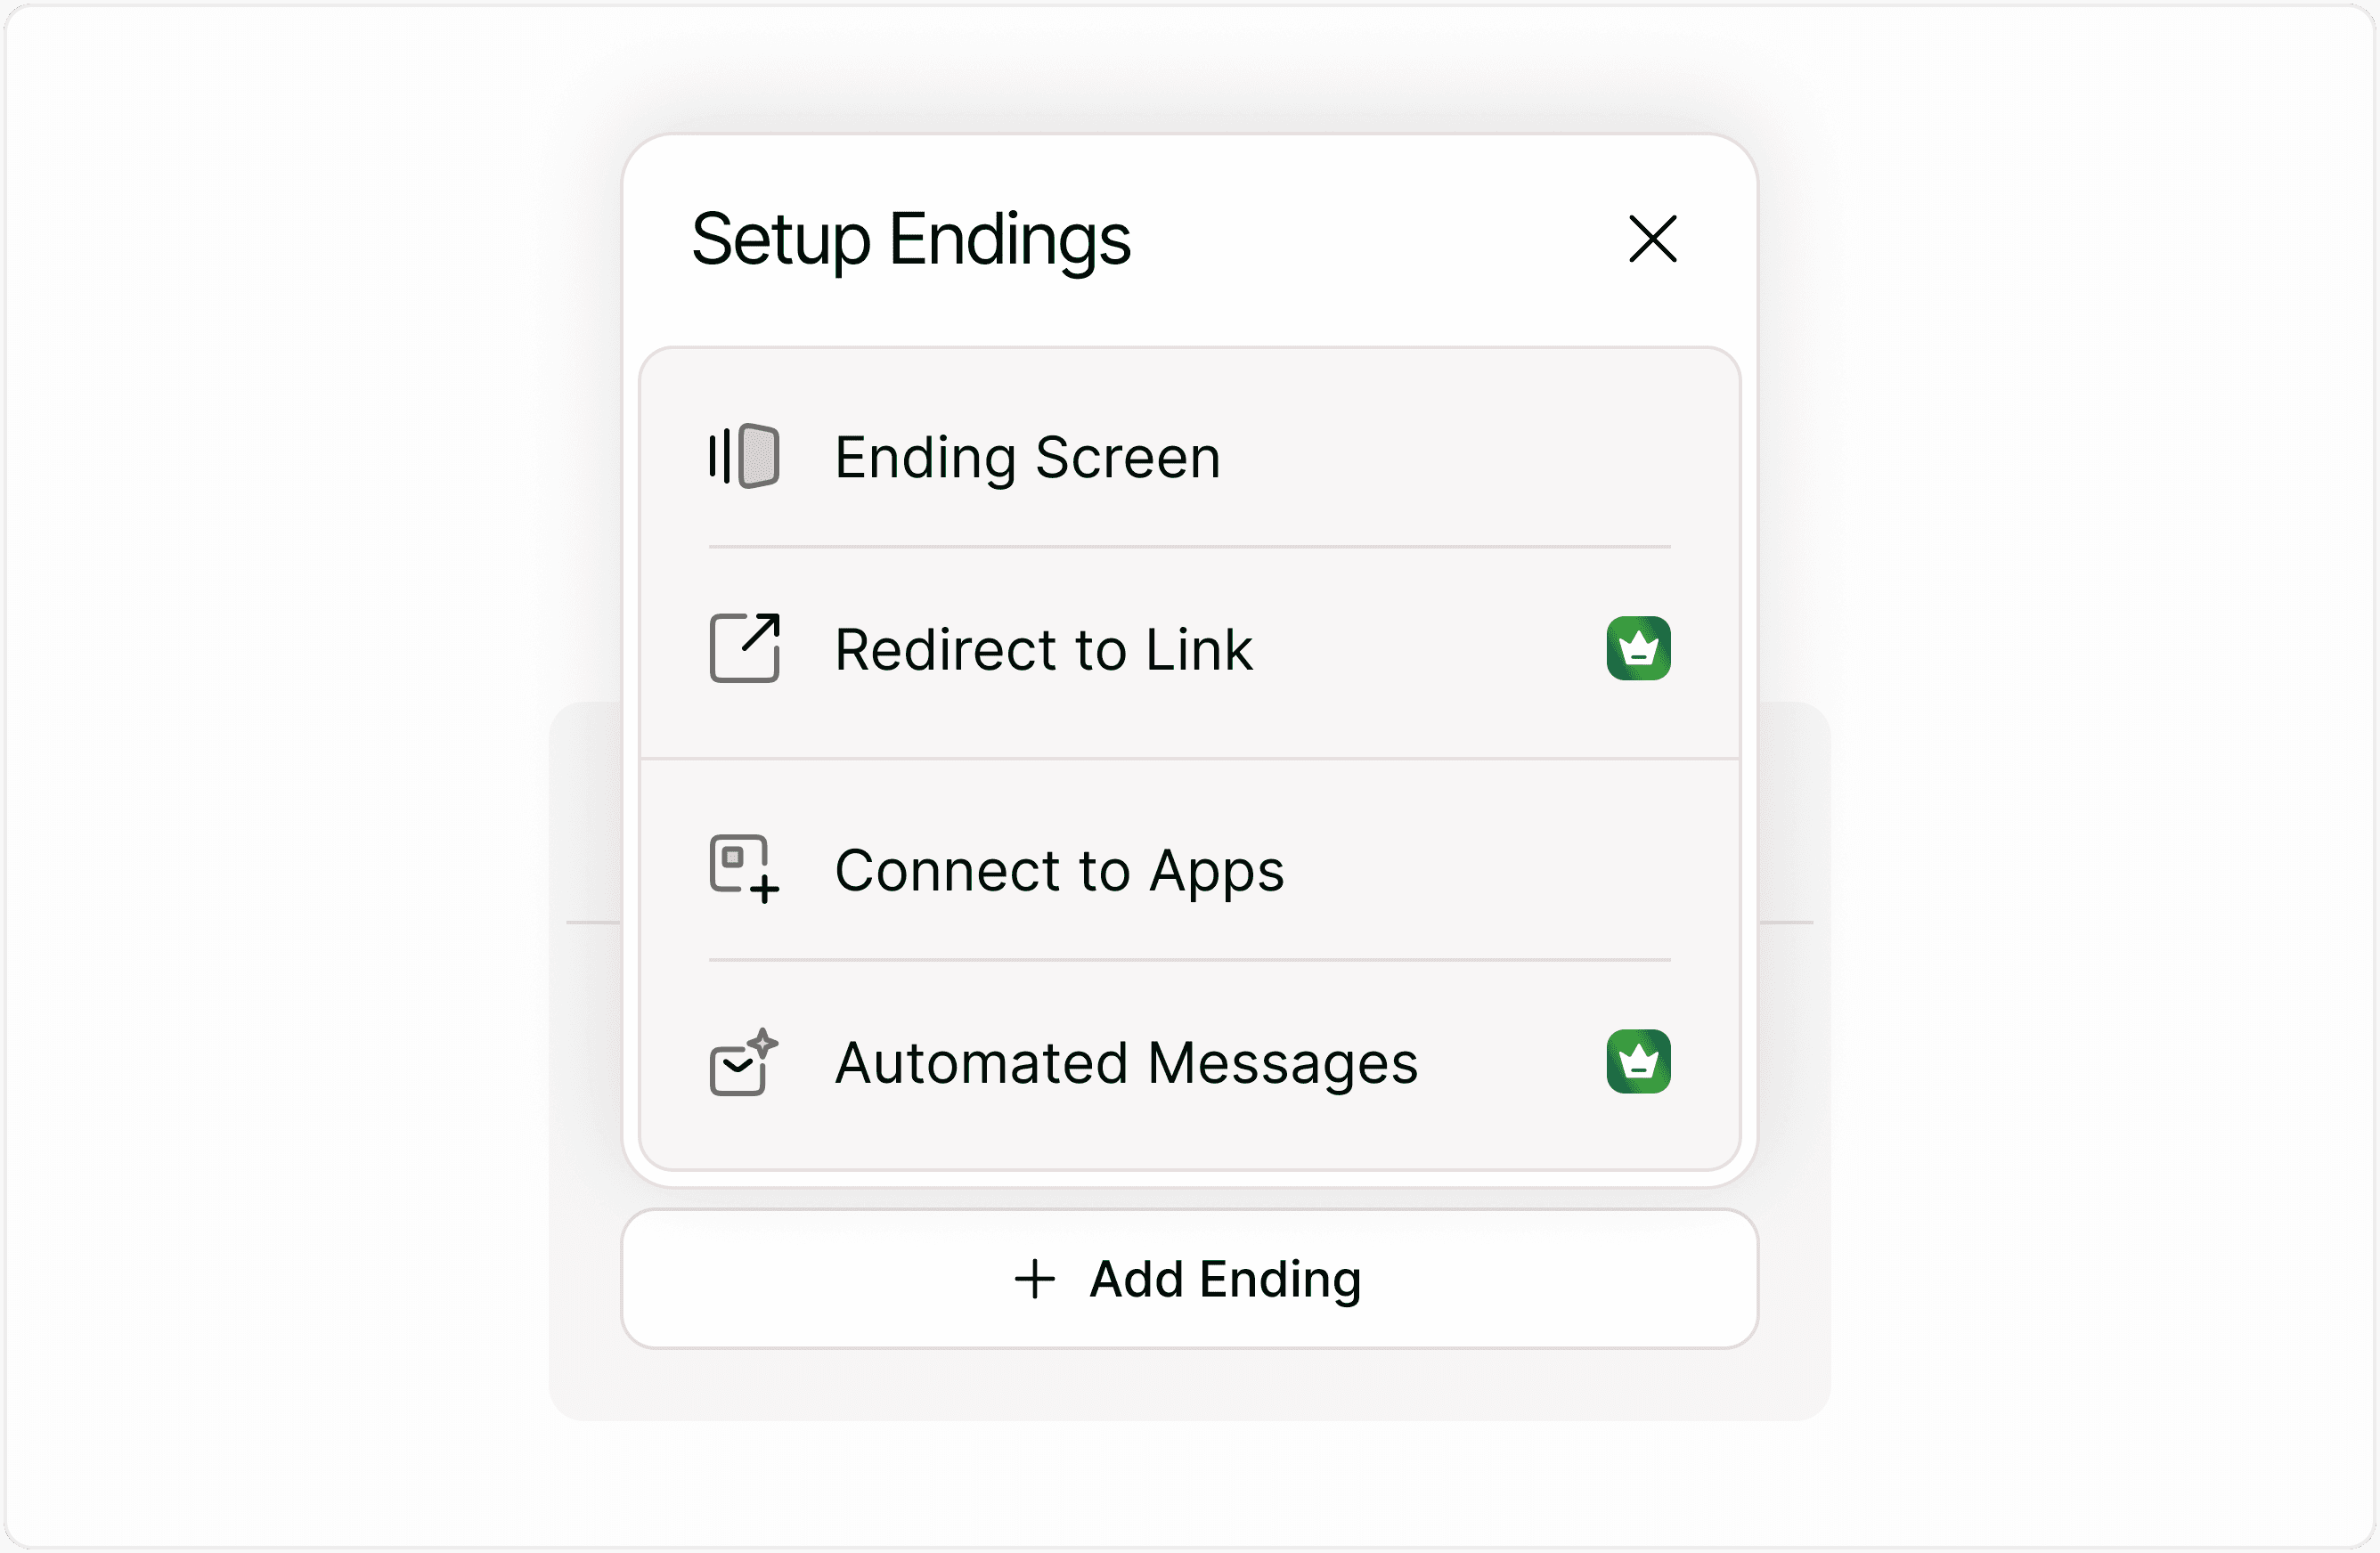
Creating a New Ending
Step 1: Add an Ending
Click + Add Ending.
You can:
Rename the ending
Edit the message
Insert variables using /
Set it as Default
Step 2: Connect Logic to an Ending
To send users to a specific ending:
Go to Logic Flow
Add a rule
Choose condition (for example: If answer is “Yes”)
Select action: Go to Ending → Choose your ending
Now, when the condition is met, that ending will be displayed.
Default Ending Explained
One ending must always be marked as Default.
This acts as a fallback if:
No conditions match
No logic routes to another ending
A rule is incomplete
You can change which ending is Default anytime.
Best practice: Keep your default ending neutral and safe.
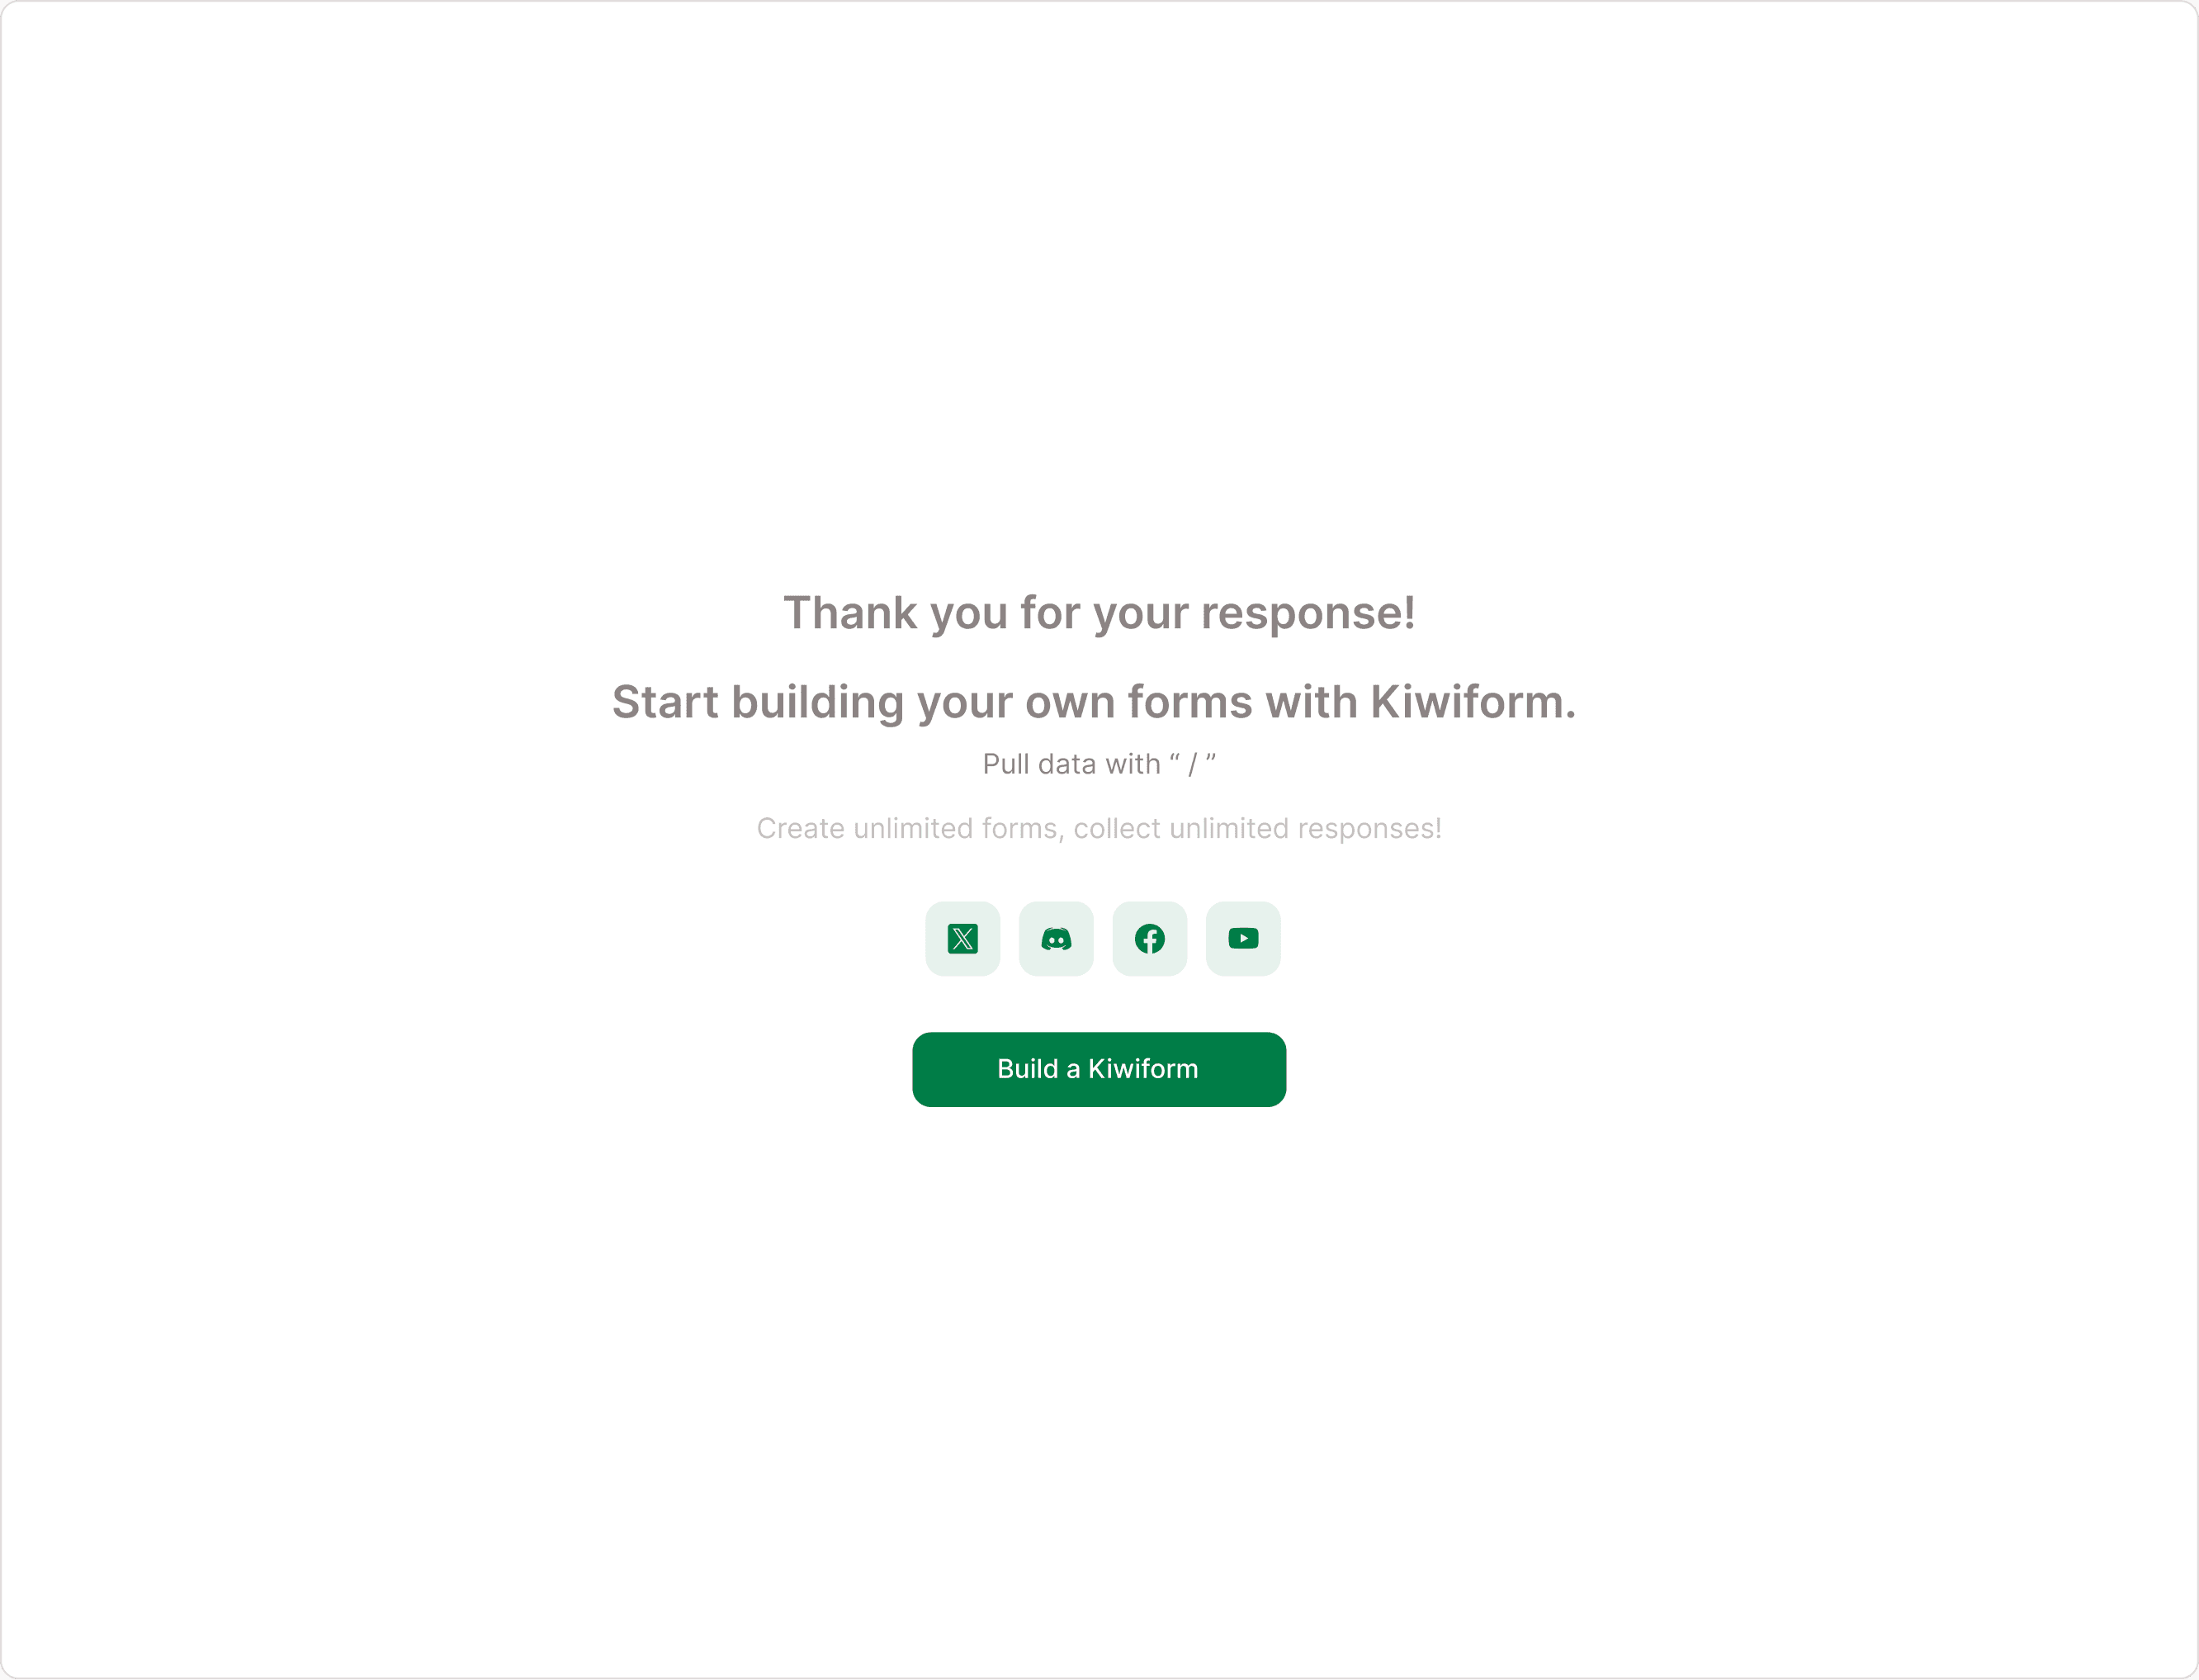
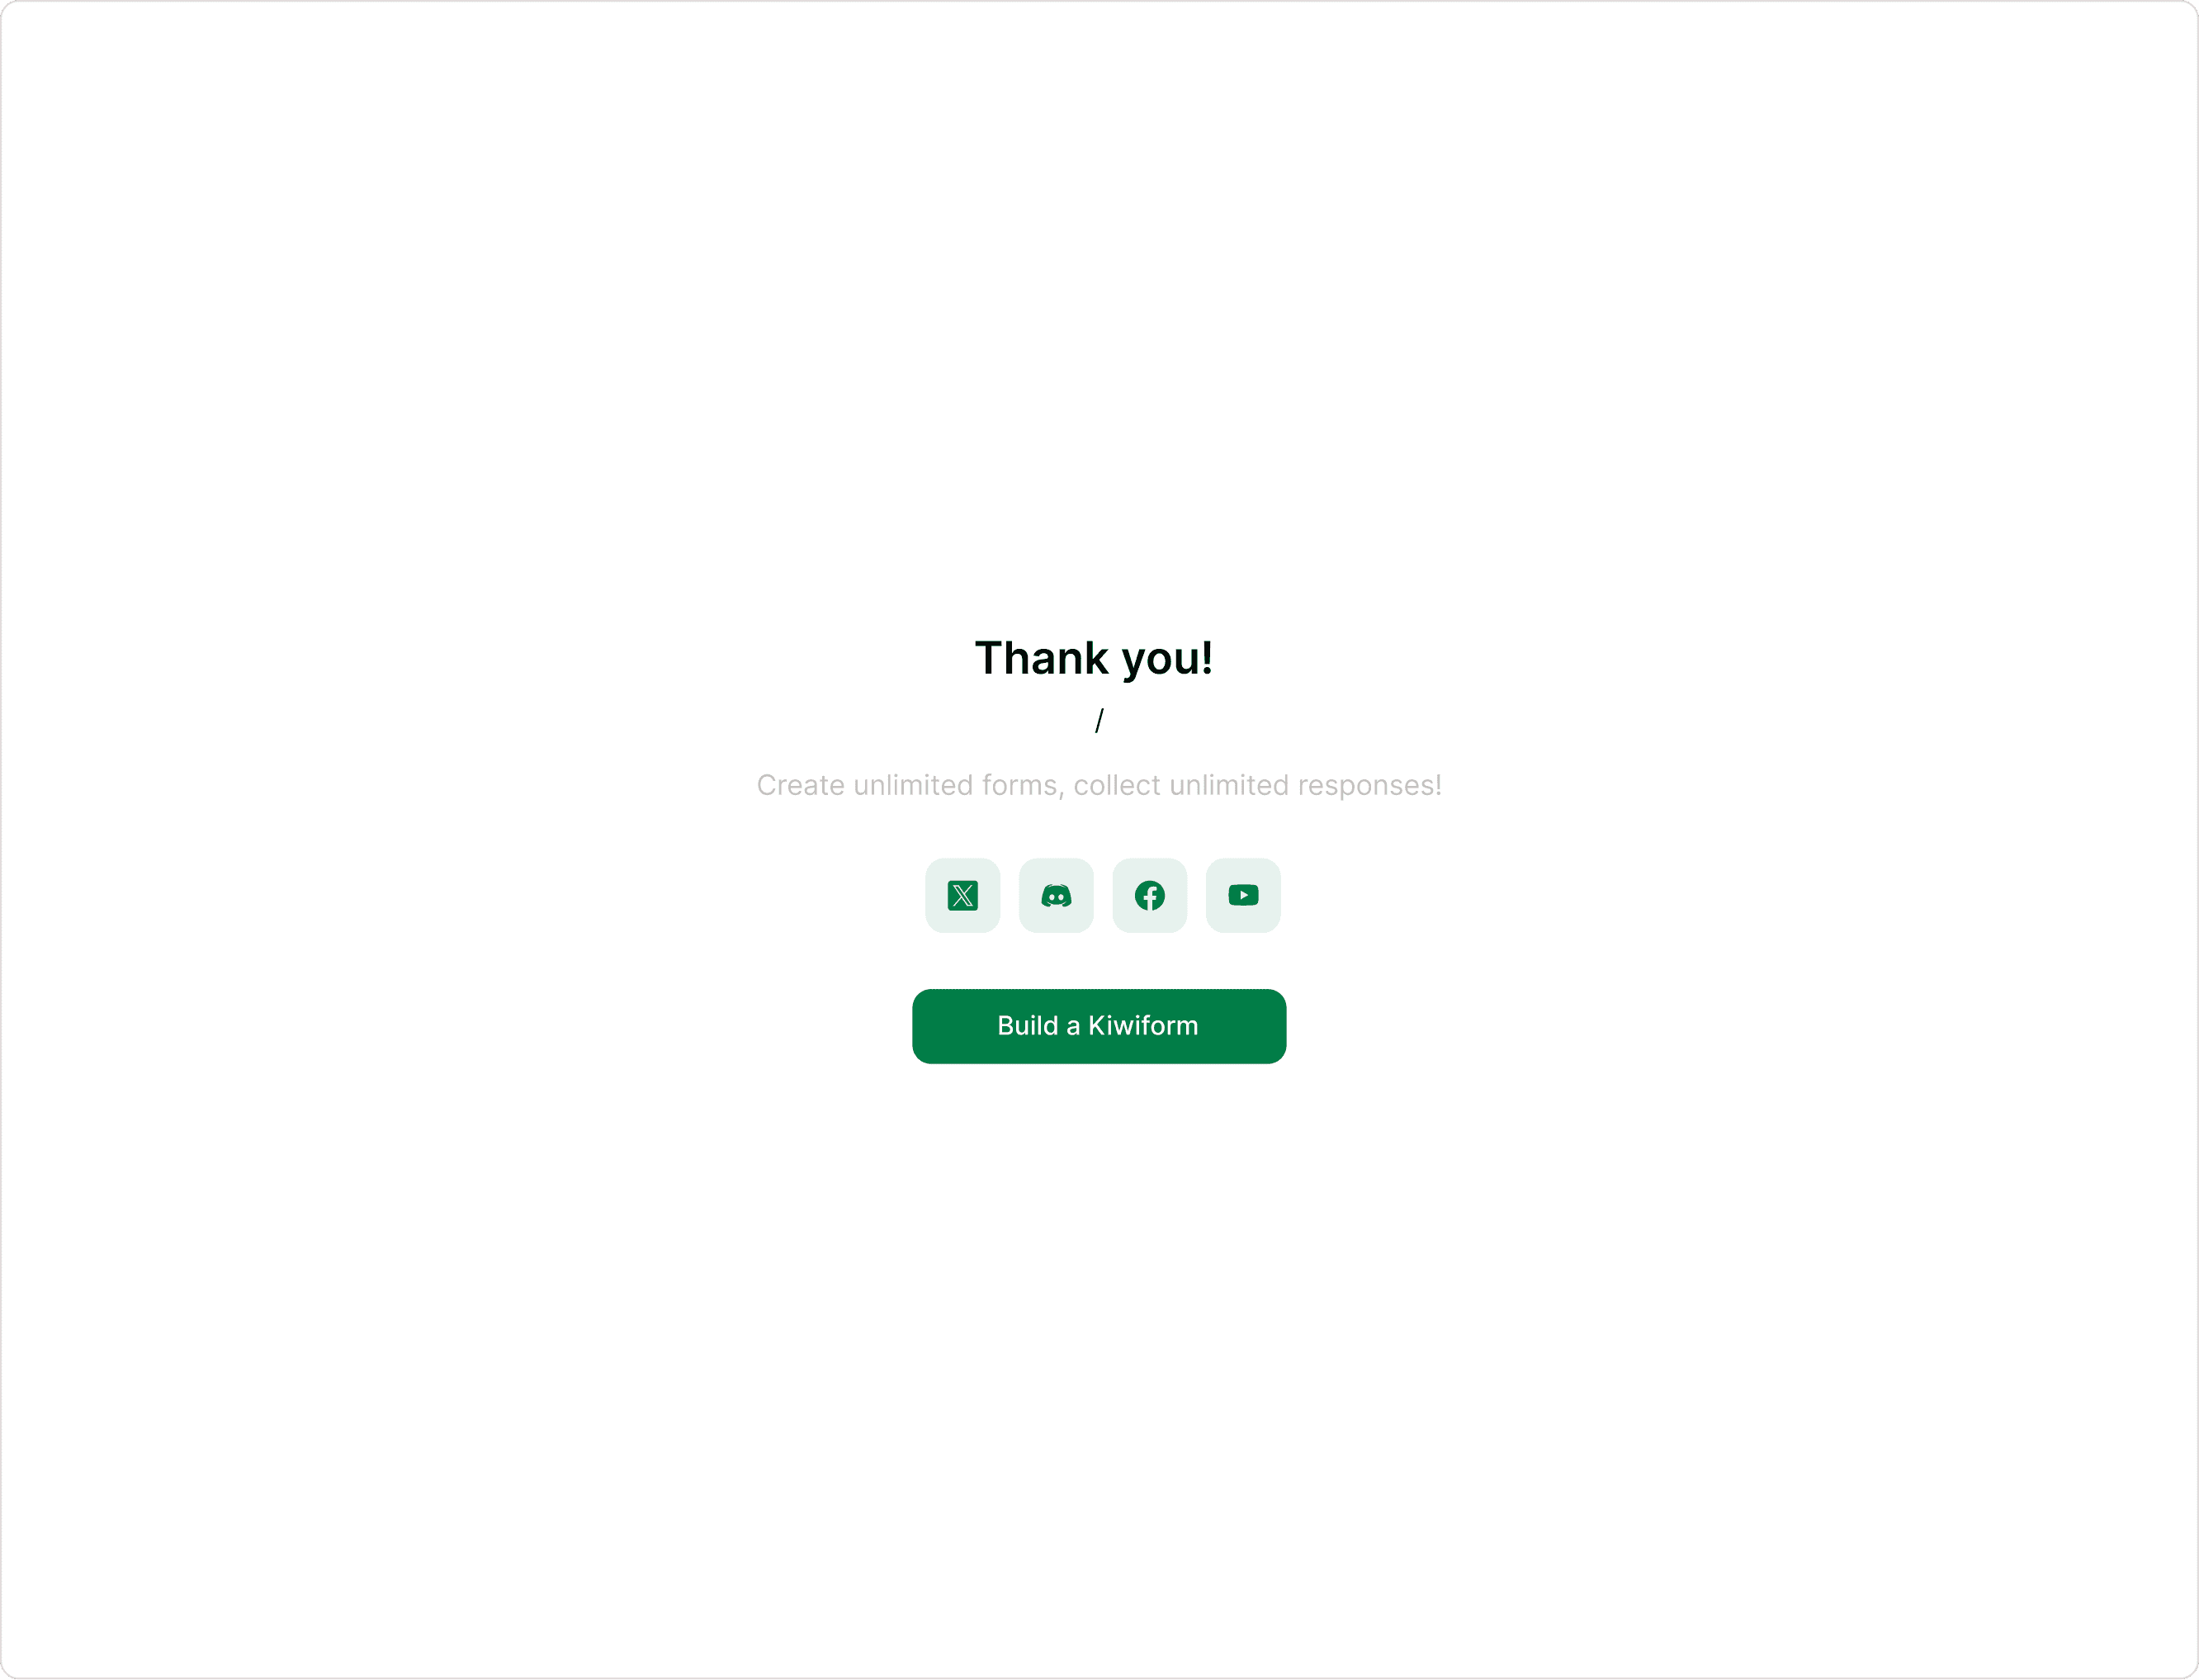
Using Dynamic Data in Endings
You can personalize endings using dynamic variables.
Type:
/
To insert:
Name or previous answers
Quiz score
Max score
Custom variables
URL parameters
Example:
“Thank you, /Full Name. You scored /Quiz Score out of /Max Score.”
This creates a more engaging and personalized experience.
Real-World Use Cases
Lead Qualification
Show booking link only to qualified leads. Show “We’ll contact you” to others.
Job Application Forms
Show interview scheduling link to shortlisted candidates.
Product Recommendation
Display recommended product page based on preferences.
Event Registration
Show VIP details only to selected ticket holders.
Customer Feedback
Show different responses based on satisfaction rating.
Education & Assessment
Display custom performance summaries.
Multiple Endings vs Quiz Result
Multiple Endings
General-purpose dynamic ending routing using Logic Flow.
Quiz Result
Specialized system for mapping answers and scores to quiz outcomes.
If you're building a personality or score-based quiz, use Quiz Result.
If you're routing users based on logic conditions, use Multiple Endings.
Best Practices for Multiple Endings
Keep each ending clear and actionable
Always define a Default Ending
Avoid conflicting logic rules
Test all logic paths before publishing
Use dynamic variables for personalization
Name endings clearly for internal clarity
Clean structure prevents confusion later.
Common Mistakes to Avoid
Forgetting to assign logic rules
Deleting an ending without updating rules
Not setting a Default Ending
Overcomplicating routing logic
Not testing edge cases
Always preview your form before publishing.
How to Test Multiple Endings
Before going live:
Click Play
Complete the form with different answer combinations
Confirm the correct ending appears
Adjust logic if needed
Testing ensures the right users see the right message.
Summary
Multiple Endings in Kiwiform allow you to personalize the final screen of your form based on user responses and logic rules.
Instead of showing one generic thank-you page, you can create tailored outcomes for different audiences, making your forms more relevant, engaging, and conversion-focused.
Whether you're qualifying leads, delivering quiz outcomes, or segmenting respondents, Multiple Endings give you full control over the final experience.