What Redirect to Link does
Redirect to Link lets you send respondents to a specific URL immediately after form submission. Instead of showing a traditional ending screen, the form forwards users to another page that continues their journey. This is useful when your form is part of a larger workflow and you want respondents to take action right after submitting.
Common use cases include:
Sending leads to a booking or scheduling page
Redirecting users to a payment or checkout confirmation
Opening a thank-you or confirmation page on your website
Providing downloads, onboarding steps, or next instructions
Redirecting to dashboards, portals, or course content
Moving respondents into another tool or workflow
Redirects help maintain momentum by removing extra steps between submission and the next action.
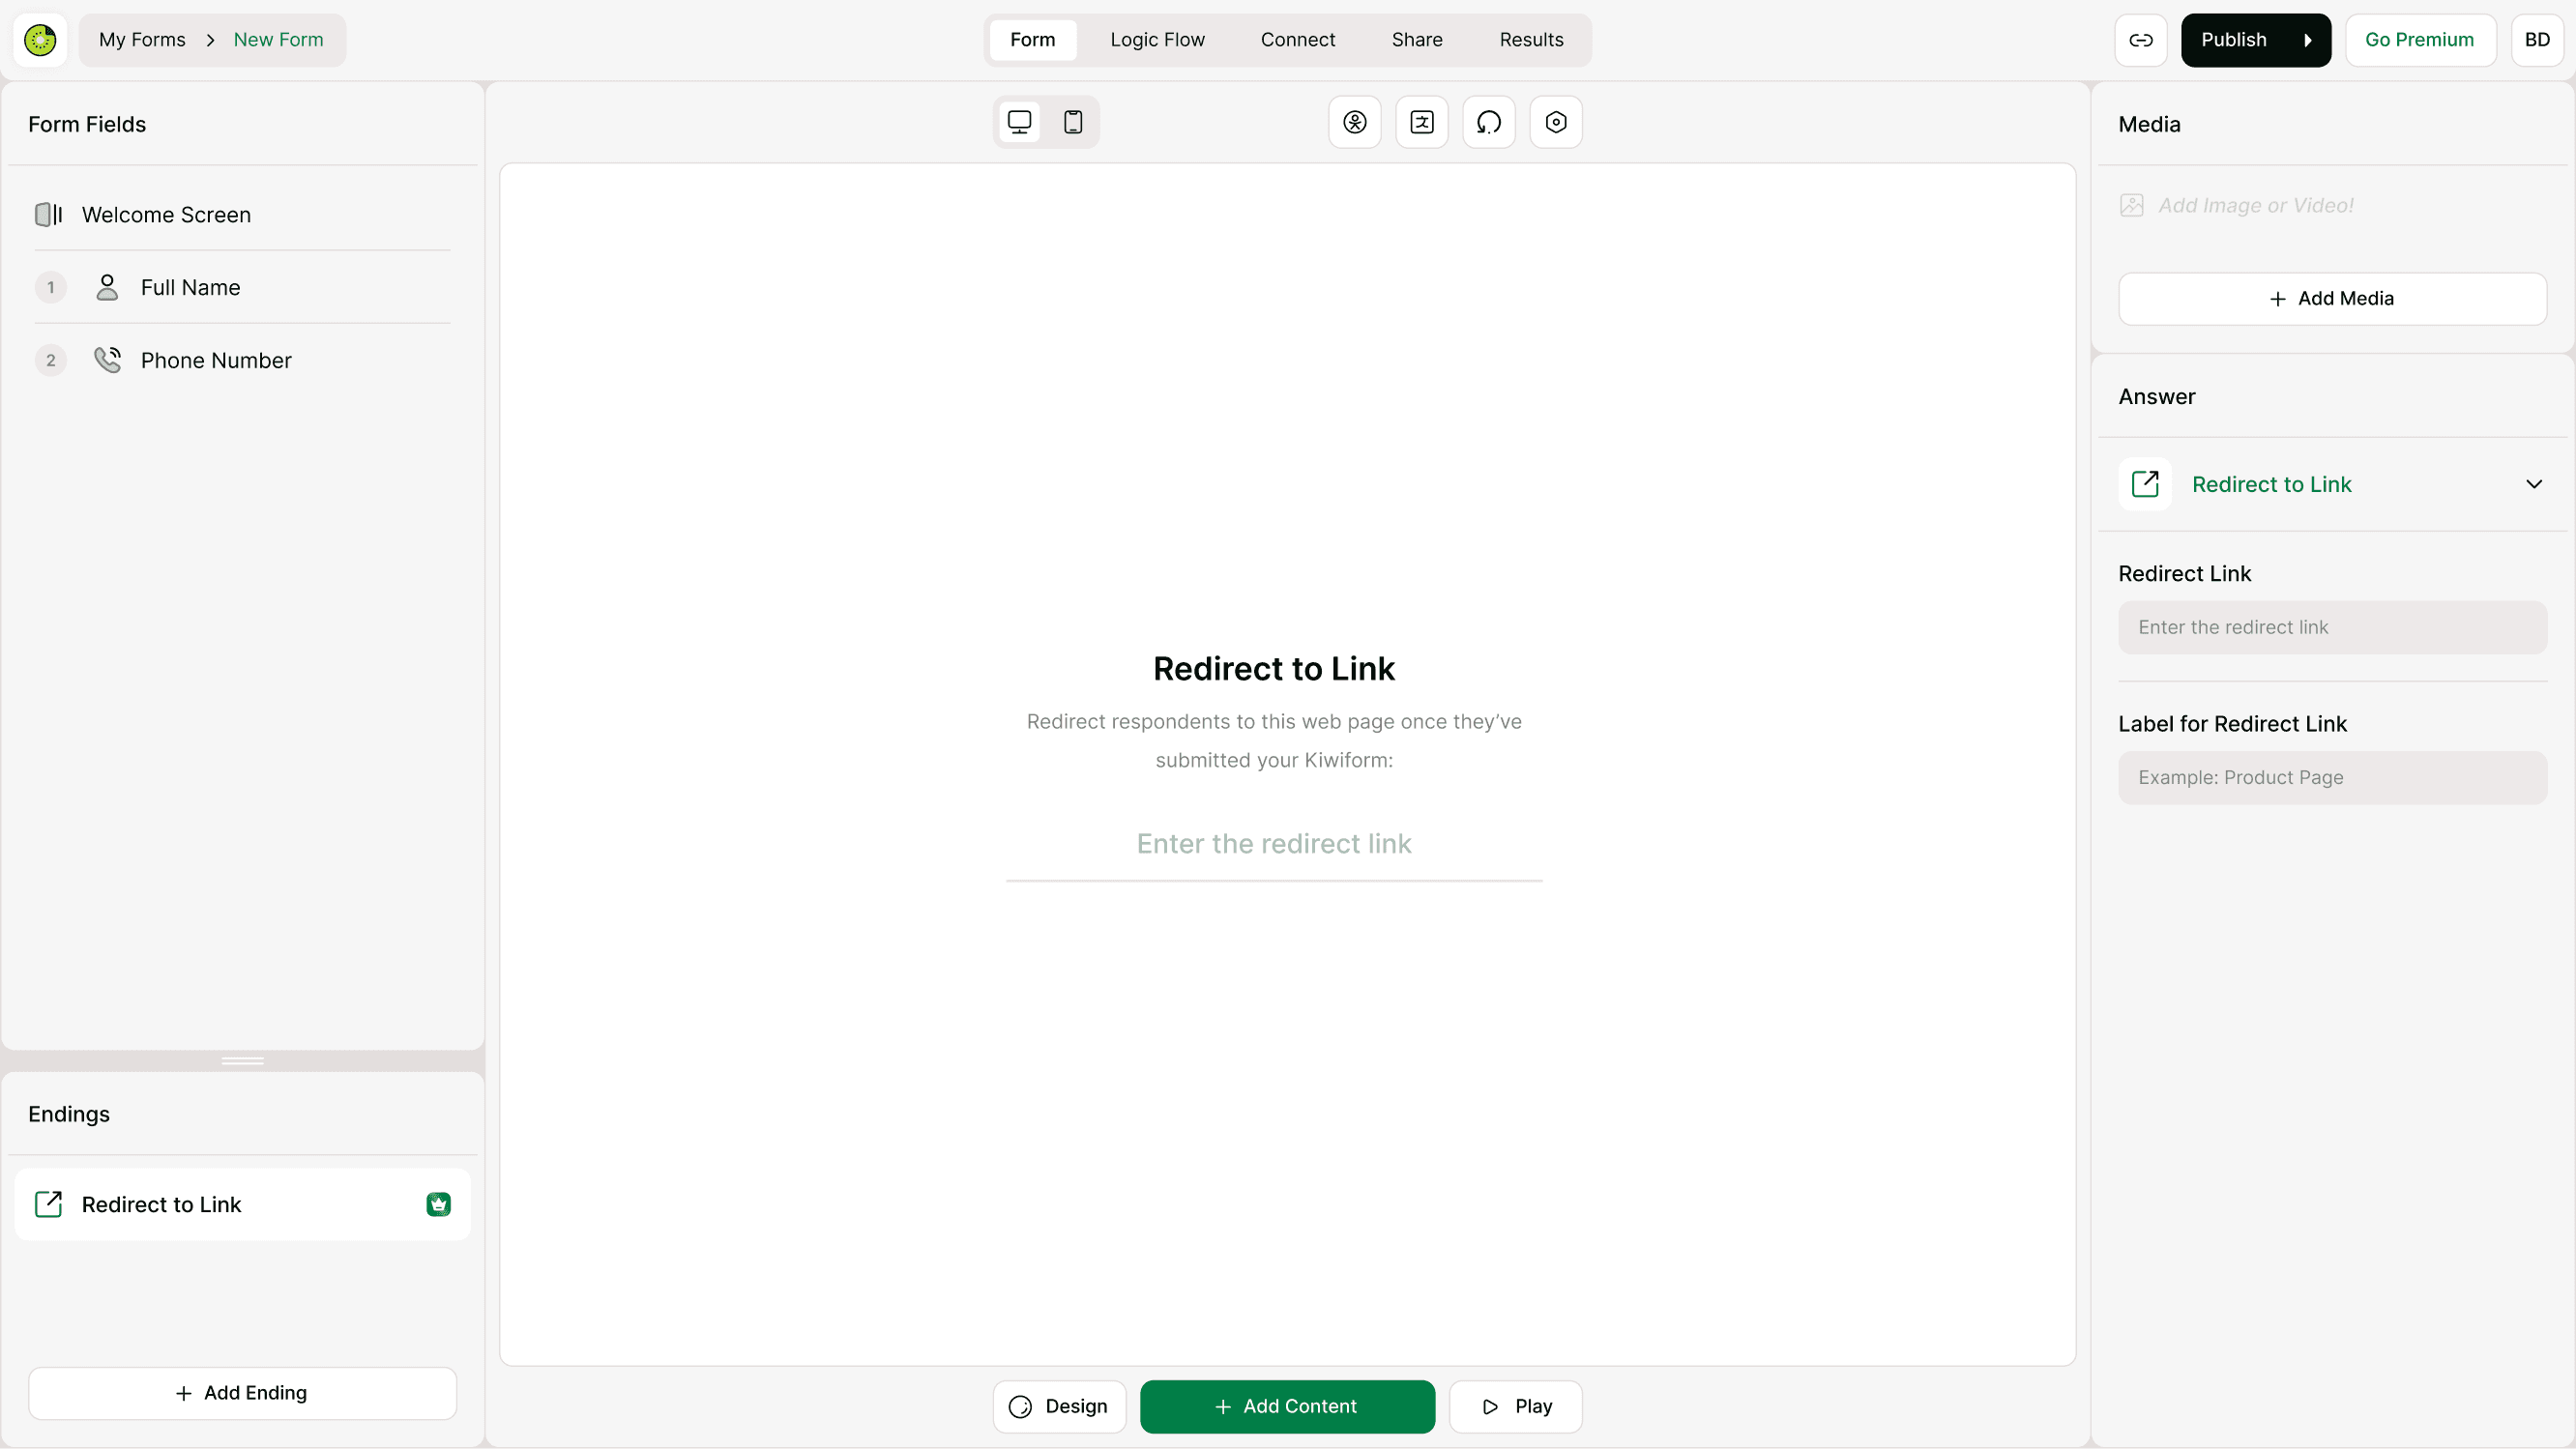
Where Redirect to Link is added
To add a redirect:
Open your form in the builder
Scroll to the Endings section
Click Add Ending
Choose Redirect to Link
Enter the destination URL
Add an optional label for clarity
Publish your form
After publishing, anyone who completes the form will be redirected automatically.
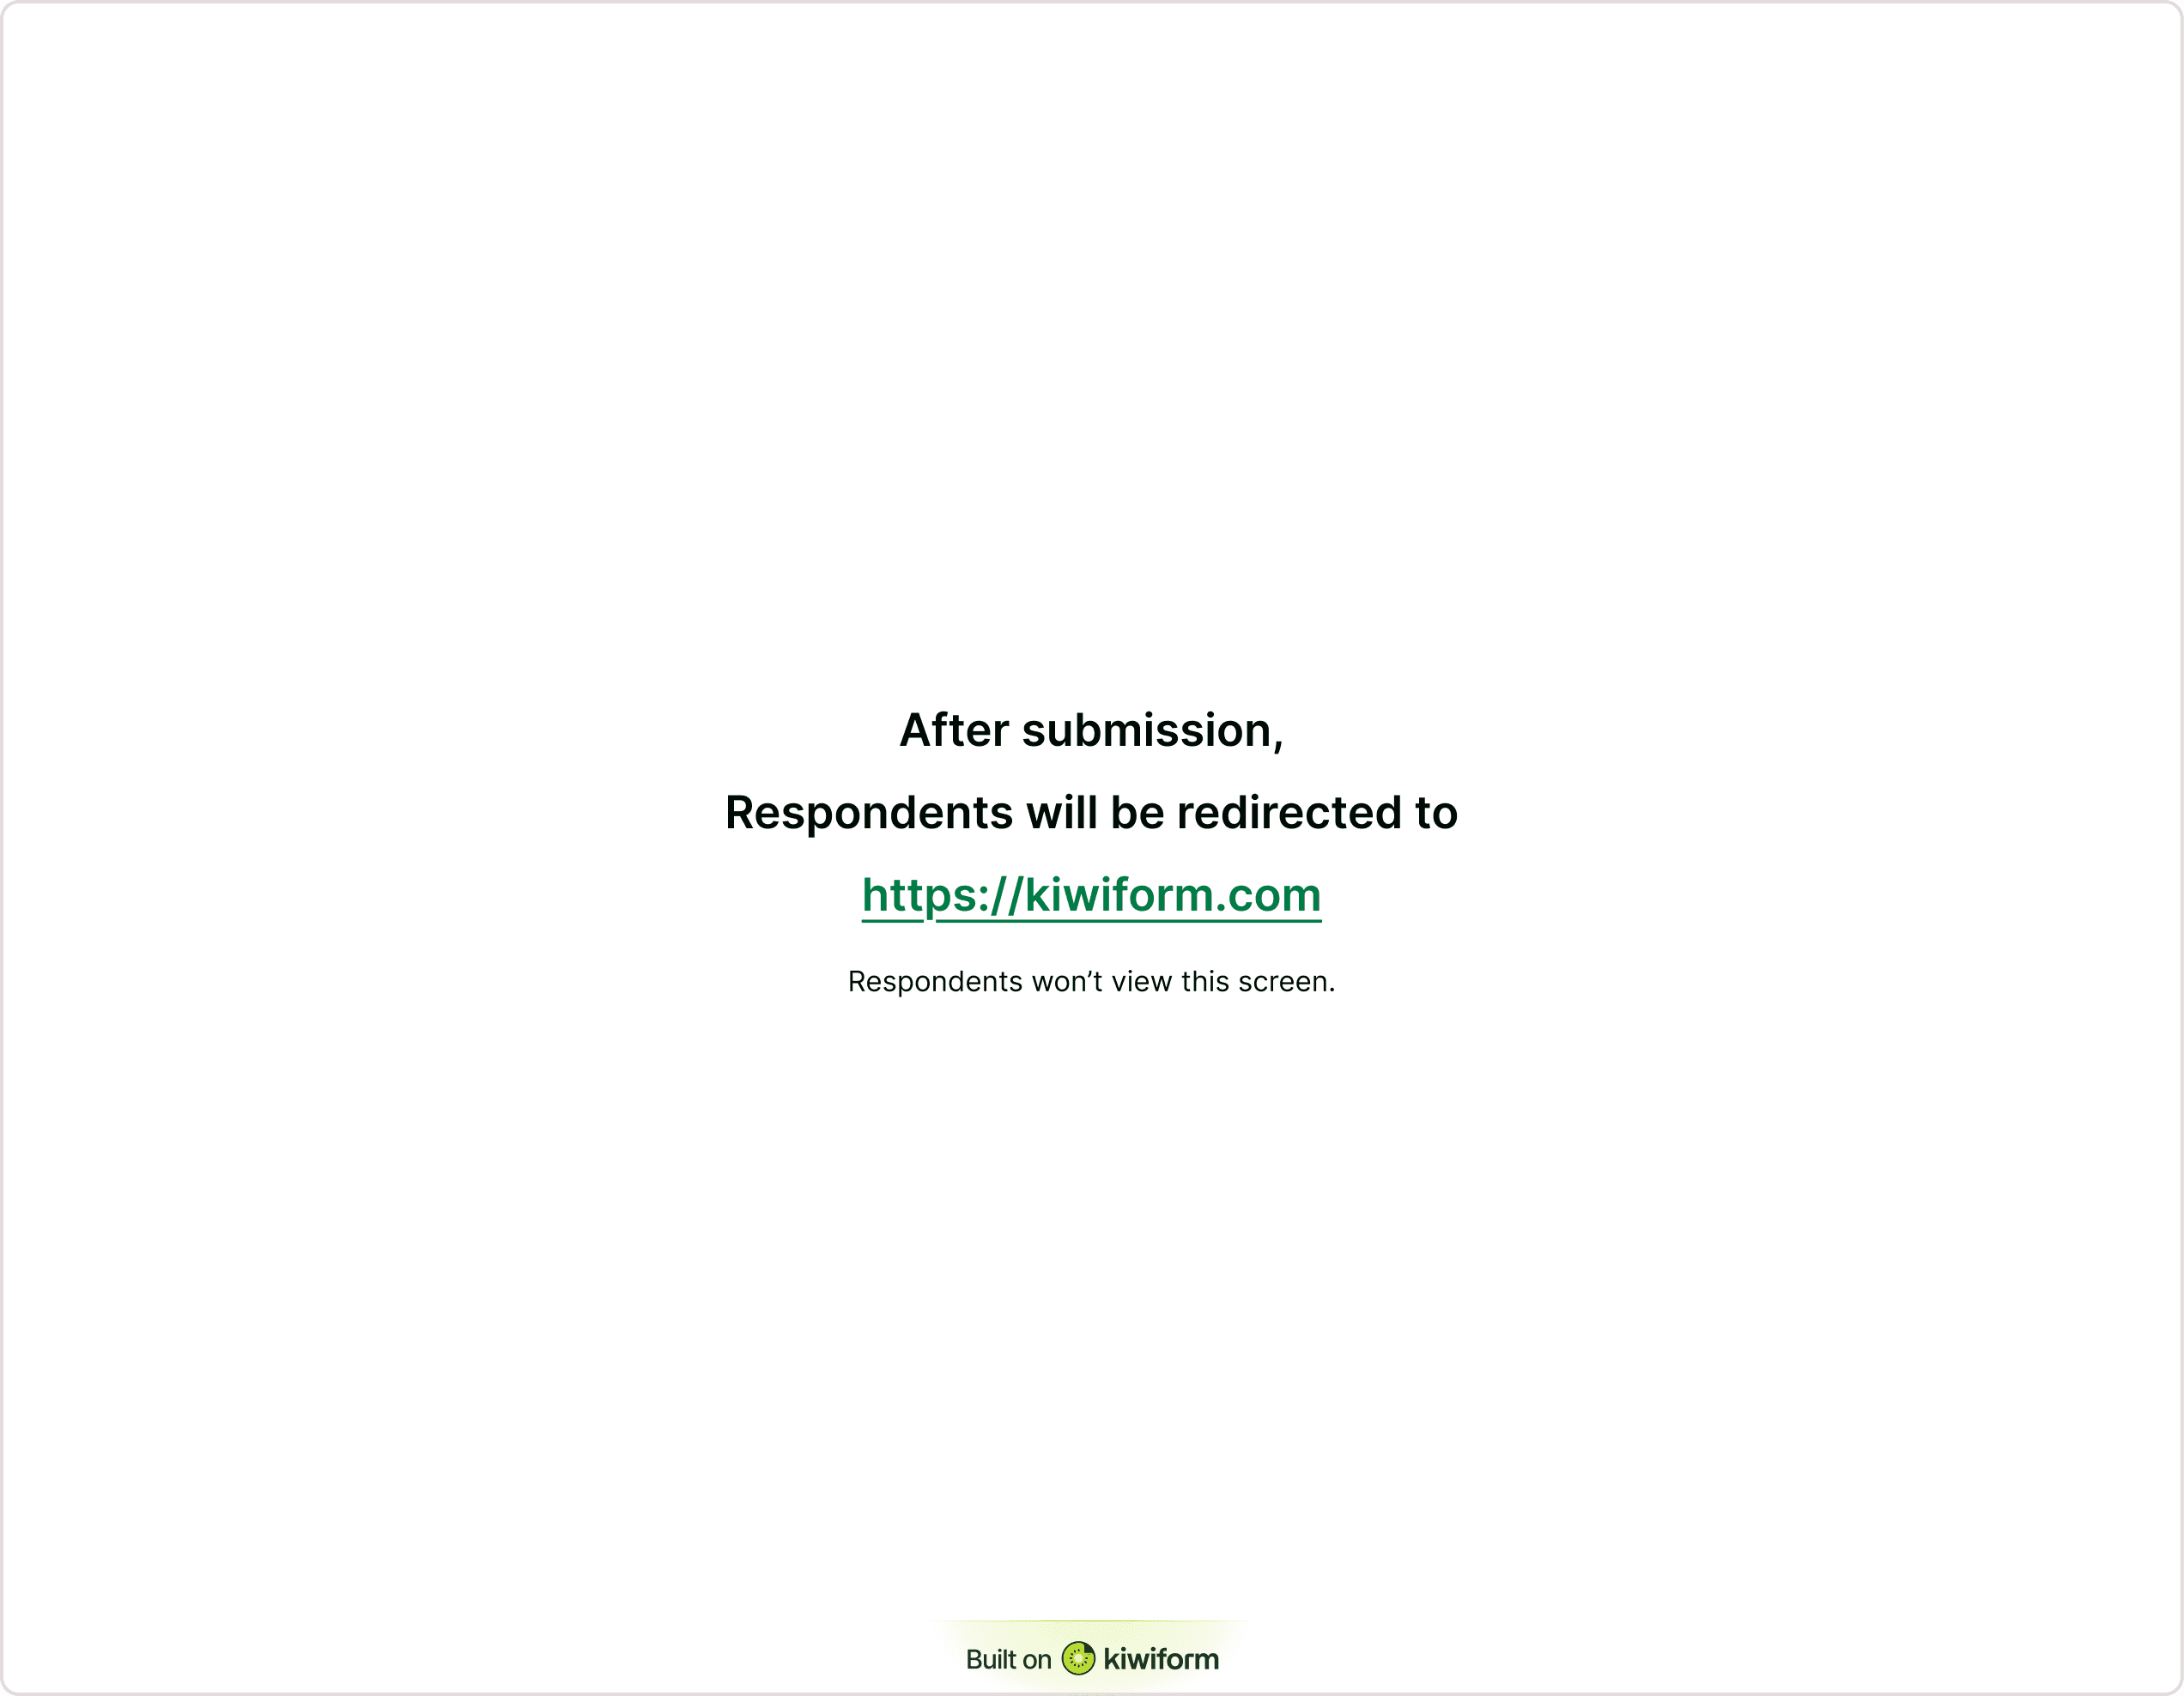
Configuring the redirect link
When setting up a redirect, you can send respondents to any valid web page. This includes internal pages on your website or external tools such as scheduling platforms, payment pages, or onboarding portals.
Make sure to:
Use a full valid URL starting with https://
Confirm the destination page is accessible to respondents
Test the redirect after publishing
Ensure the page loads properly on mobile and desktop
Keep the destination relevant to the form’s purpose
You can also add a label to describe the redirect action.
For example:
Continue to booking
View your results
Go to dashboard
Complete your purchase
This helps set expectations before submission.
When to use a redirect vs an ending screen
Use Redirect to Link when:
You want respondents to take action immediately
The form is part of a funnel or workflow
You need to move users to another tool or page
Use an Ending Screen when:
You want to display a thank-you message
You need to show confirmation details
No further action is required
Redirect to Link replaces the standard ending screen, so respondents will not see a thank-you message unless you include it on the destination page.
Things to check if redirect is not working
Confirm the URL is correct and complete
Check that the form is published
Test with a new submission
Make sure the destination page is public
Ensure no browser restrictions block the redirect
Best practices
Use redirects when a next step is required immediately after submission
Keep the destination aligned with the form goal
Avoid redirecting to unrelated pages
Test with a real submission before sharing the form
Make sure the destination page loads quickly
Ensure mobile responsiveness
Use clear labels so users know what happens next
Summary
Redirect to Link allows you to send respondents to another page immediately after they submit a form. It helps connect form submissions to the next step in your workflow, whether that is booking, onboarding, downloading resources, or completing a purchase. By configuring redirects correctly and testing them before sharing your form, you can create a seamless experience that keeps users engaged and moving forward.