What is the Scheduler field?
The Scheduler field allows you to embed a scheduling experience directly into your Kiwiform forms using Calendly.
Select a meeting date and time
Schedule appointments
Complete bookings alongside form submissions
Sales demo forms
Consultation booking forms
Client onboarding
Discovery calls
Interview scheduling
Coaching sessions
Support requests
Service appointments
Unlike traditional booking flows, the Scheduler field keeps users inside the same form experience from start to finish.
How Calendly integration works in Kiwiform
Calendly scheduling in Kiwiform works through the Scheduler form field.
To use Calendly inside your form:
Add the Scheduler form field
Open the Answer Panel
Select Calendly from Schedule with
Paste your Calendly link
Publish your form
Unlike storage or automation integrations, Calendly is configured directly inside the Scheduler field to keep scheduling embedded within the form experience.

How the Scheduler field works
The Scheduler field connects your form with a Calendly scheduling link.
After adding the field:
Select Calendly as the scheduling provider
Paste your Calendly event link
Optionally enable autofill for Name and Email
Publish the form
Once live, respondents can book appointments directly from the form interface.
Add the Scheduler field to your form
To use scheduling inside your form:
Open your form in Kiwiform
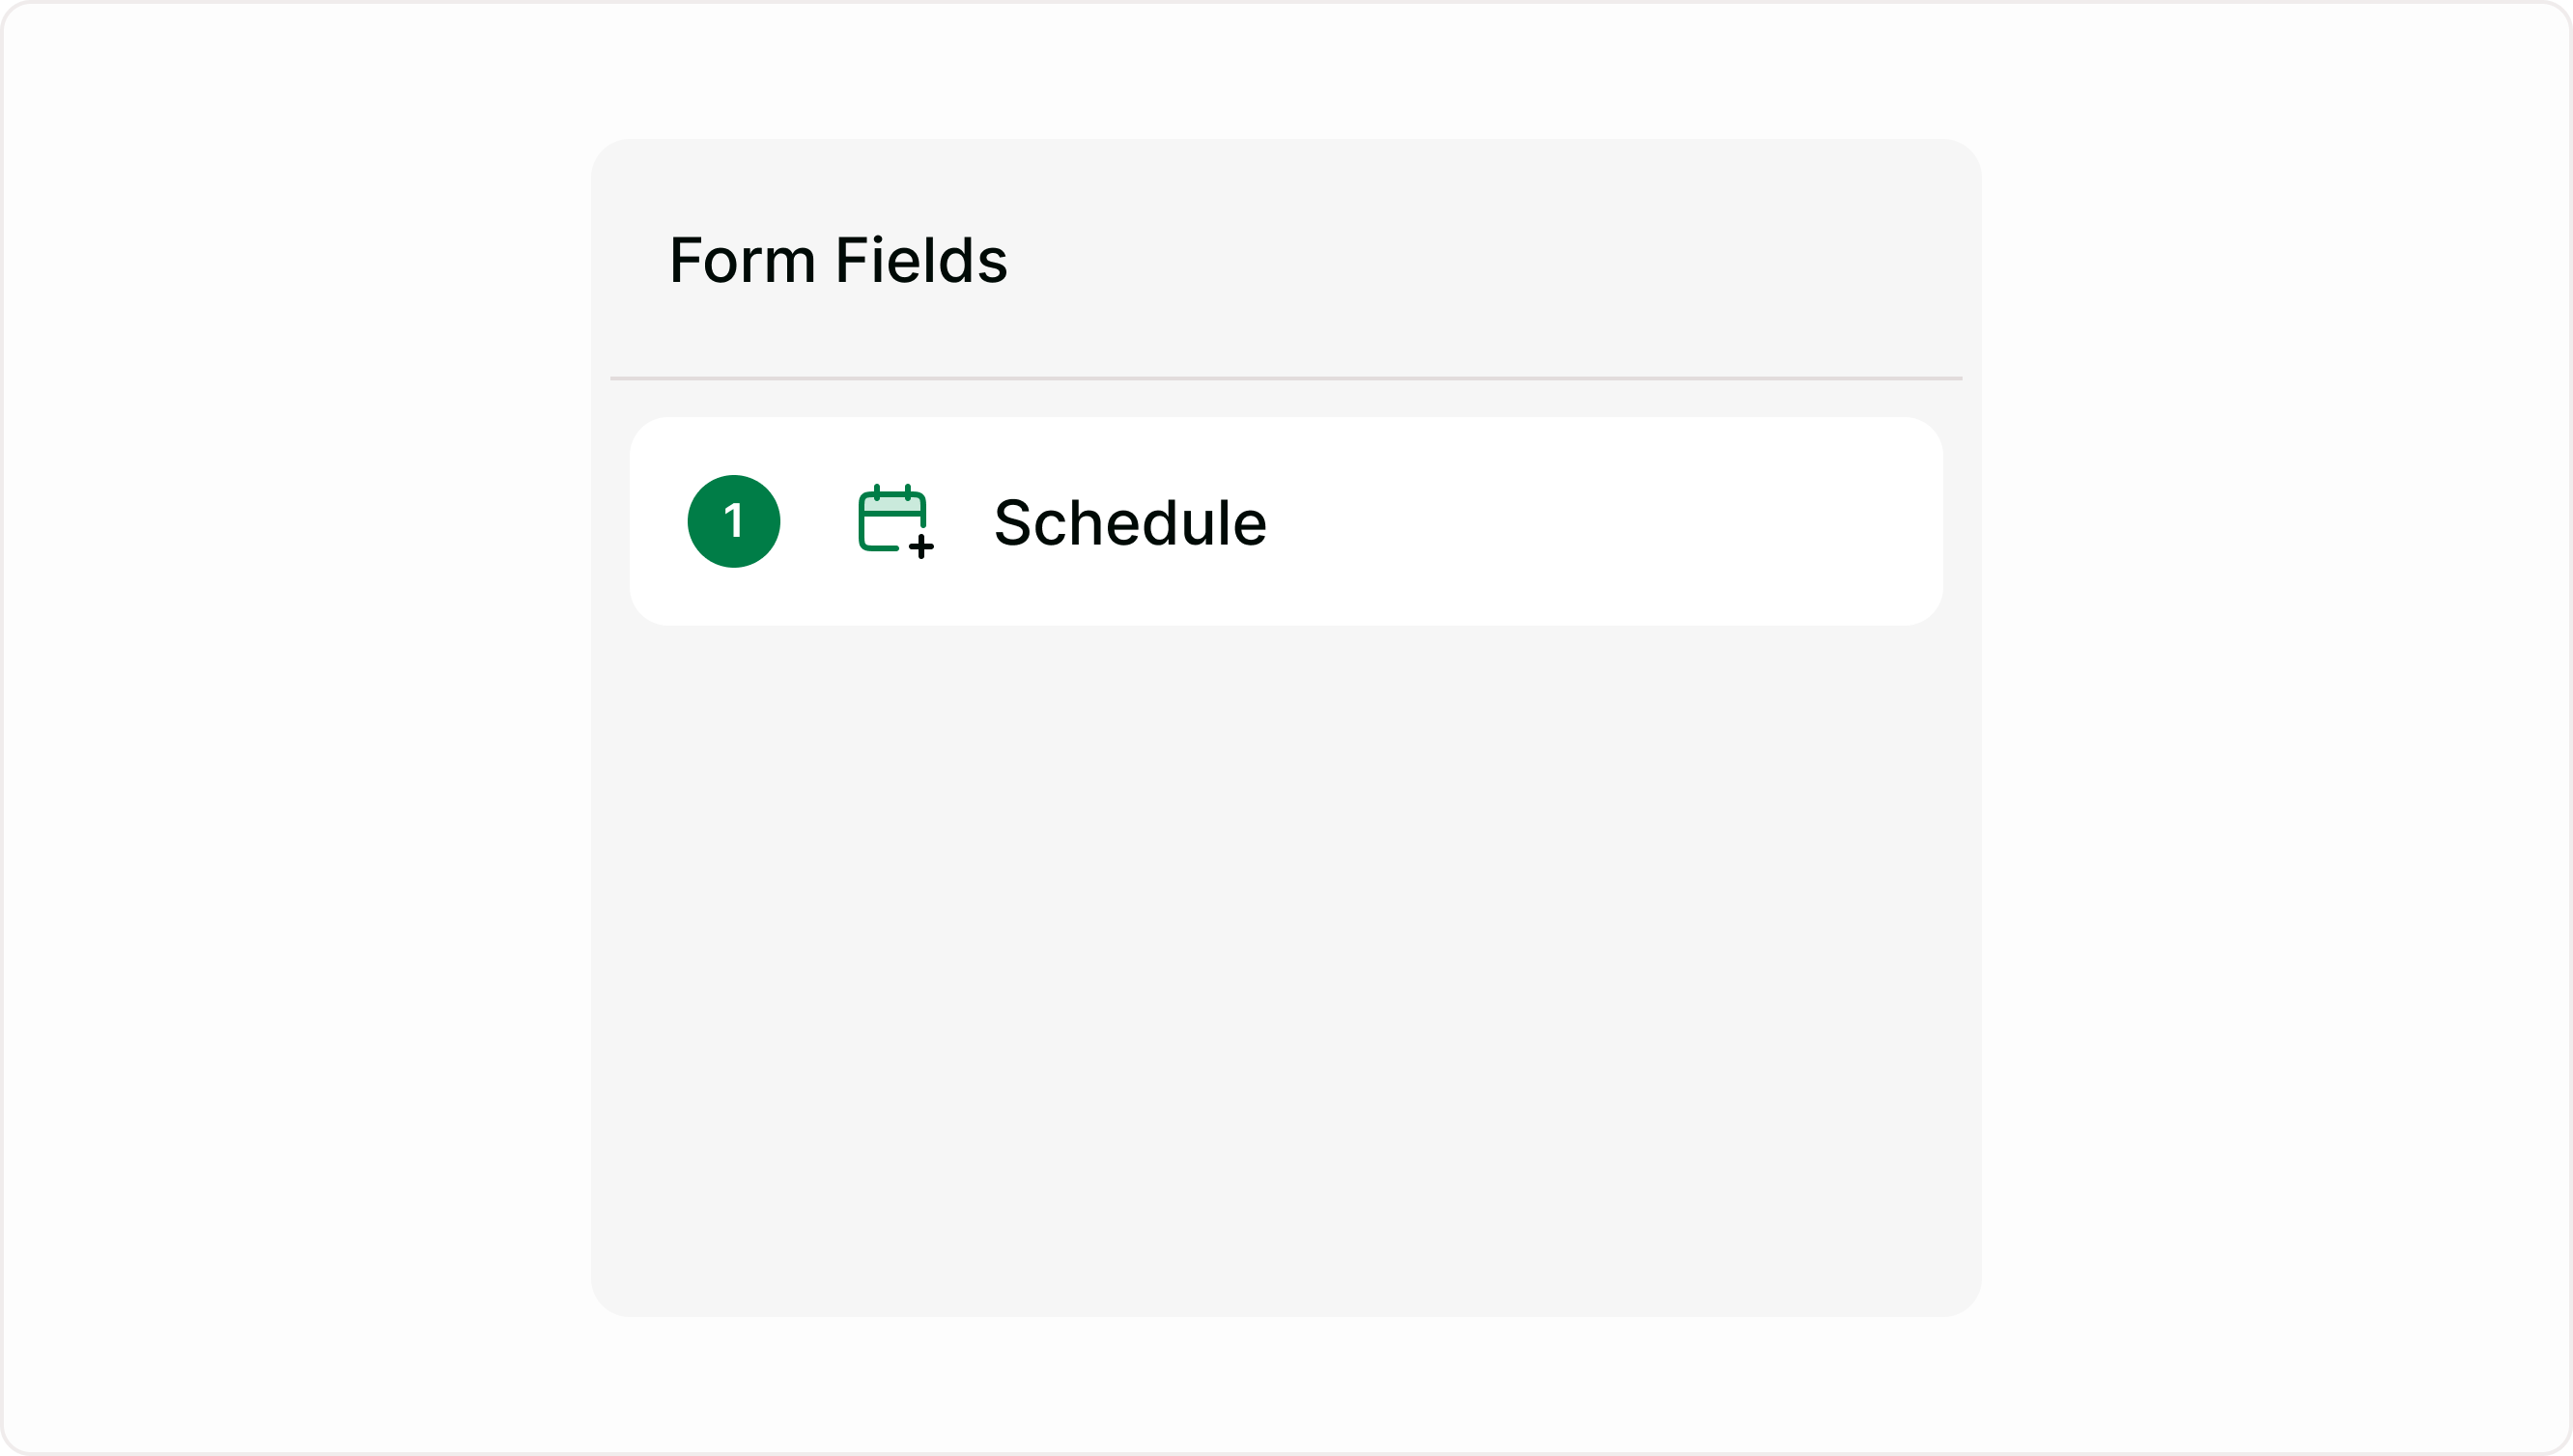
Go to the Form Fields panel
Add the Scheduler field
Select the field to open the Answer Panel
The Scheduler field is configured entirely from the Answer Panel on the right side of the builder.
Connect Calendly to the Scheduler field
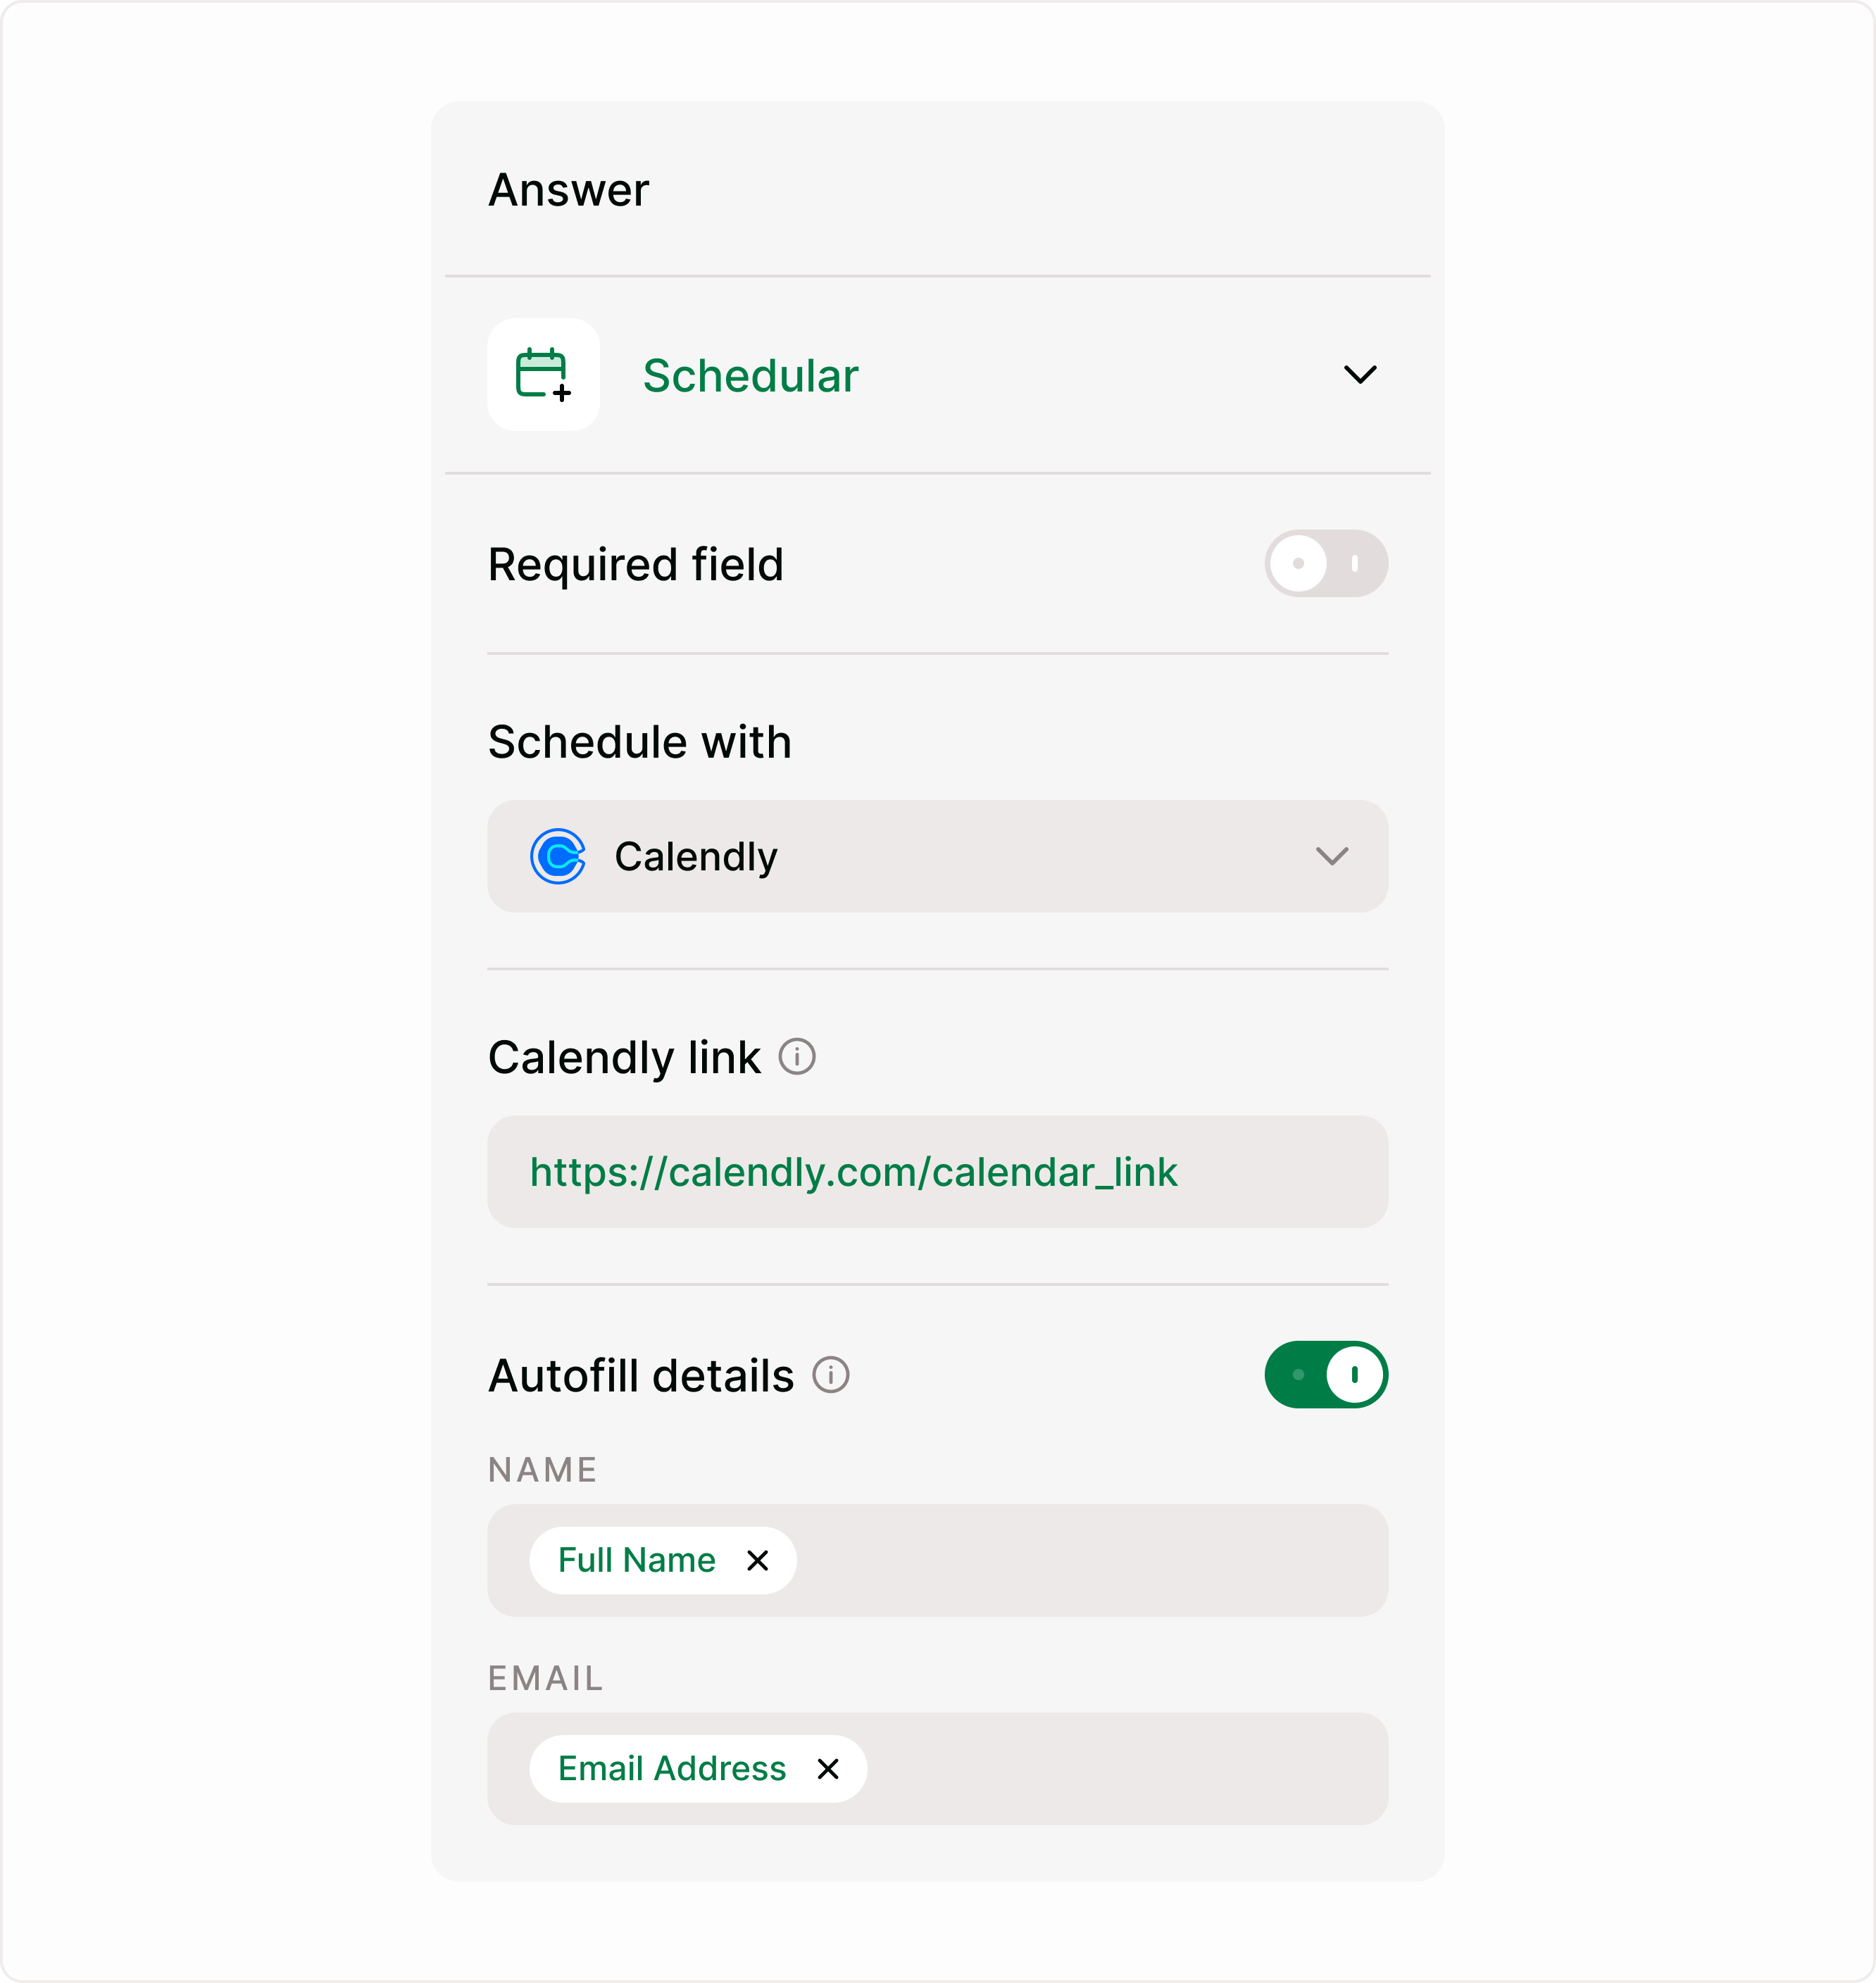
Inside the Answer Panel
Schedule with
Use the dropdown to select:
Calendly
This defines which scheduling provider powers the booking experience.
Calendly link
Paste your Calendly event link into the input field.
Example:
https://calendly.com/your-event
This connects:
Your availability
Meeting slots
Booking settings
Event scheduling flow
Once added, respondents will be able to interact with the embedded scheduler directly inside your form.
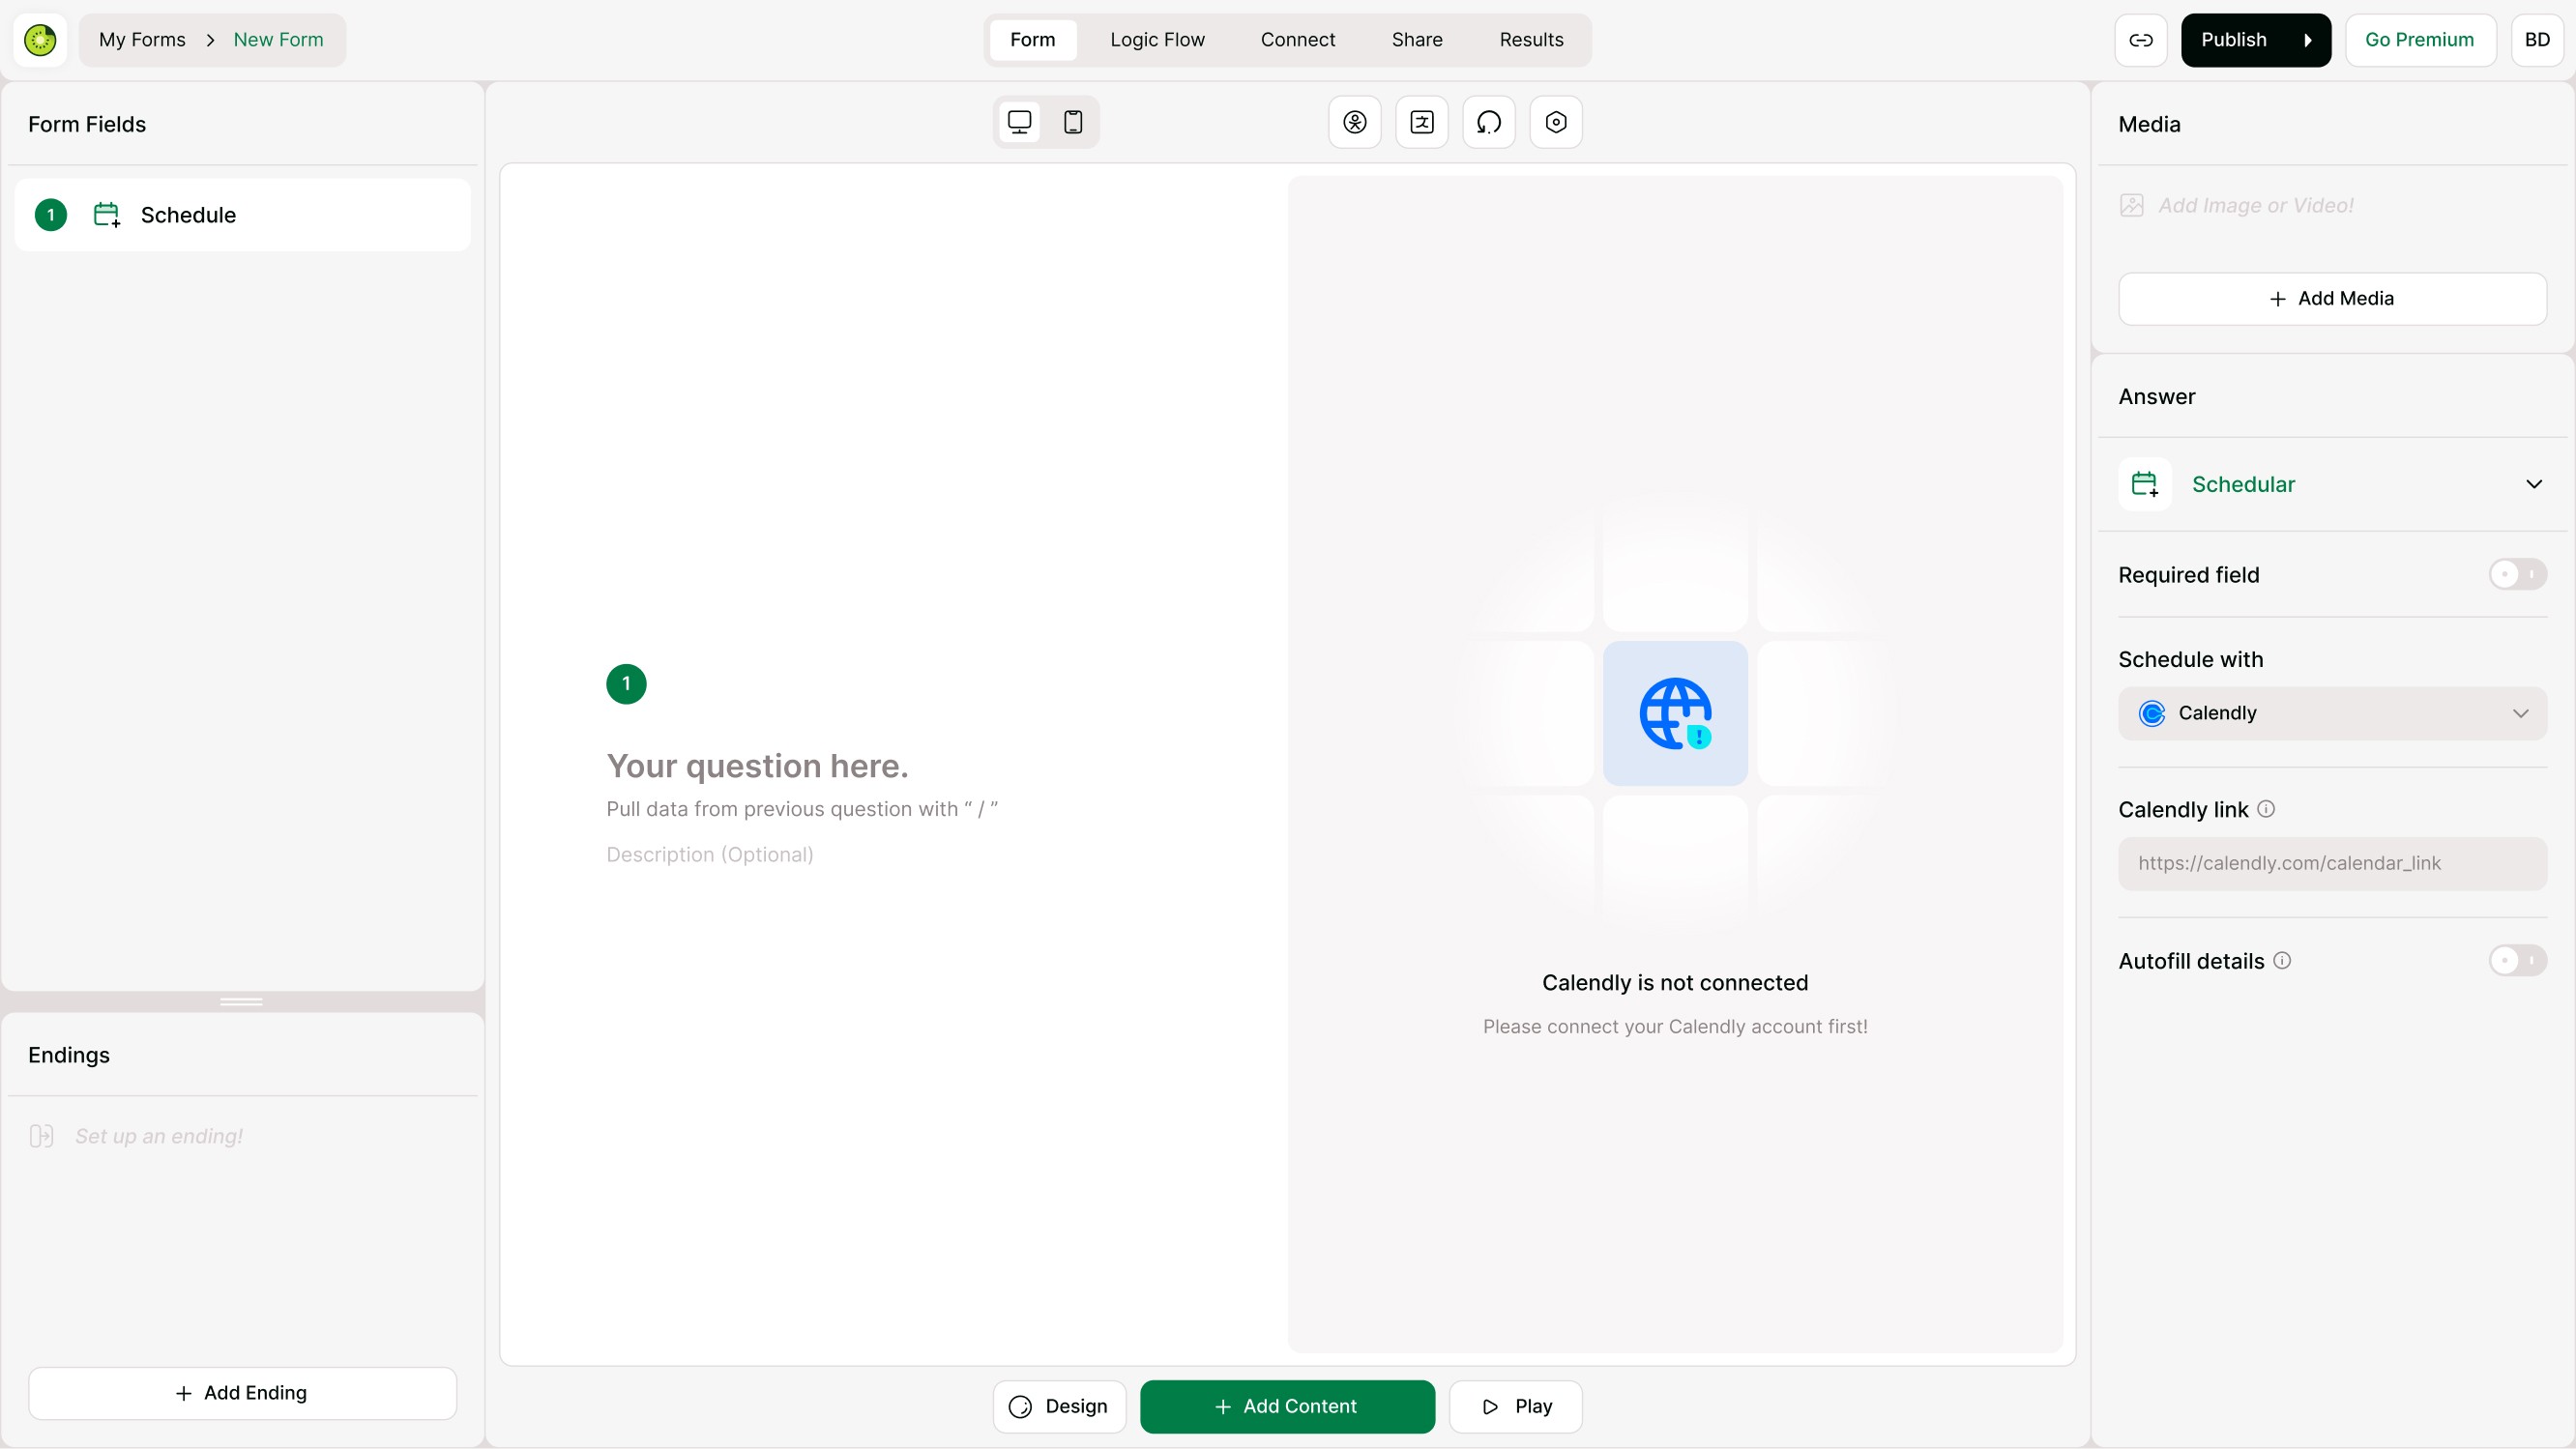
How respondents experience scheduling
When respondents open your form:
The form appears on the left
The scheduling widget appears on the right
They can:
Choose a date
Select an available time
Confirm the booking
Complete the form in one experience
This removes unnecessary redirects and keeps the submission flow smooth and focused.
This setup is especially useful for:
Lead generation funnels
Demo requests
Consultation forms
Discovery call forms
High-conversion sales workflows
Enable Autofill Details
Inside the Answer Panel:
Turn ON the Autofill details toggle
Two mapping fields will appear:
Name
Email
Map existing form fields
For each field:
Select the form field that should provide the respondent’s information
Examples:
Full Name → Name
Email Address → Email
Once mapped:
Respondents won’t need to re-enter their details
Scheduling becomes faster and more seamless
Form completion rates improve
This is especially valuable for:
Sales qualification forms
Client onboarding
Consultation booking
Service request forms

When should you use Autofill Details?
We recommend enabling Autofill Details when:
Your form already collects contact information
You want faster scheduling flows
You want to reduce repeated input fields
You want a cleaner respondent experience
You can leave Autofill disabled if you prefer respondents to manually enter booking details during scheduling.
Publish your scheduling form
Once your Scheduler field is configured:
Calendly link added
Optional autofill configured
You can publish the form normally.
Your respondents will then be able to:
Fill out the form
Schedule a meeting
Complete the workflow
all in a single experience.
Why use Scheduler in Kiwiform?
The Scheduler field helps turn forms into interactive booking workflows.
With Kiwiform, a free Typeform alternative, you can:
Combine lead capture and scheduling
Reduce friction in booking flows
Improve form completion rates
Eliminate unnecessary redirects
Create smoother user experiences
Instead of sending respondents to another scheduling page after submission, everything happens inside the form itself.
Related integrations
The Scheduler field currently supports:
Calendly
You can find Calendly inside:
Connect → Integrations
Selecting Calendly will guide you to the Scheduler Help Center documentation to help you set up scheduling correctly inside your form.
Troubleshooting
Scheduler is not appearing
Make sure:
A valid Calendly link is added
The Scheduler field is properly configured
Respondents are asked for Name and Email again
Enable:
Autofill details
Then map:
Name field
Email field
from your form.
Scheduling is not working
Check:
Calendly link format
Calendly event availability
Published form settings
Common use cases
Sales demo booking
Capture leads and instantly let prospects schedule a demo call.
Consultation forms
Allow users to request and schedule consultations without back-and-forth emails.
Client onboarding
Collect onboarding information and schedule kickoff meetings in one flow.
Interview scheduling
Let candidates choose interview slots directly after submitting application forms.
Coaching and services
Allow clients to schedule sessions while submitting intake forms.
Best Practices
Configure the Scheduler field carefully to create a smoother and more reliable booking experience for respondents.
Collect Name and Email fields before the Scheduler field when using Autofill Details
Enable Autofill Details to reduce repetitive input during booking
Use clear Calendly event names so respondents understand the meeting purpose
Place the Scheduler field near the end of the form flow
Test the full scheduling experience before publishing the form
Use Scheduler for high-intent workflows like demos, consultations, and onboarding
These small setup decisions can improve booking completion rates and create a more seamless scheduling workflow.
Summary
The Scheduler field in Kiwiform allows you to combine form submissions and appointment booking into a single seamless experience. By connecting a Calendly link, respondents can select available meeting slots directly inside your form without leaving the flow. You can also enable Autofill Details to automatically pass Name and Email values from existing form fields into Calendly, reducing repetitive input and improving completion rates. This makes the Scheduler field ideal for demo requests, consultations, onboarding flows, interviews, coaching sessions, and other scheduling-based workflows where capturing information and booking meetings need to happen together.