What Is Tagging?
Tagging allows you to automatically assign labels (tags) to respondents based on their answers, scores, variables, or conditions.
Instead of manually sorting responses later, you can define rules like:
If answer is “Choice A” → Tag as “High Intent”
If score is above 80 → Tag as “Qualified”
If selected plan is “Enterprise” → Tag as “Priority Lead”
Tags help you organize, filter, and act on your responses more efficiently.
Tagging does not change what the respondent sees. It works in the background to structure your data intelligently.
Where to Find Tagging
To configure tagging:
Open your form
Click on Logic Flow from the center header navigation
On the Logic Board, click Tagging from the top left logic tools
The Tagging modal will open
Inside this modal, you can create Tag Groups and set rules.

Understanding Tag Groups
Tag Groups help you organize related tags under a single category.
For example:
Tag Group: Lead Qualification
High
Medium
Low
Tag Group: Product Interest
Plan A
Plan B
Enterprise
Each group works independently. This makes segmentation structured and scalable.
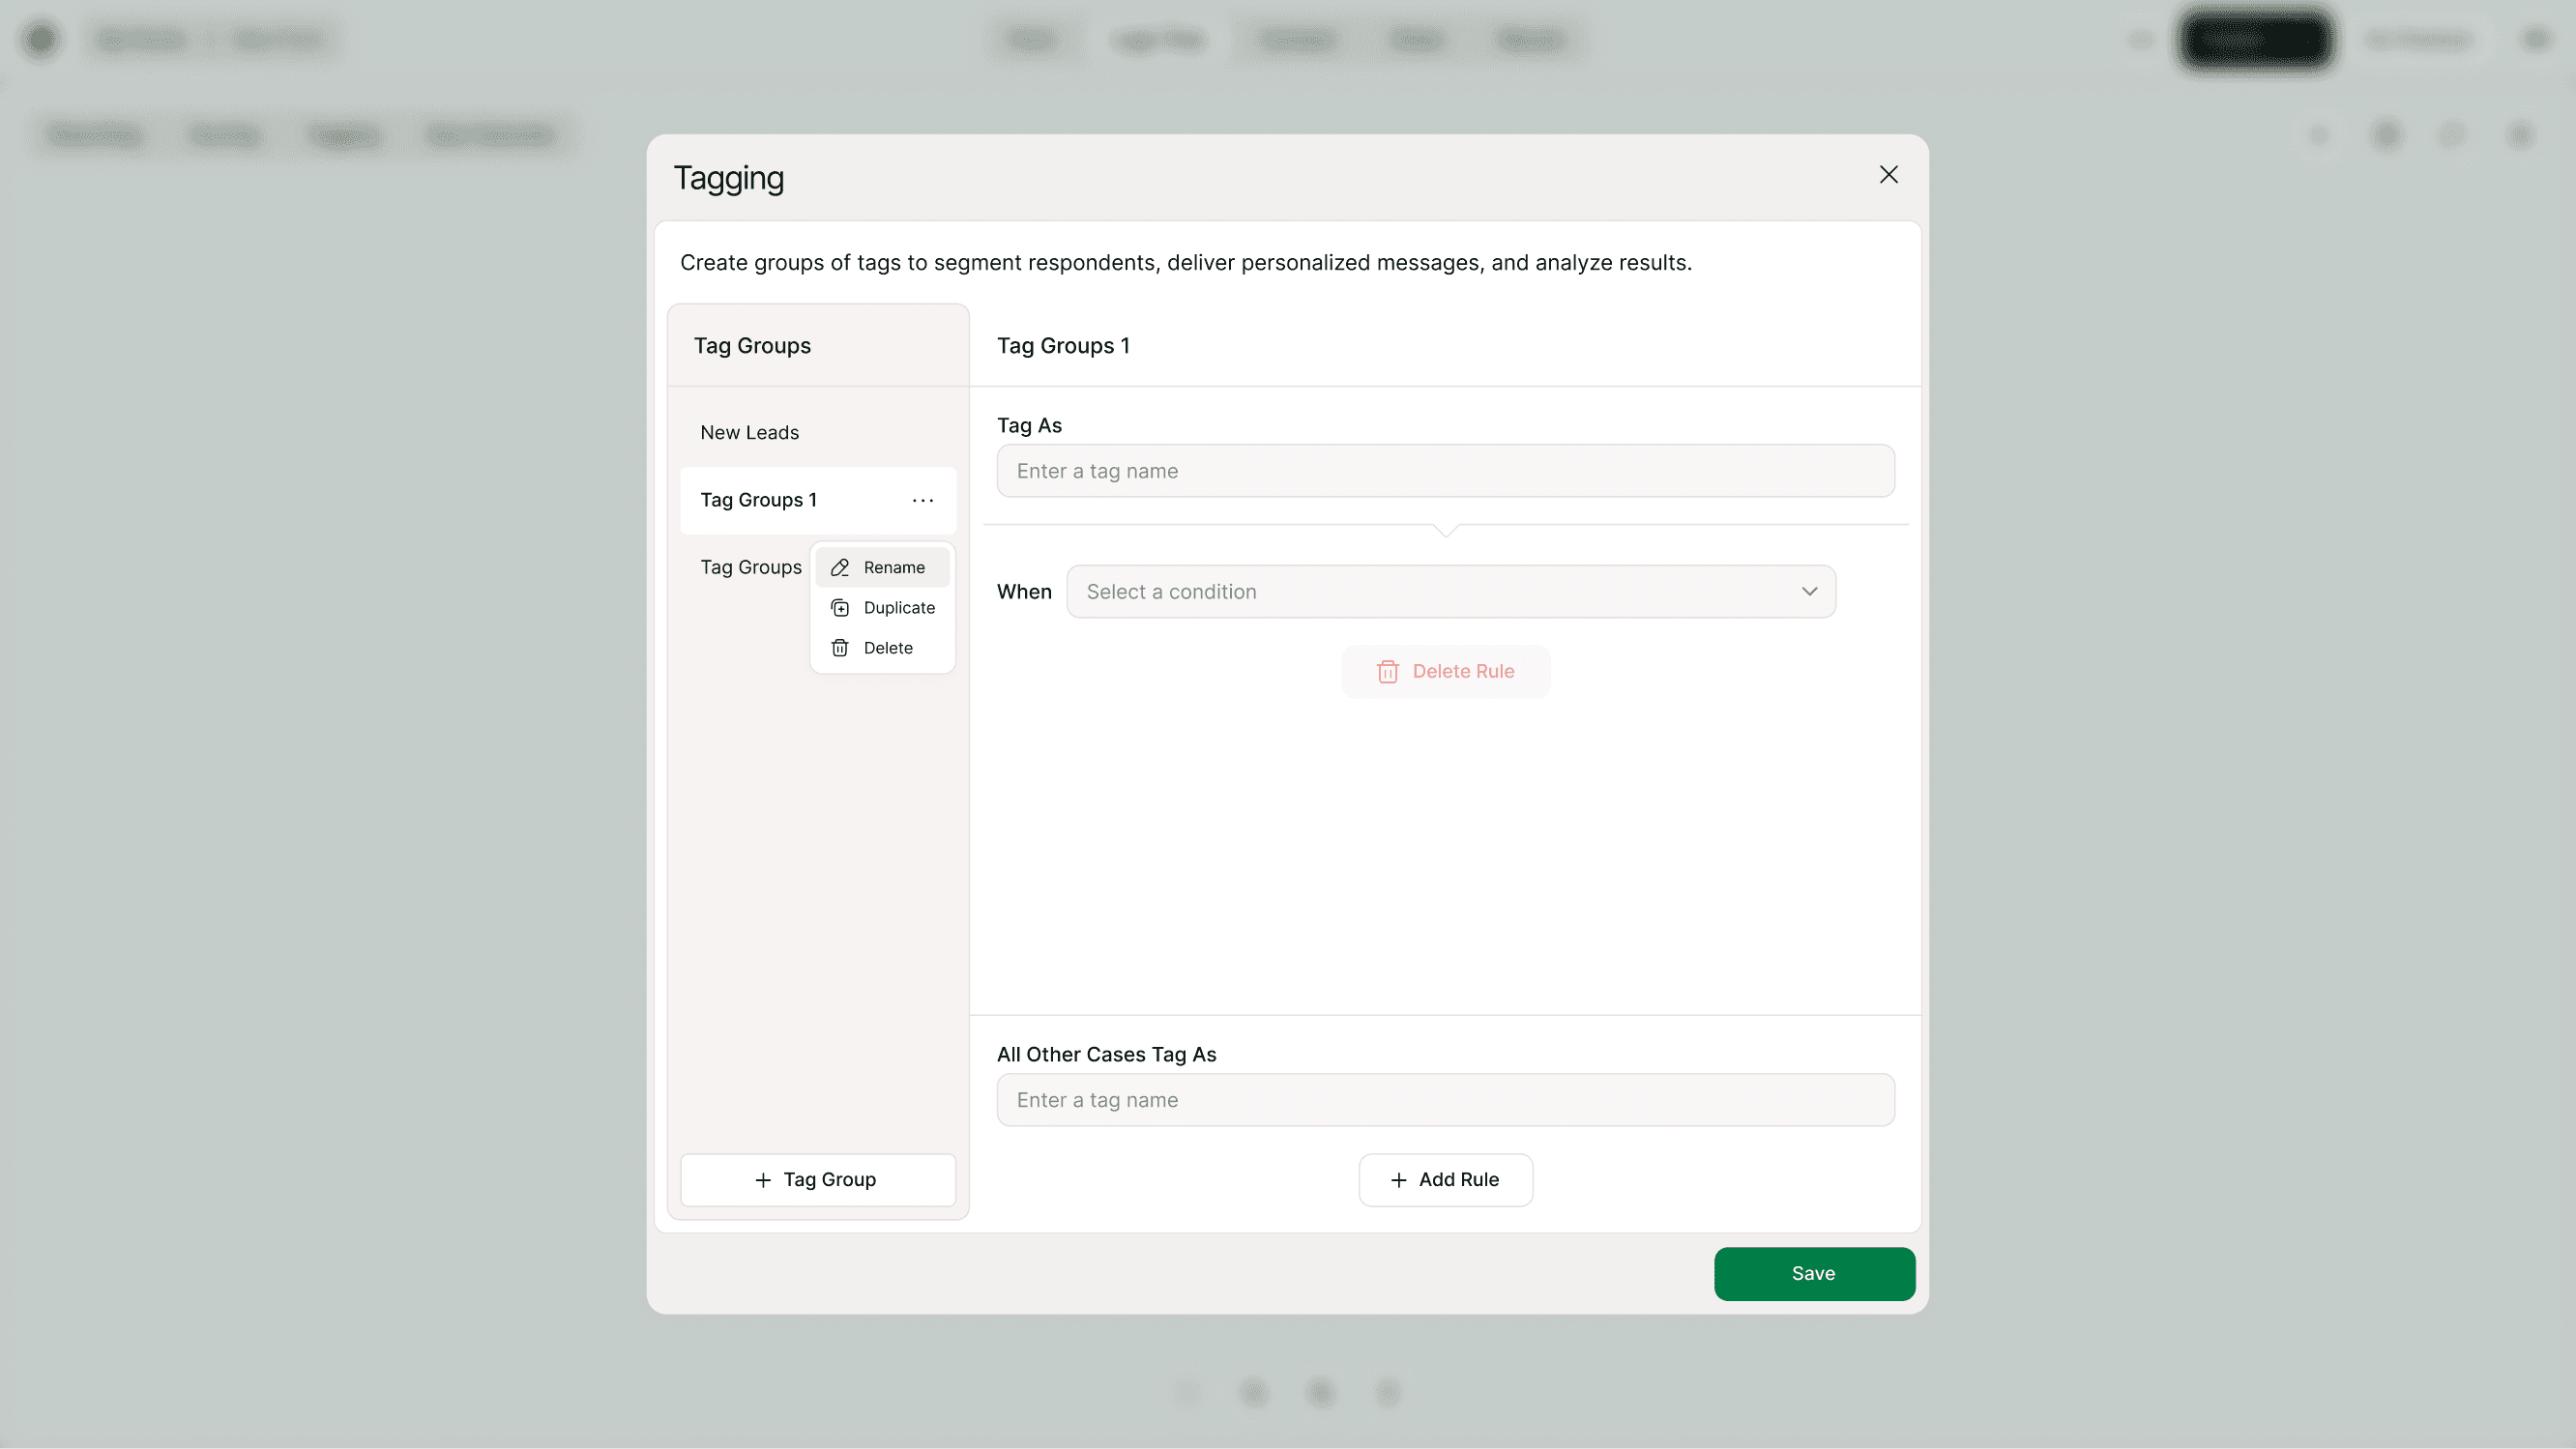
You can:
Create a new Tag Group
Rename a Tag Group
Duplicate a Tag Group
Delete a Tag Group
How to Create a Tagging Rule
Here’s how to set up a tagging rule:
Create or select a Tag Group
Enter a Tag name in “Tag As”
Click “When” and select a condition
Define the rule
Save
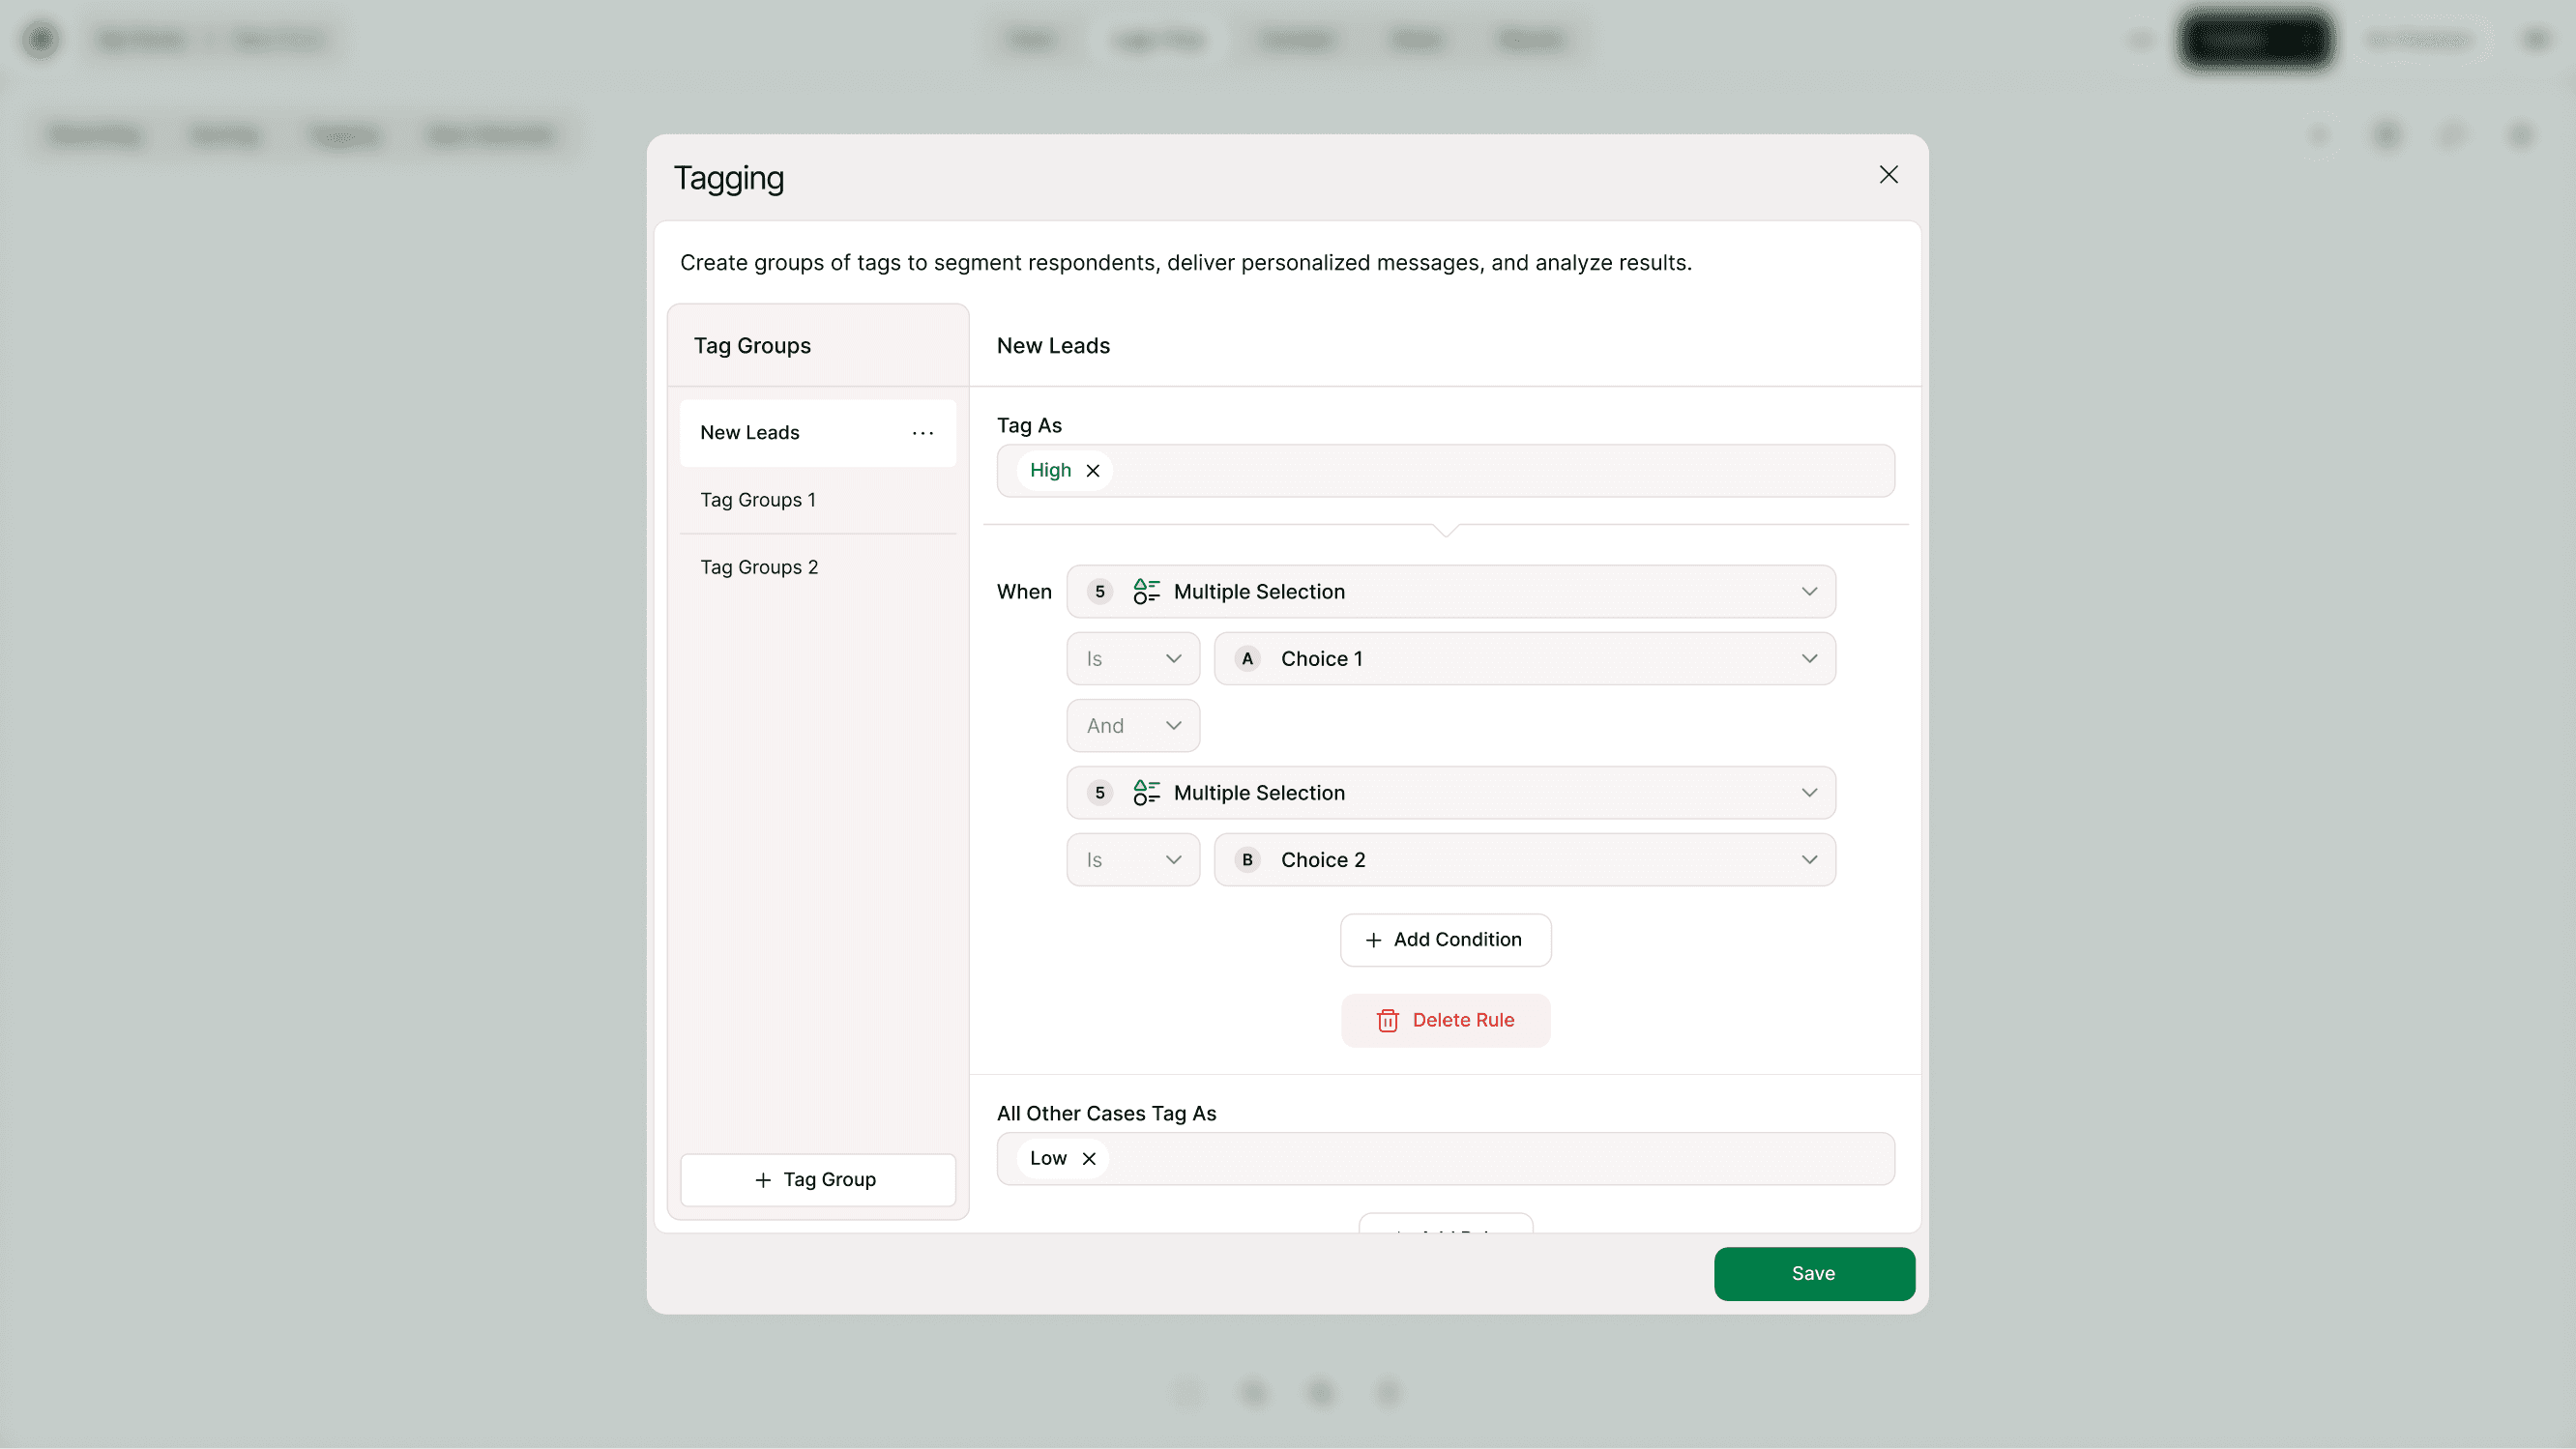
Example:
Tag As: High
When: Multiple Selection → Is → Choice 1 AND Choice 2
You can add multiple conditions using AND / OR logic.
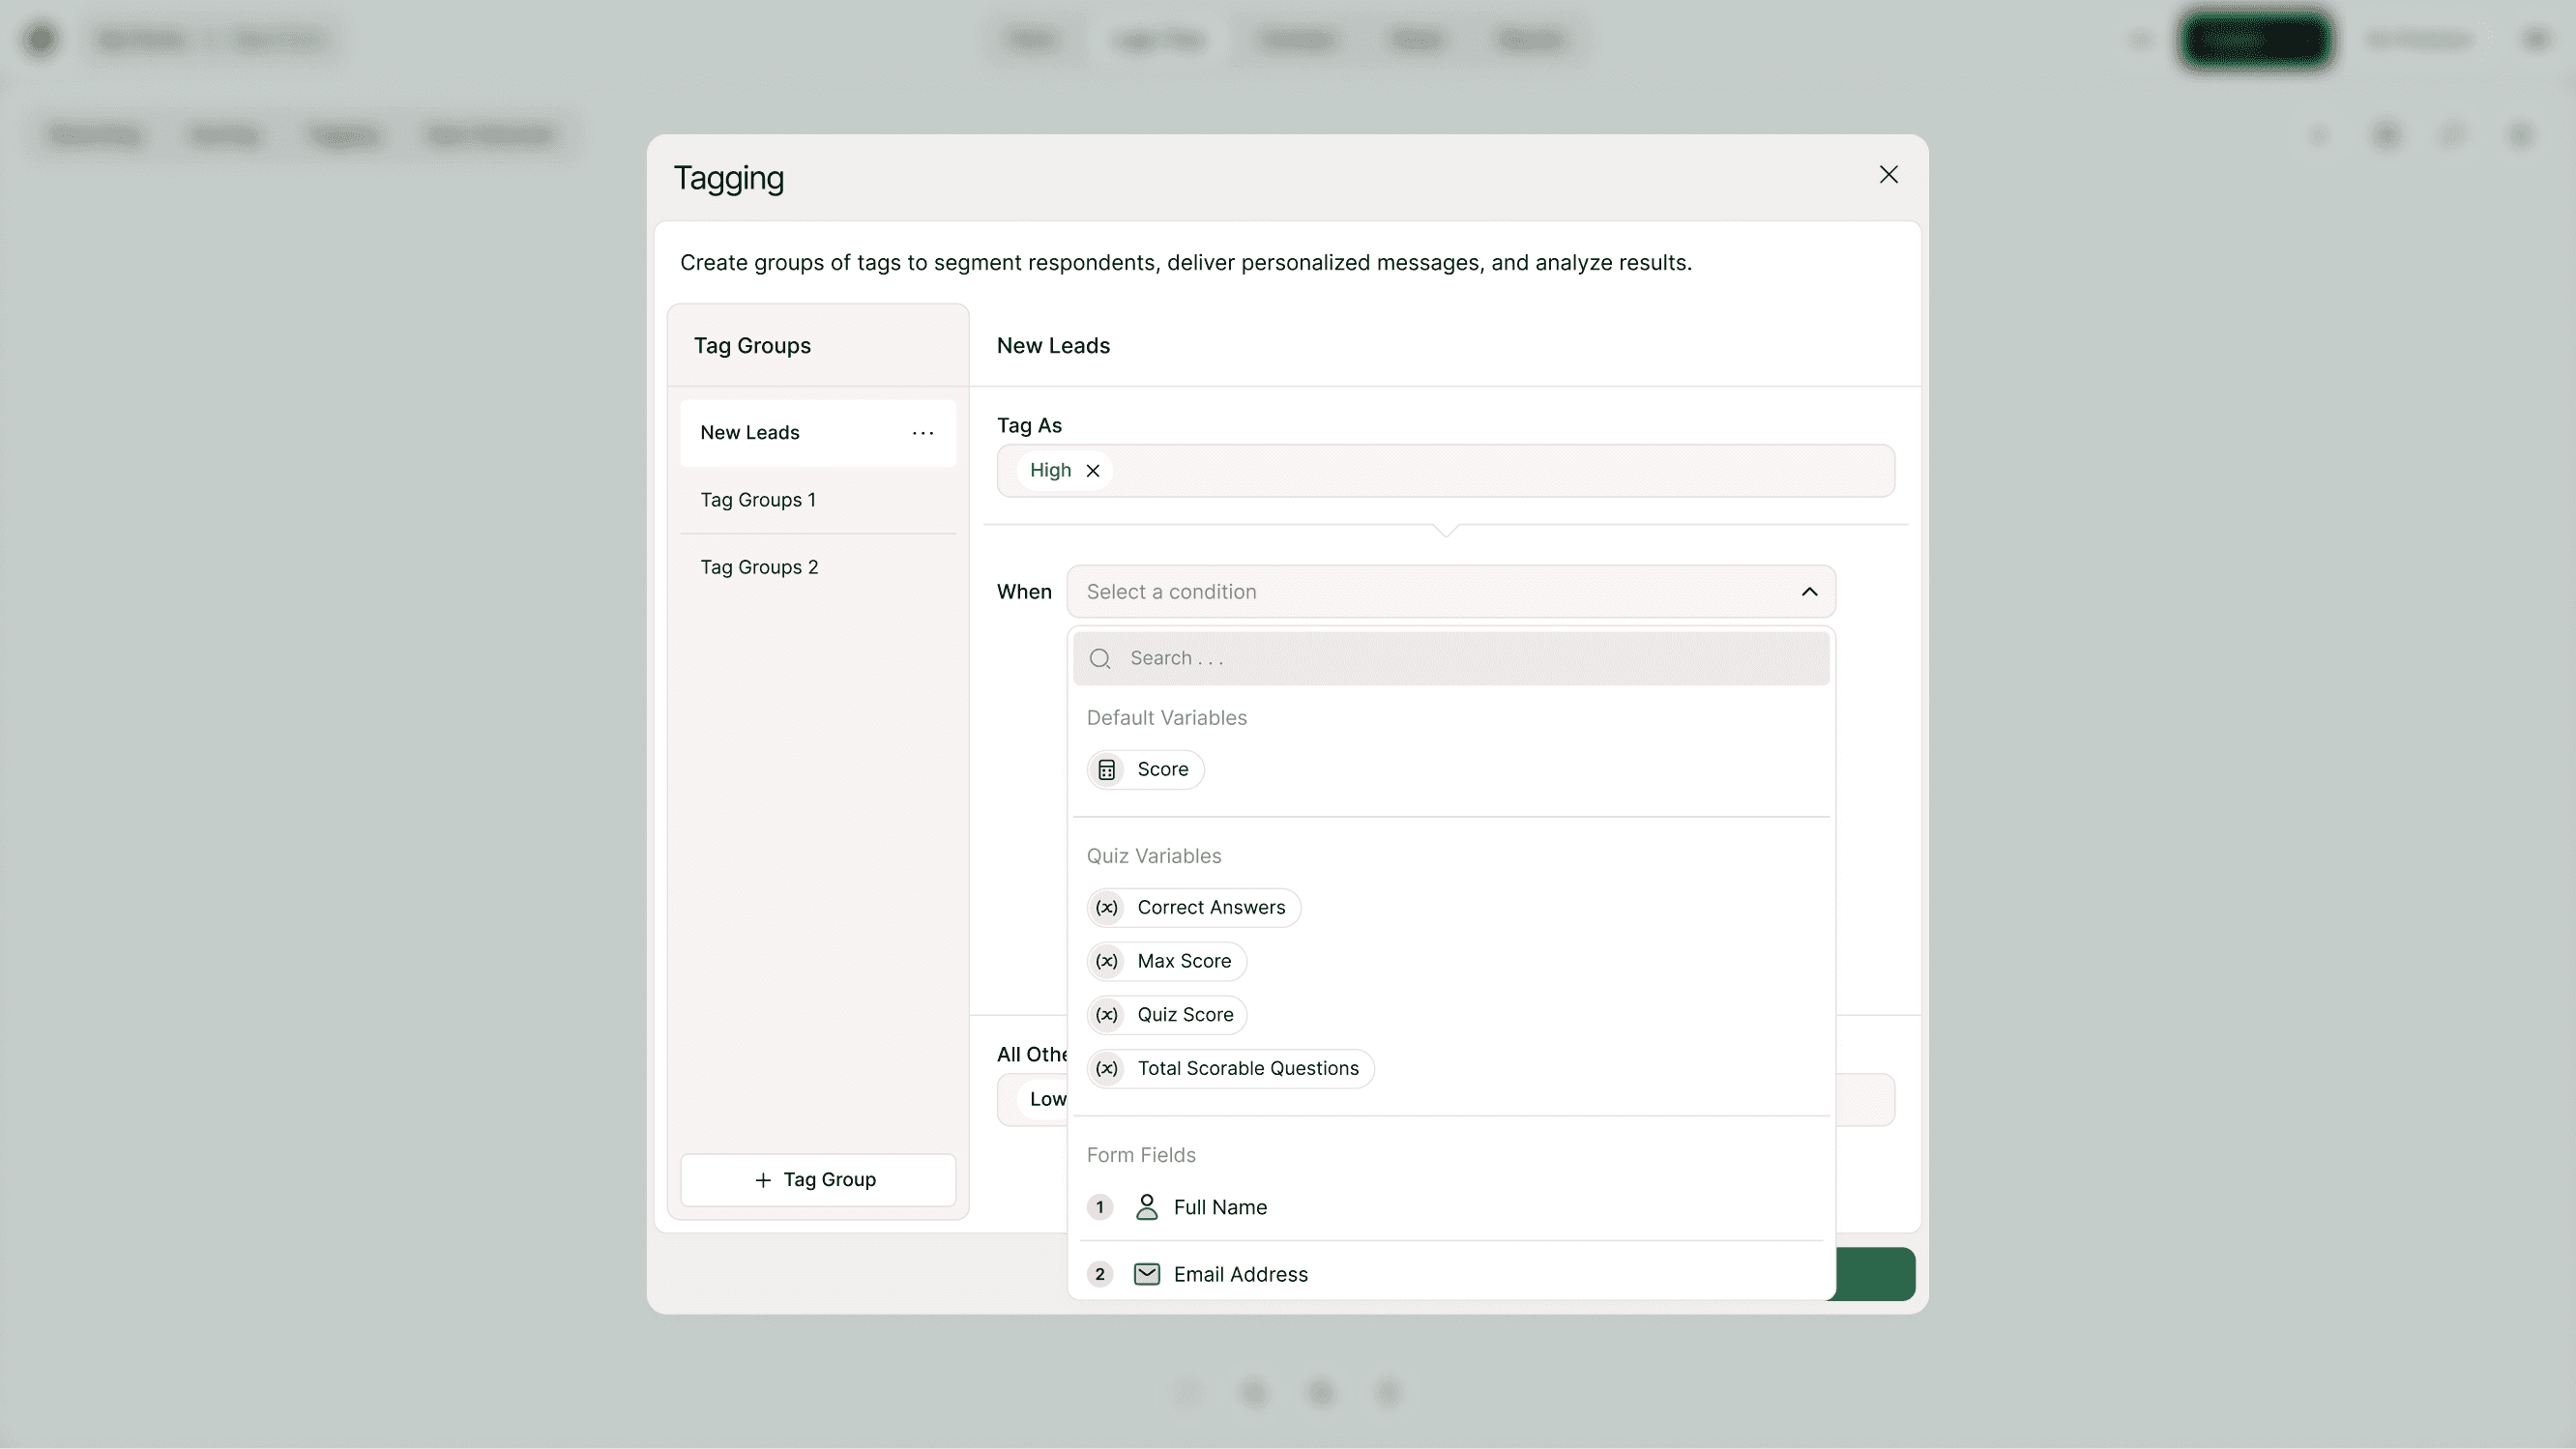
What You Can Use as Conditions
Tagging works with:
Form fields (answers to questions)
Default variables (Score)
Quiz variables (Correct Answers, Max Score, Quiz Score, Total Scorable Questions)
Custom variables
URL Parameters
This makes tagging flexible enough for simple forms and advanced quiz workflows.
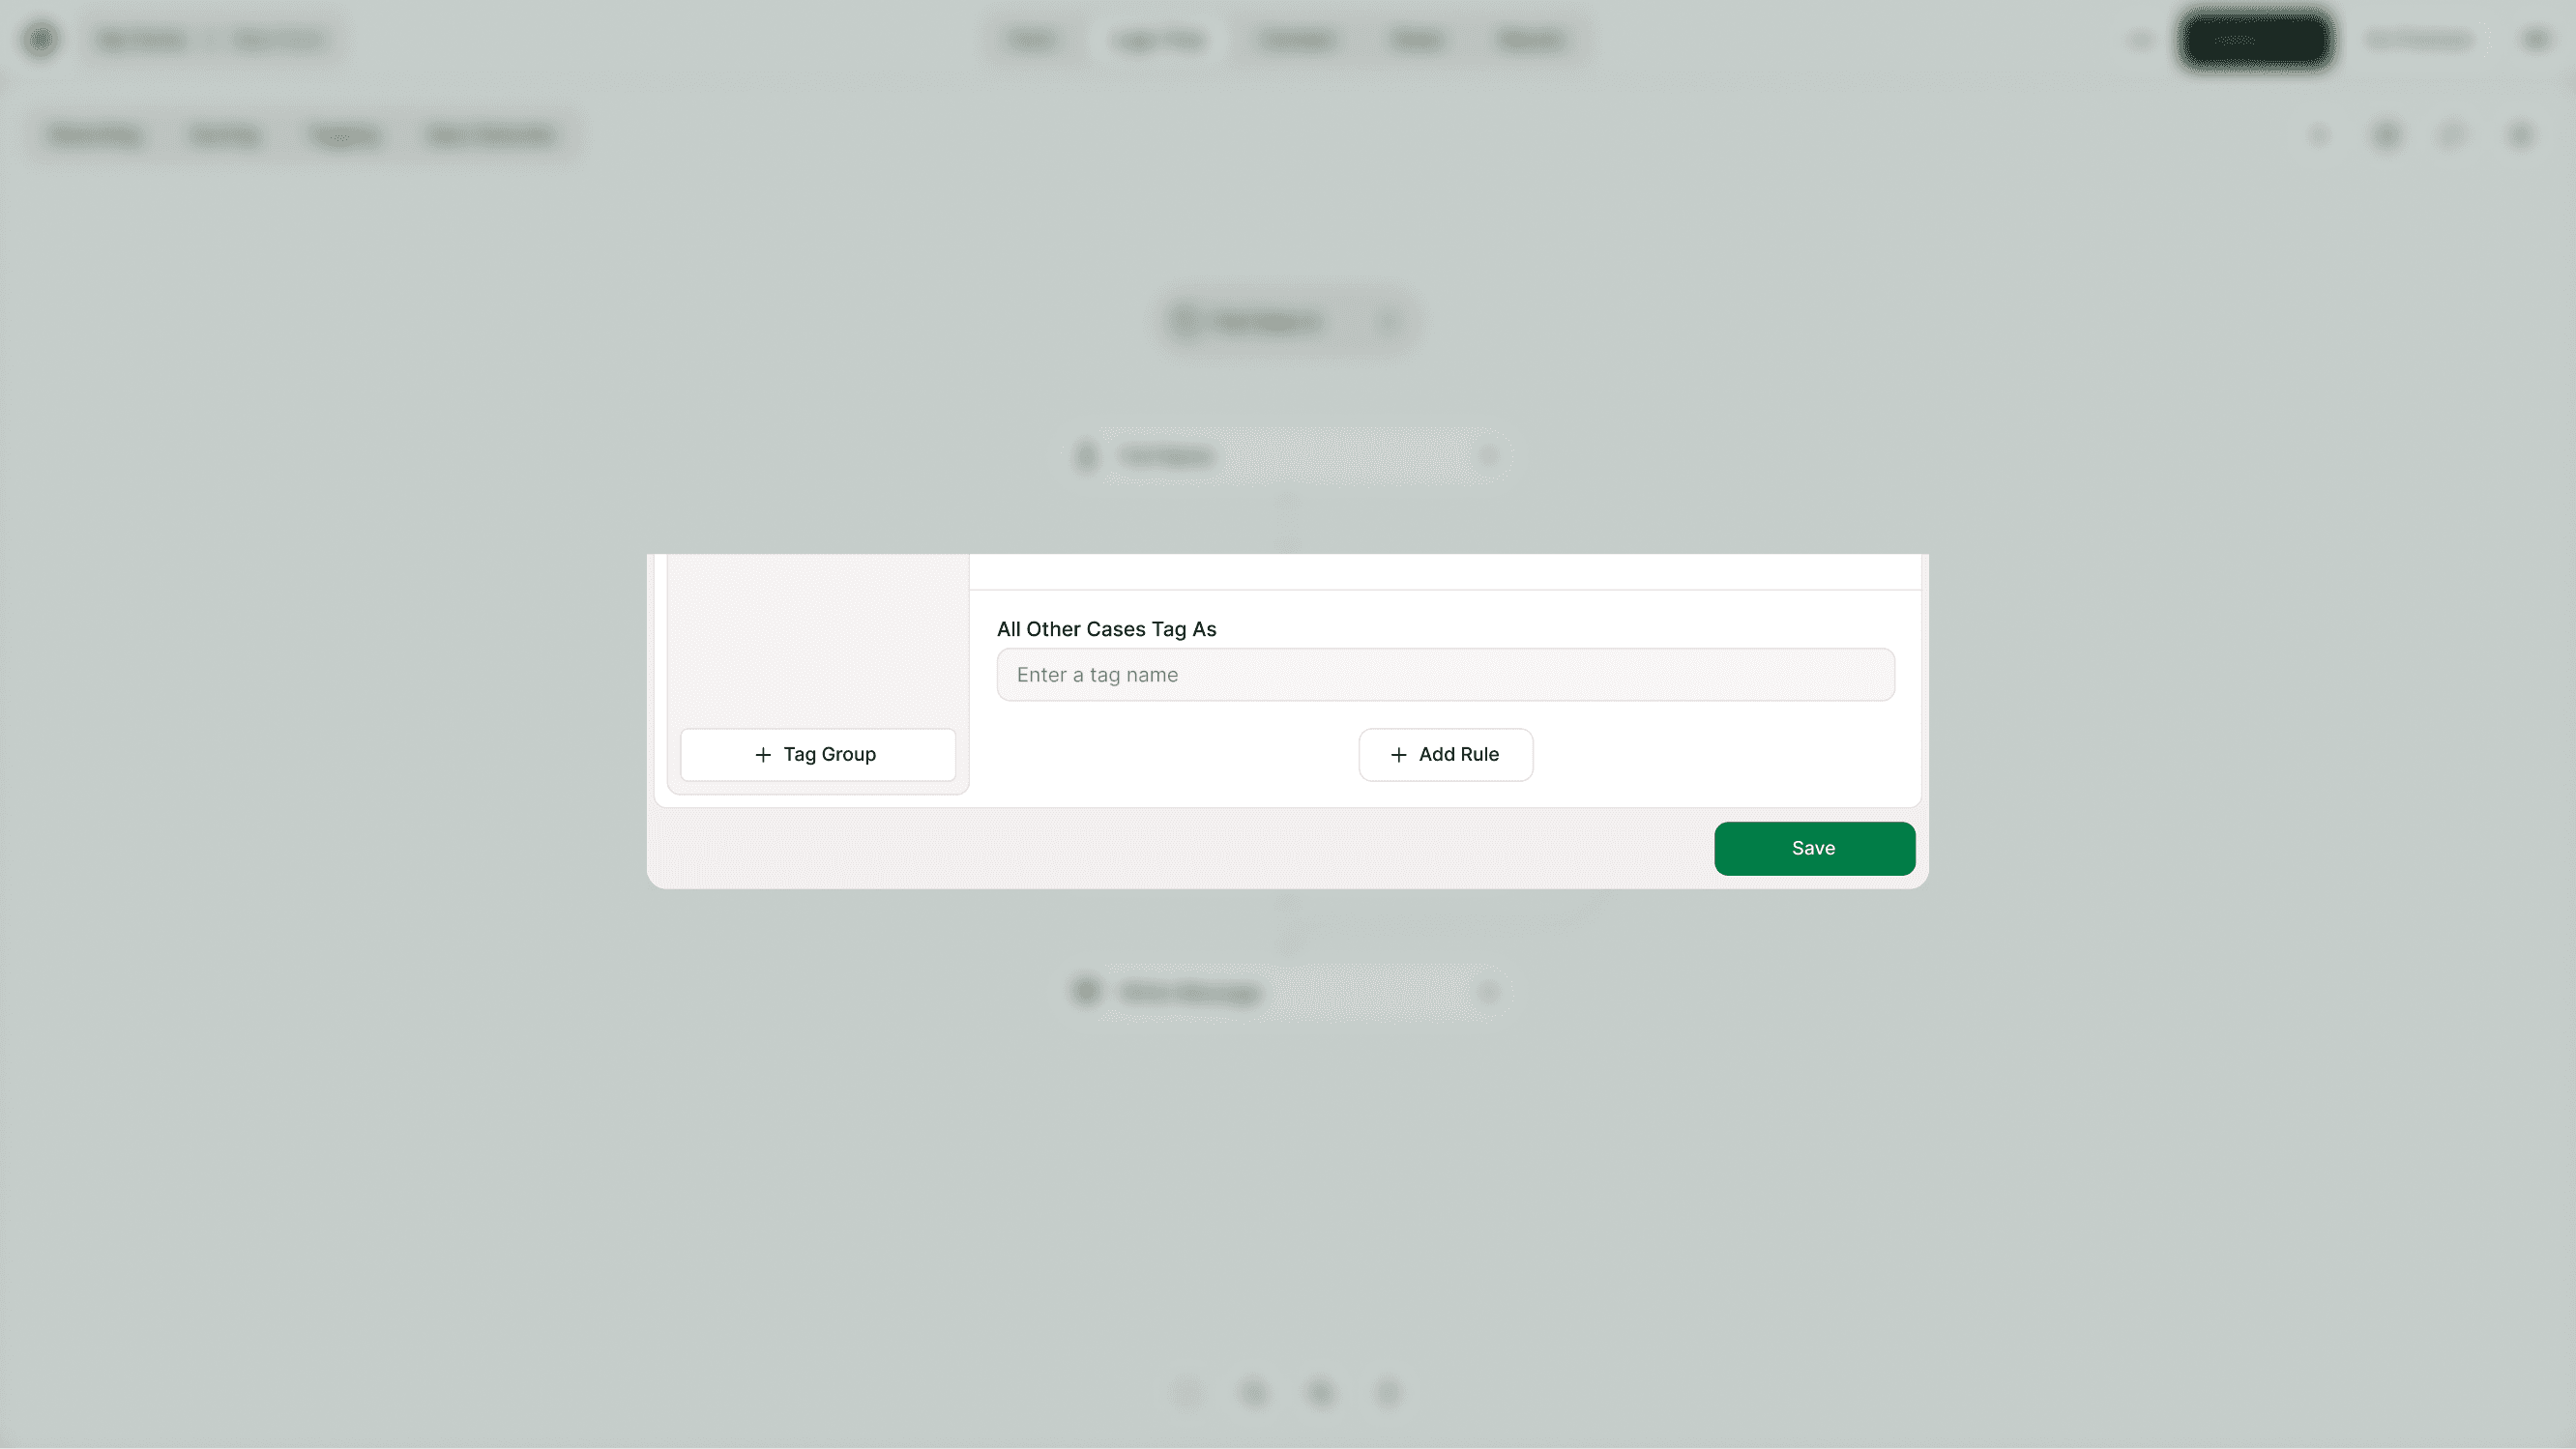
All Other Cases Tag As (Fallback Rule)
You can define a fallback tag using:
“All Other Cases Tag As”
This ensures every respondent gets categorized, even if they don’t meet specific conditions.
Example:
If score > 80 → Tag as High
All other cases → Tag as Low
This keeps your data structured and complete.
Real-World Use Cases
Tagging is powerful for:
Lead Qualification
Automatically classify leads as High, Medium, or Low based on answers.
Sales Prioritization
Tag enterprise or premium plan selections for faster follow-up.
Marketing Segmentation
Group users by interest, industry, or preference.
Quiz Categorization
Tag respondents based on quiz score range.
Event Registration
Segment attendees by role, ticket type, or location.
Customer Support Routing
Tag issues based on severity or category.
Tagging turns raw responses into organized, actionable data.
How Tagging Works with Results
Once tags are assigned:
They appear in your Results section
You can filter responses by tags
You can export tagged data
You can segment for follow-ups
Tags make it easier to analyze patterns and prioritize actions.
Best Practices for Tagging
Keep tag names short and meaningful
Use structured Tag Groups instead of random tags
Always define a fallback tag
Avoid creating too many overlapping rules
Test your tagging logic before publishing
Combine tagging with scoring for advanced qualification
Use consistent naming conventions
Smart tagging keeps your form clean and your data powerful.
Common Mistakes to Avoid
Not naming your tag before adding conditions
Forgetting to set “All Other Cases”
Creating duplicate Tag Groups
Overcomplicating rules unnecessarily
Not testing logic before publishing
Always click Save after configuring your tagging rules.
Summary
Tagging in Kiwiform helps you automatically segment and qualify respondents using logic-based rules.
By creating Tag Groups and defining conditions based on answers, variables, scores, or URL parameters, you can turn simple form responses into structured, actionable insights.
Whether you’re qualifying leads, categorizing quiz results, or organizing survey responses, tagging ensures your data is ready for analysis and follow-up — without manual sorting.