What is the Welcome Screen?
The Welcome Screen is the first screen respondents see before they start answering questions. It helps you greet users, explain the purpose of your form, and provide helpful context such as estimated completion time or social proof. A strong Welcome Screen sets expectations early, builds trust, and increases the likelihood that respondents will complete your form.
Use it for surveys, feedback forms, onboarding forms, applications, lead capture, registrations, and any form where a clear introduction improves engagement.
Why use a Welcome Screen?
Adding a Welcome Screen helps you:
Introduce the purpose of the form clearly
Set expectations about time and effort
Increase trust and transparency
Improve completion rates
Provide social proof when needed
Create a more conversational, guided experience
A well-written Welcome Screen reduces confusion and encourages respondents to continue.
How to add a Welcome Screen
Add Welcome Screen
Open your form in the Kiwiform builder.
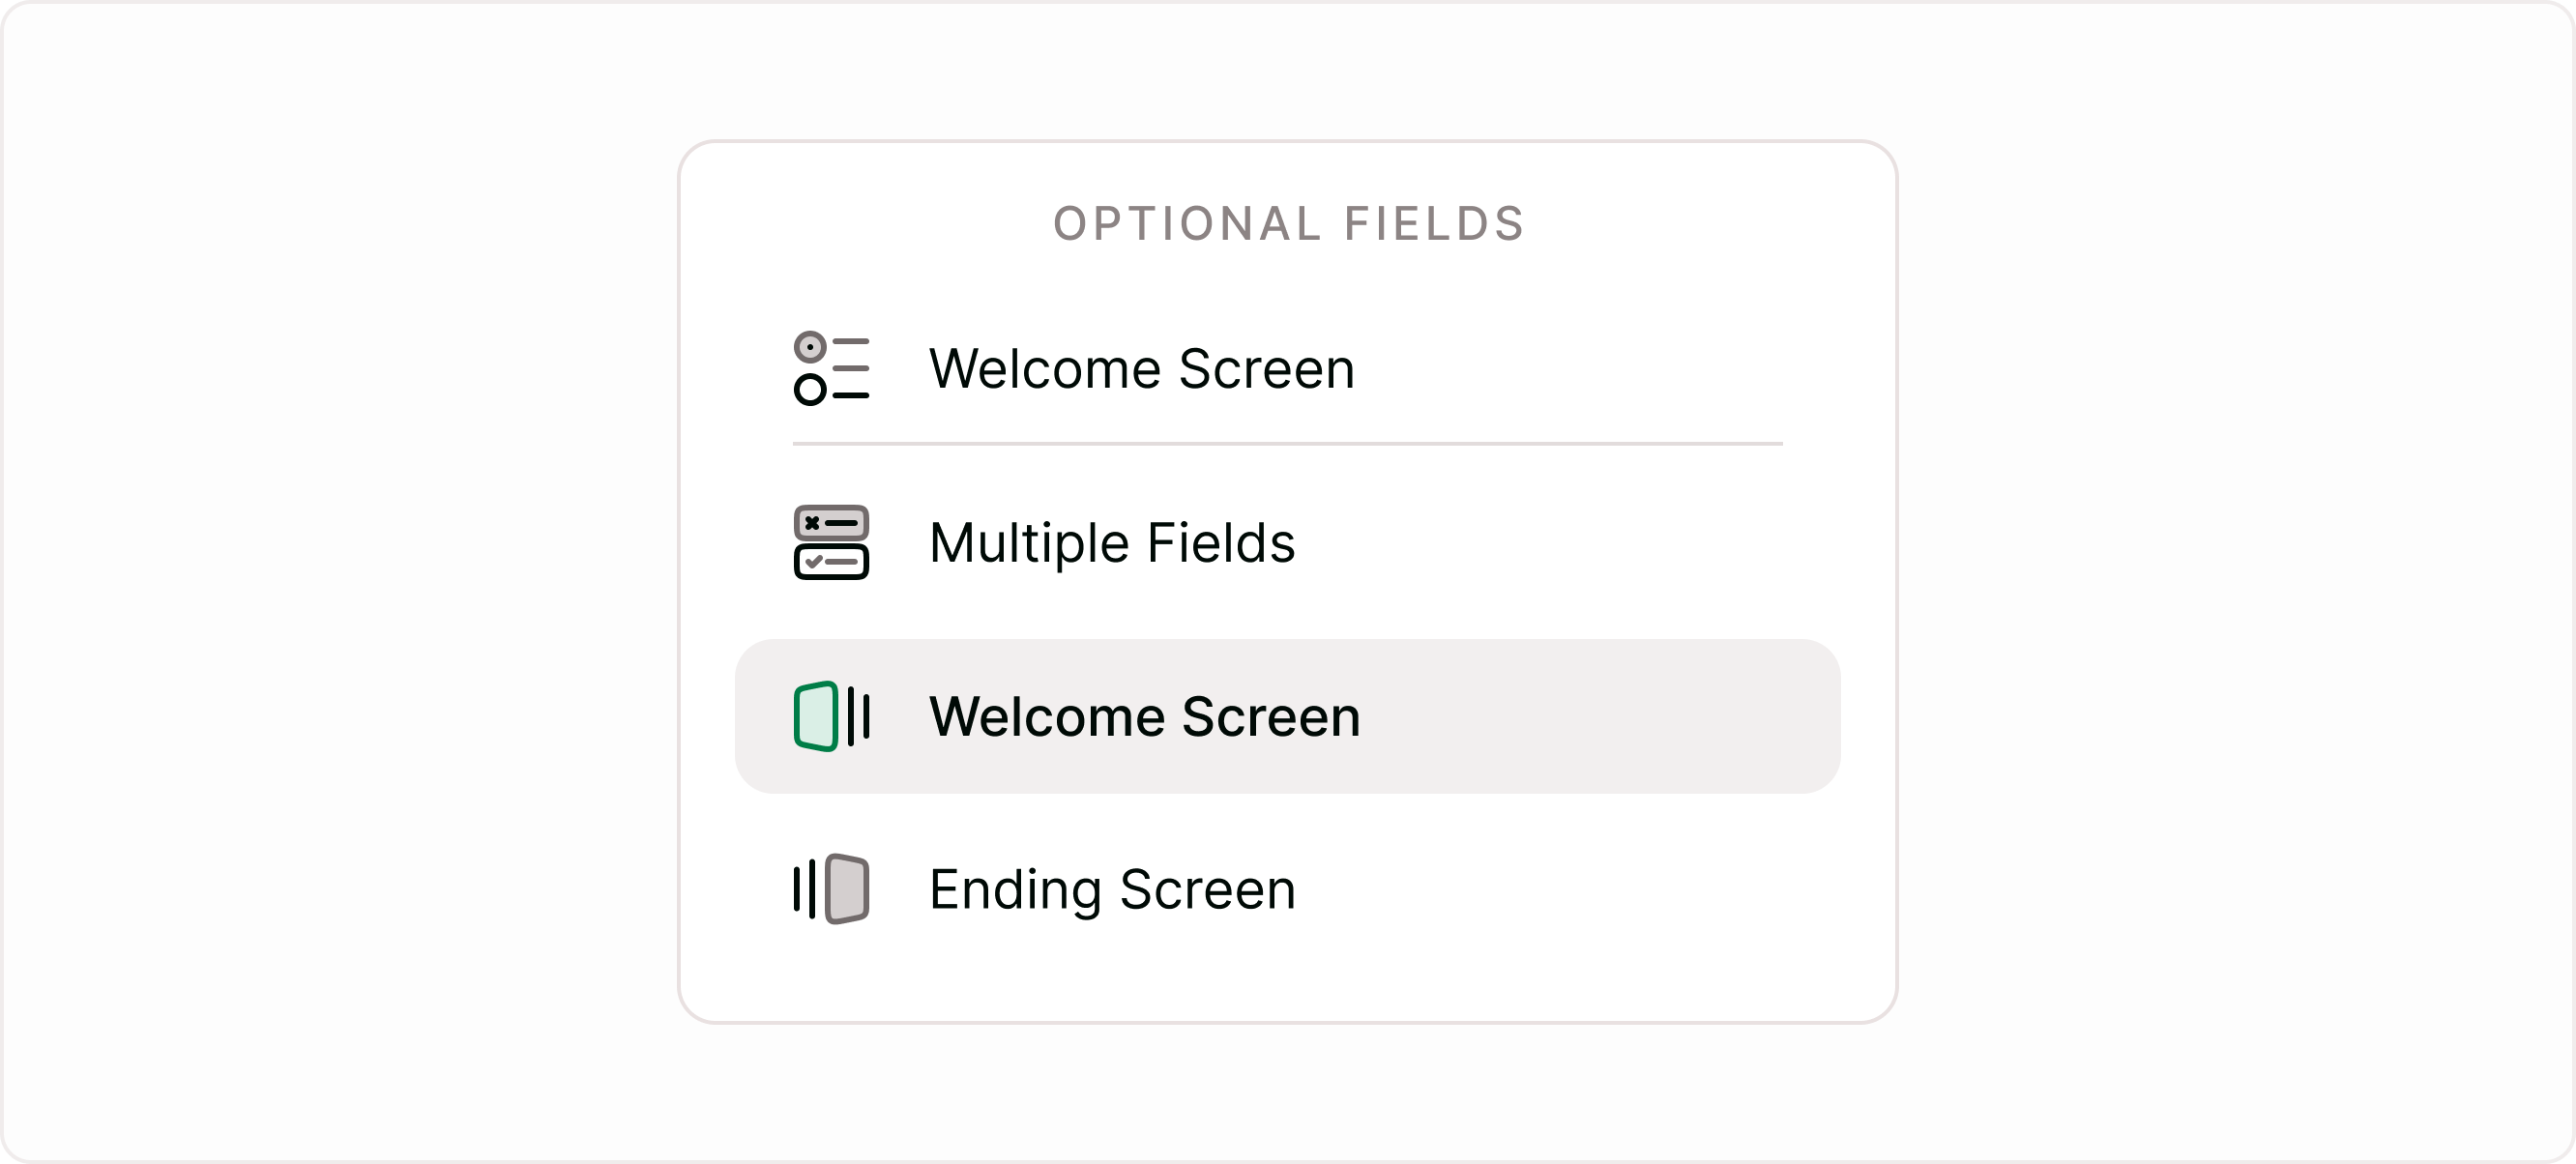
From the form fields panel, add or select Welcome Screen.
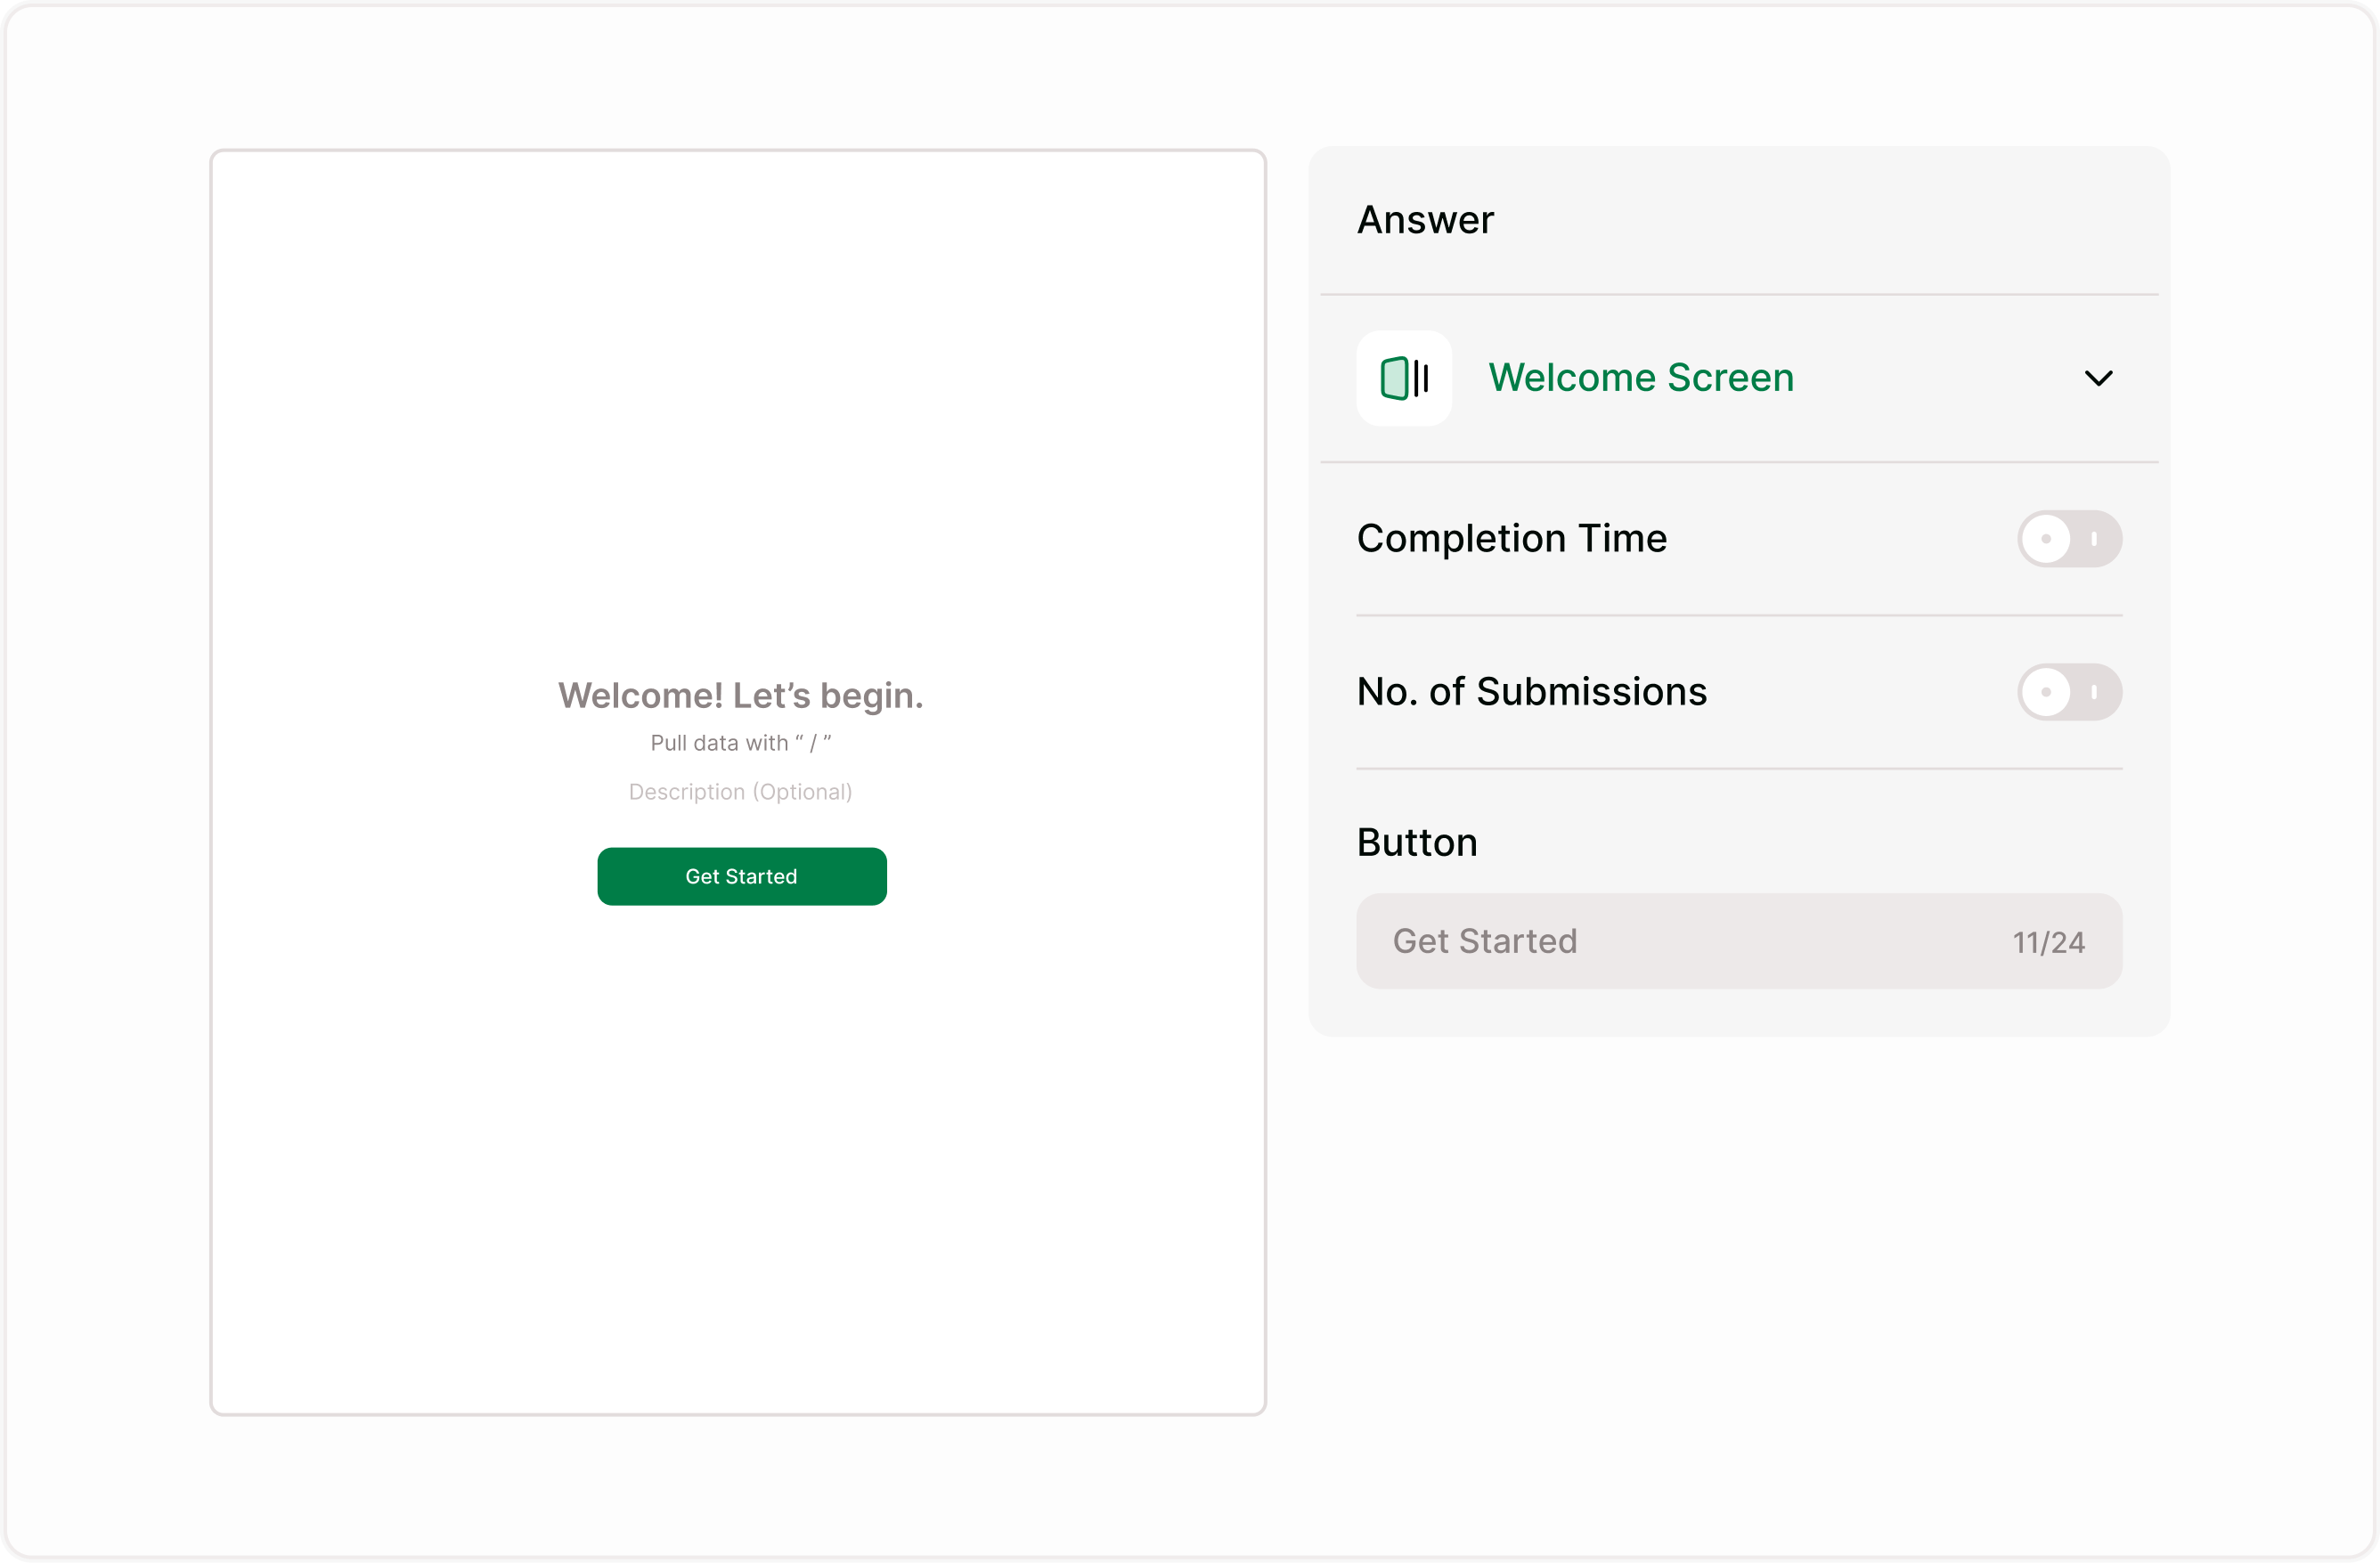
Customize the title, description, and button label.
Adjust display options from the Answer panel.
Preview your form to see how the Welcome Screen appears to respondents.
Customize the Welcome Screen content
Title and description
Use the main heading to greet respondents and explain what the form is about. Add a short description to set expectations or provide instructions. Keep it concise and friendly.
Example:
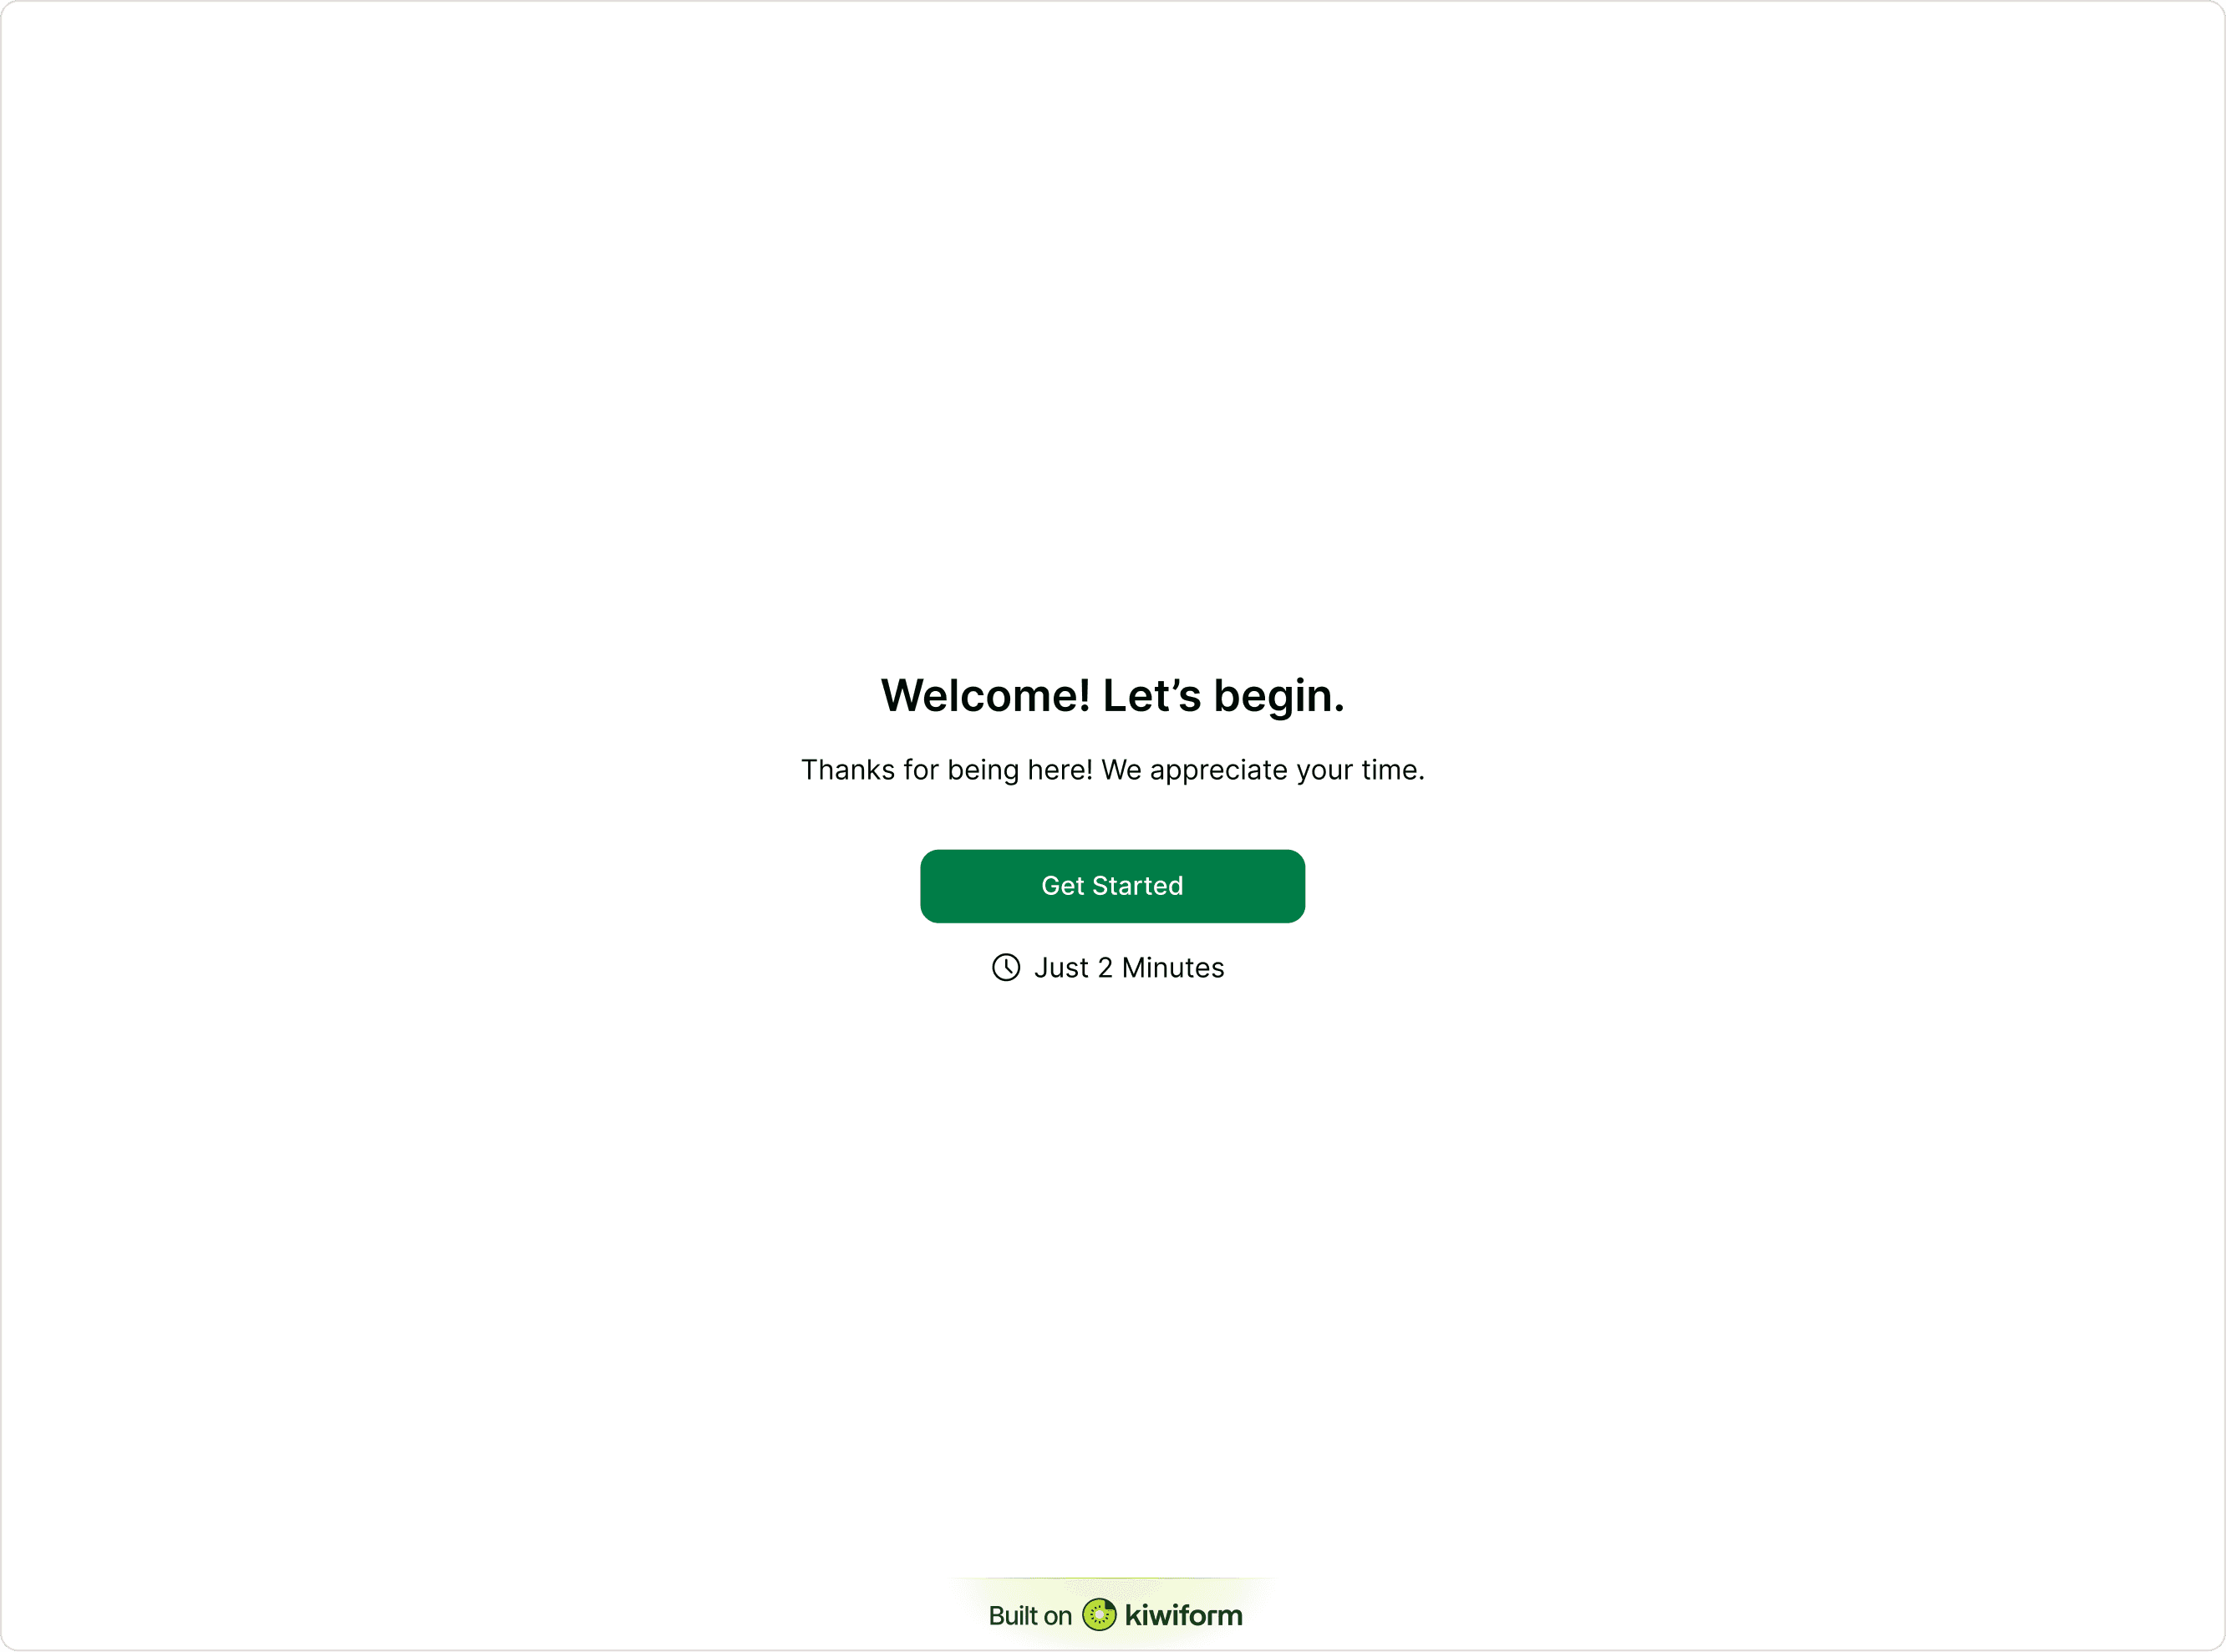
“Welcome! Let’s begin.”
“Thanks for being here. This survey takes less than 2 minutes.”
Button text
Customize the button label to match your tone or intent:
Get Started
Begin Survey
Continue
Start
A clear button encourages users to move forward confidently.
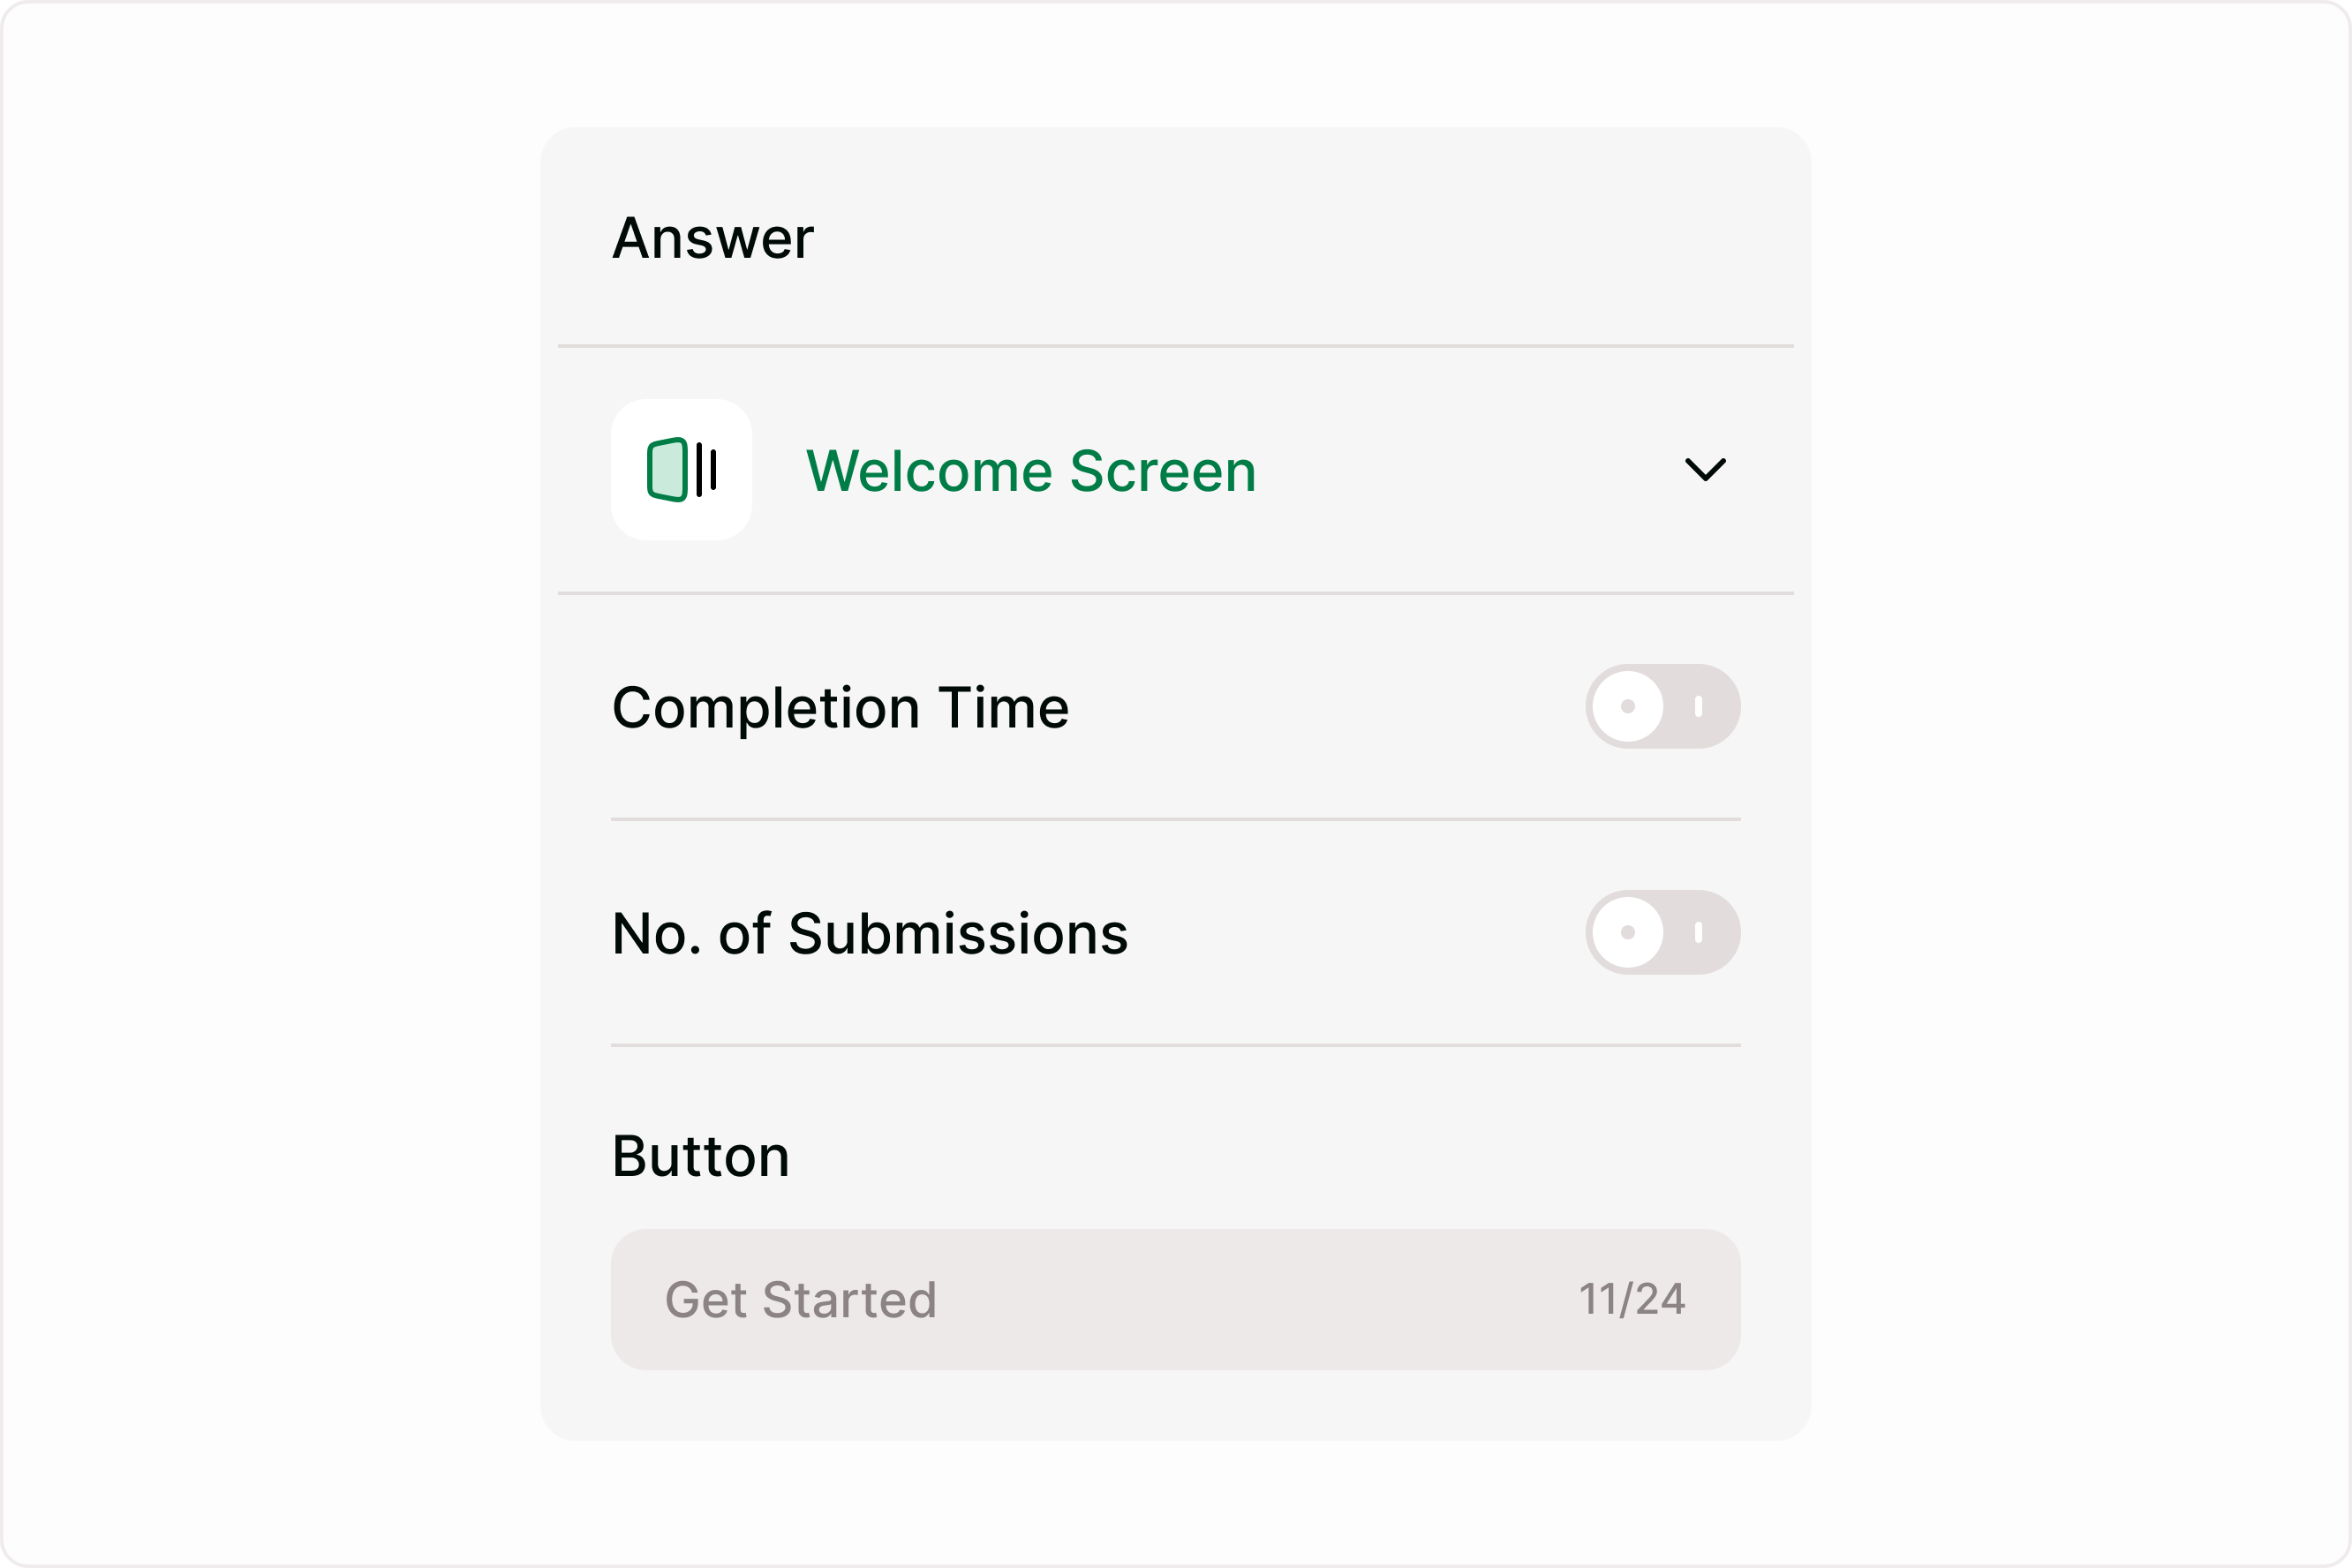
Answer panel settings explained
Completion Time
When enabled, respondents will see an estimated time to complete the form (for example, “Just 2 minutes”). This sets expectations and reduces hesitation before starting.
Use this when:
Your form is short and quick
You want to reassure users about time commitment
You want to increase completion rates
When disabled, the time estimate will not be shown.
Number of Submissions
When enabled, respondents will see how many people have already responded (for example, “10 people have responded so far”). This adds social proof and can encourage participation.
Use this when:
Collecting feedback or surveys
Running polls or community forms
Showing credibility or popularity
When disabled, submission count will not be displayed.

Button label
Edit the start button text directly in the Answer panel. This lets you match your tone and context without editing the main content block.
Examples:
“Get Started”
“Start Survey”
“Continue”
A clear call-to-action helps guide respondents into the form smoothly.
Preview and test before publishing
Always preview your form to confirm:
Title and description look clear
Button text is correct
Completion time displays correctly (if enabled)
Submission count appears as expected (if enabled)
Layout feels clean and easy to read
Testing ensures a smooth first impression for respondents.

How Welcome Screen appear to respondents
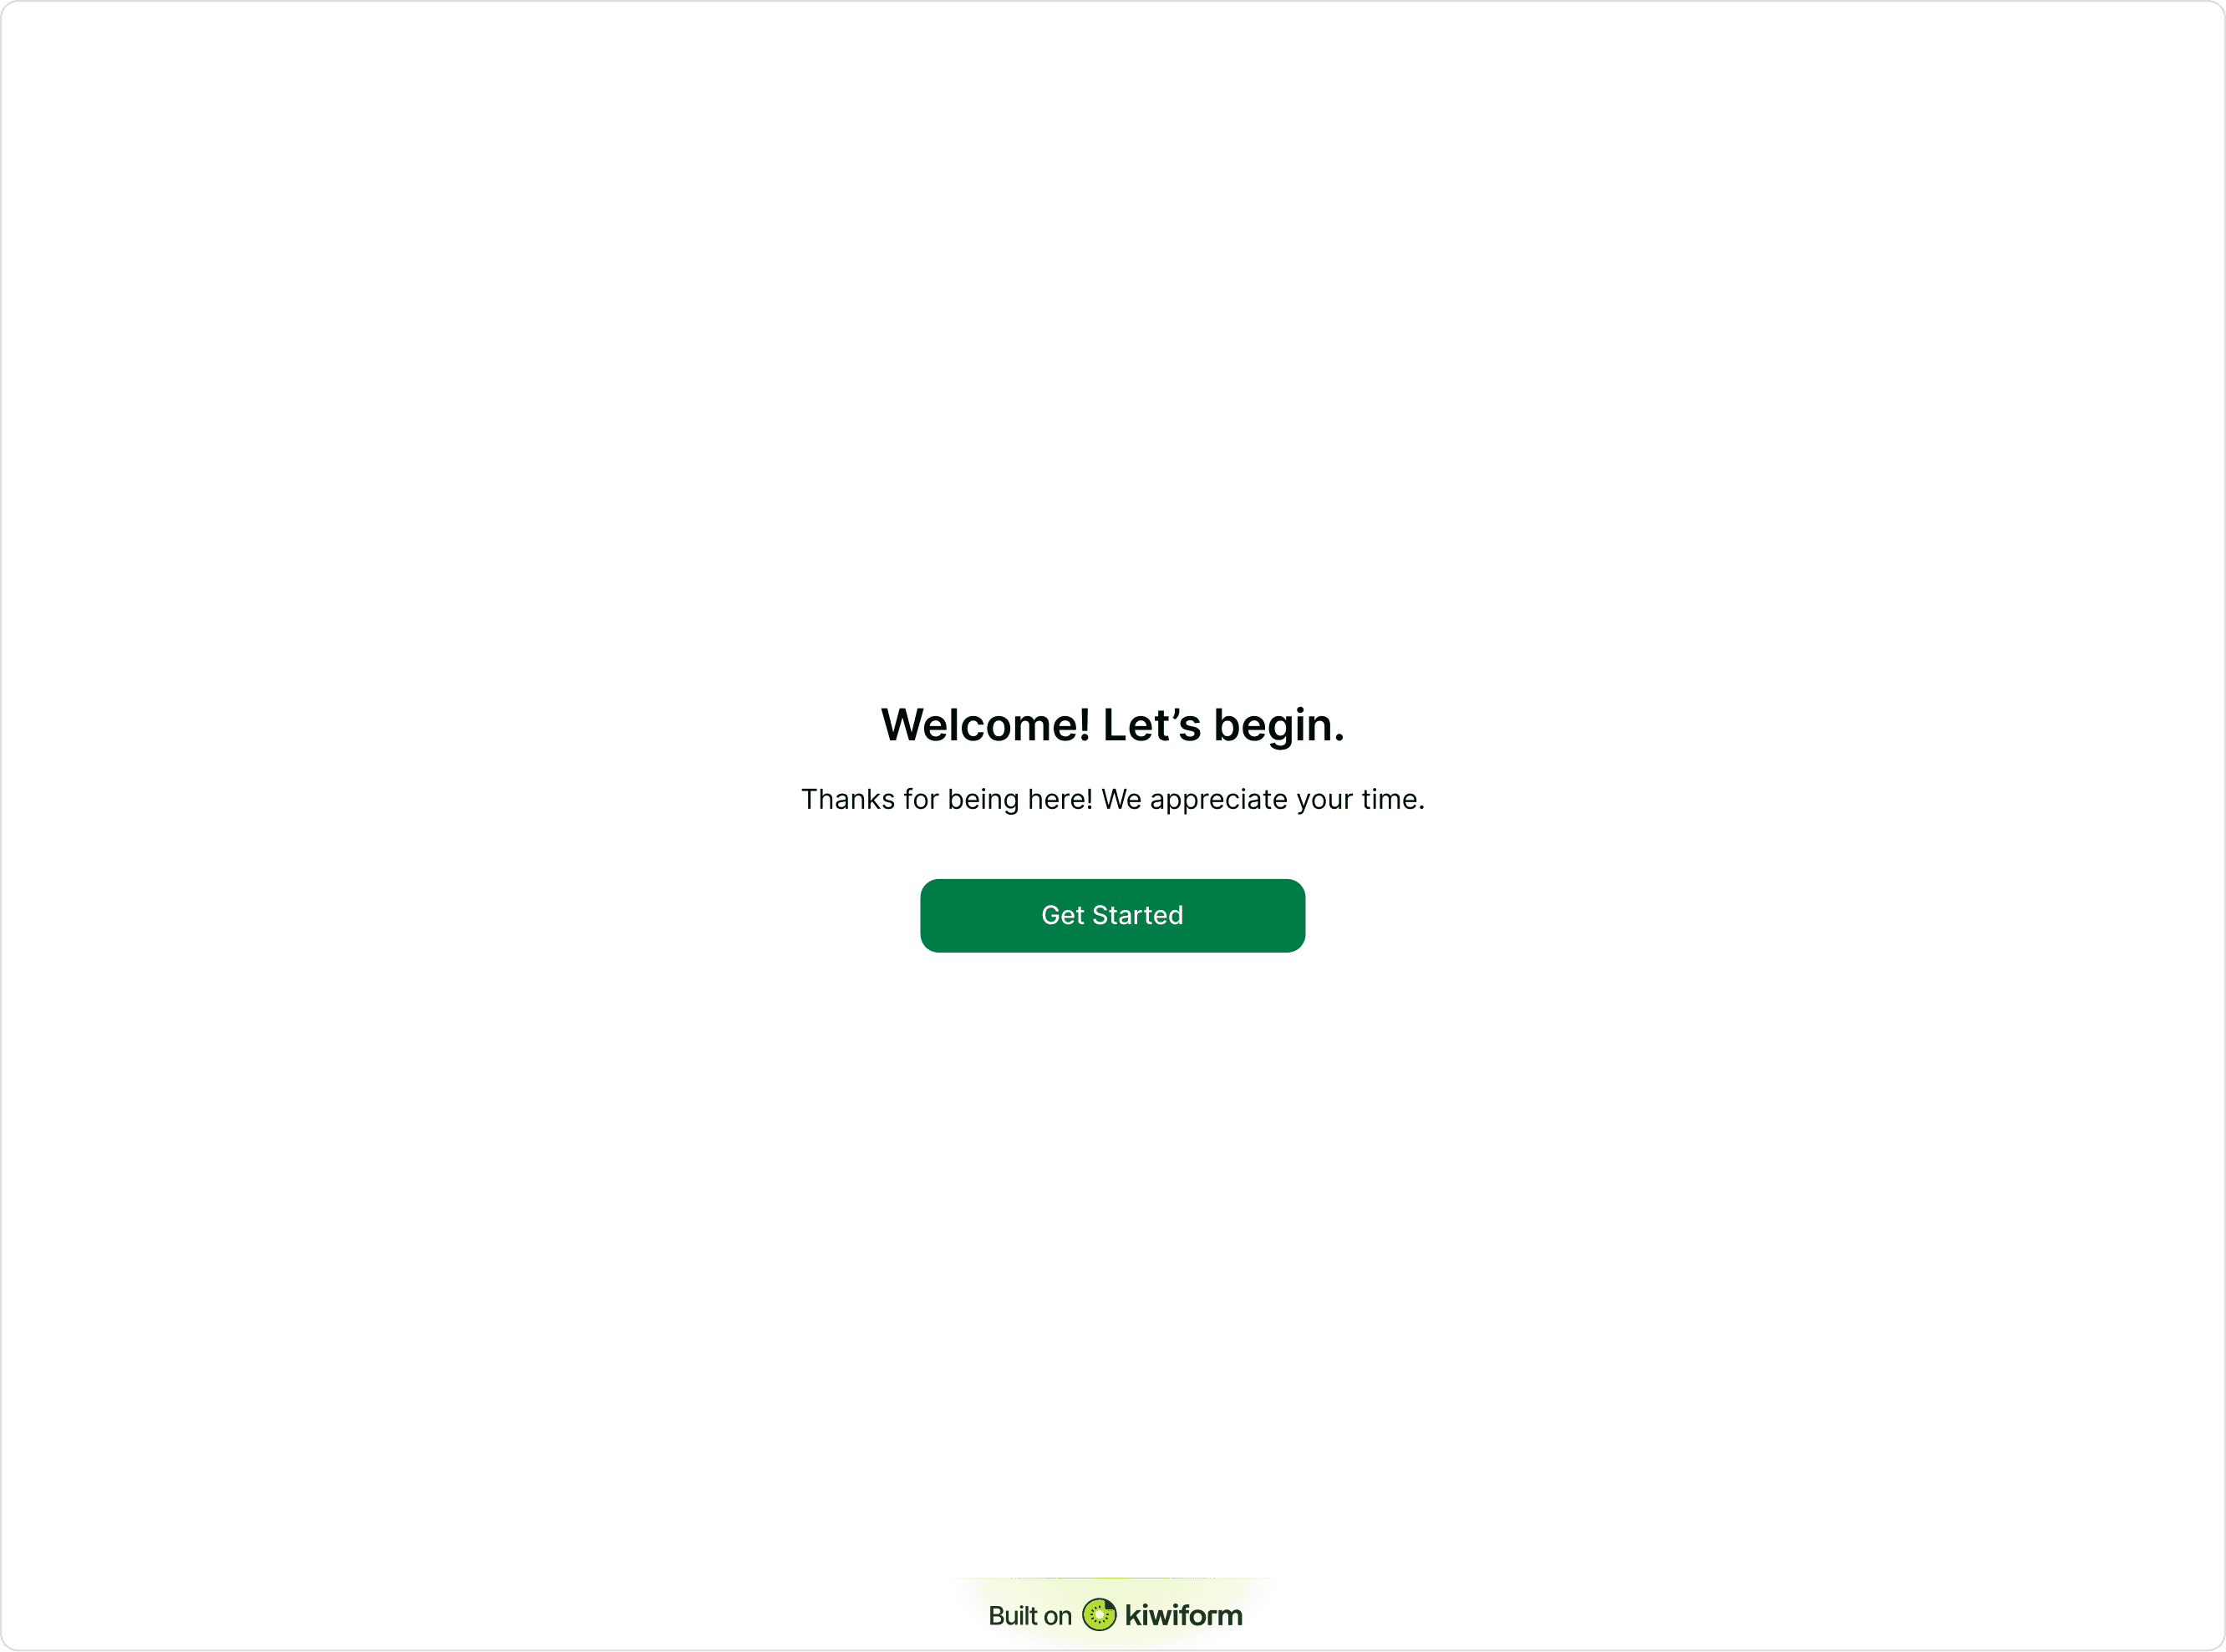
When a respondent accesses the form link, the Welcome Screen appears with the title, description, and any media or branding you have added. This screen gives respondents context about the purpose of the form, what they can expect, and how long it might take to complete. It also helps create a clear and professional starting point for the form experience.
The Welcome Screen typically includes a headline or title, a short description, and a Start button that allows respondents to begin the form. Depending on how the form is designed, the screen may also include elements such as images, videos, or branding that visually introduce the form.
A well-written Welcome Screen helps respondents quickly understand the purpose of the form and encourages them to continue with confidence.

Common use cases
Customer feedback forms
Lead capture forms
Applications and onboarding
Event registrations
Internal forms
Best practices
Keep the message short and clear
Tell respondents what the form is about
Mention how long it takes
Use friendly, human language
Add social proof if helpful
Make the button text action-oriented
Avoid overwhelming users with too much text
A simple, confident introduction improves engagement and completion.
Summary
The Welcome Screen introduces respondents to your form before they begin answering questions. It provides a clear starting point by displaying the form title, description, and any visual elements you add to set context. A well-designed Welcome Screen helps respondents understand the purpose of the form and prepares them for what comes next. Once respondents click the Start button, the form begins and the first question appears.