When to use the Yes / No field
Use this field when you need a quick and definitive response. It works best for:
Confirmations such as “Do you agree?” or “Will you attend?”
Consent and policy acceptance
Eligibility checks
Simple approvals or declines
Decision points that control logic or branching
Because the answers are predefined, this field reduces friction and keeps responses consistent across all submissions.
Add a Yes / No field to your form
To insert this field while building a form:
Open your form in the builder.
Click Add Content.
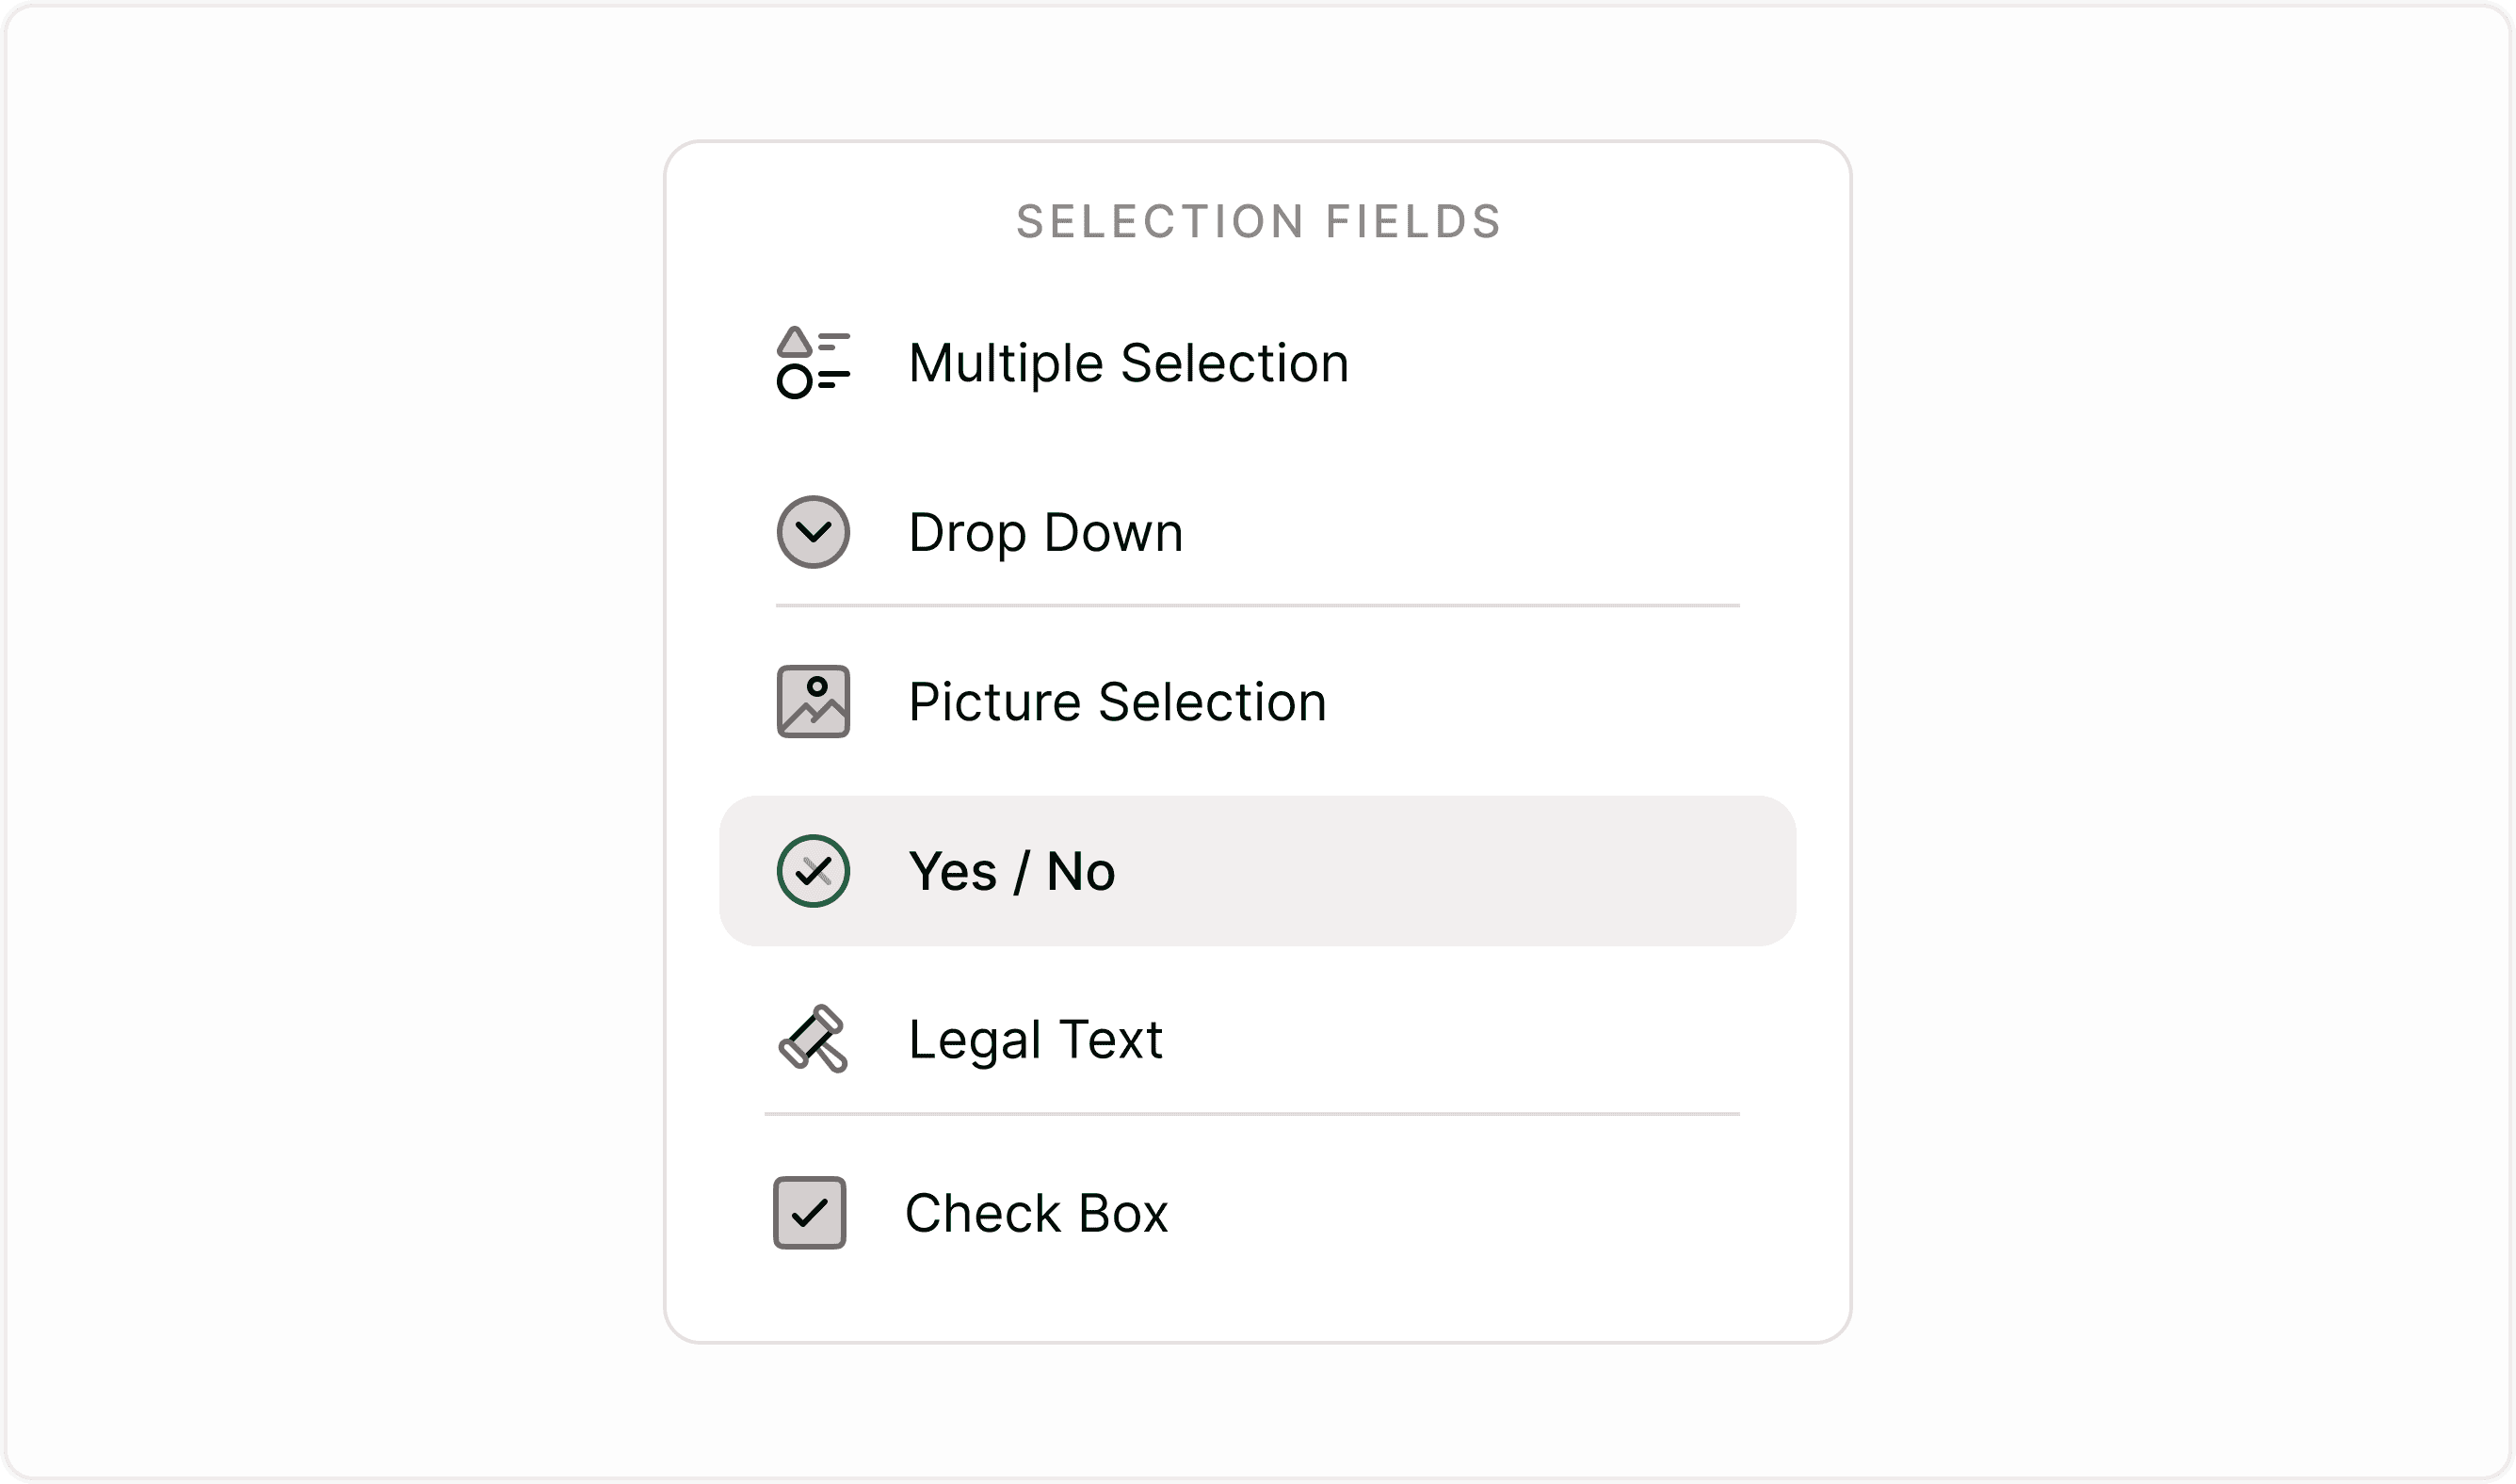
Select Yes / No from the list of form fields.
Add your question text.
Add an optional description if you need to clarify the question.
Keep the wording simple and direct so respondents can answer without confusion.
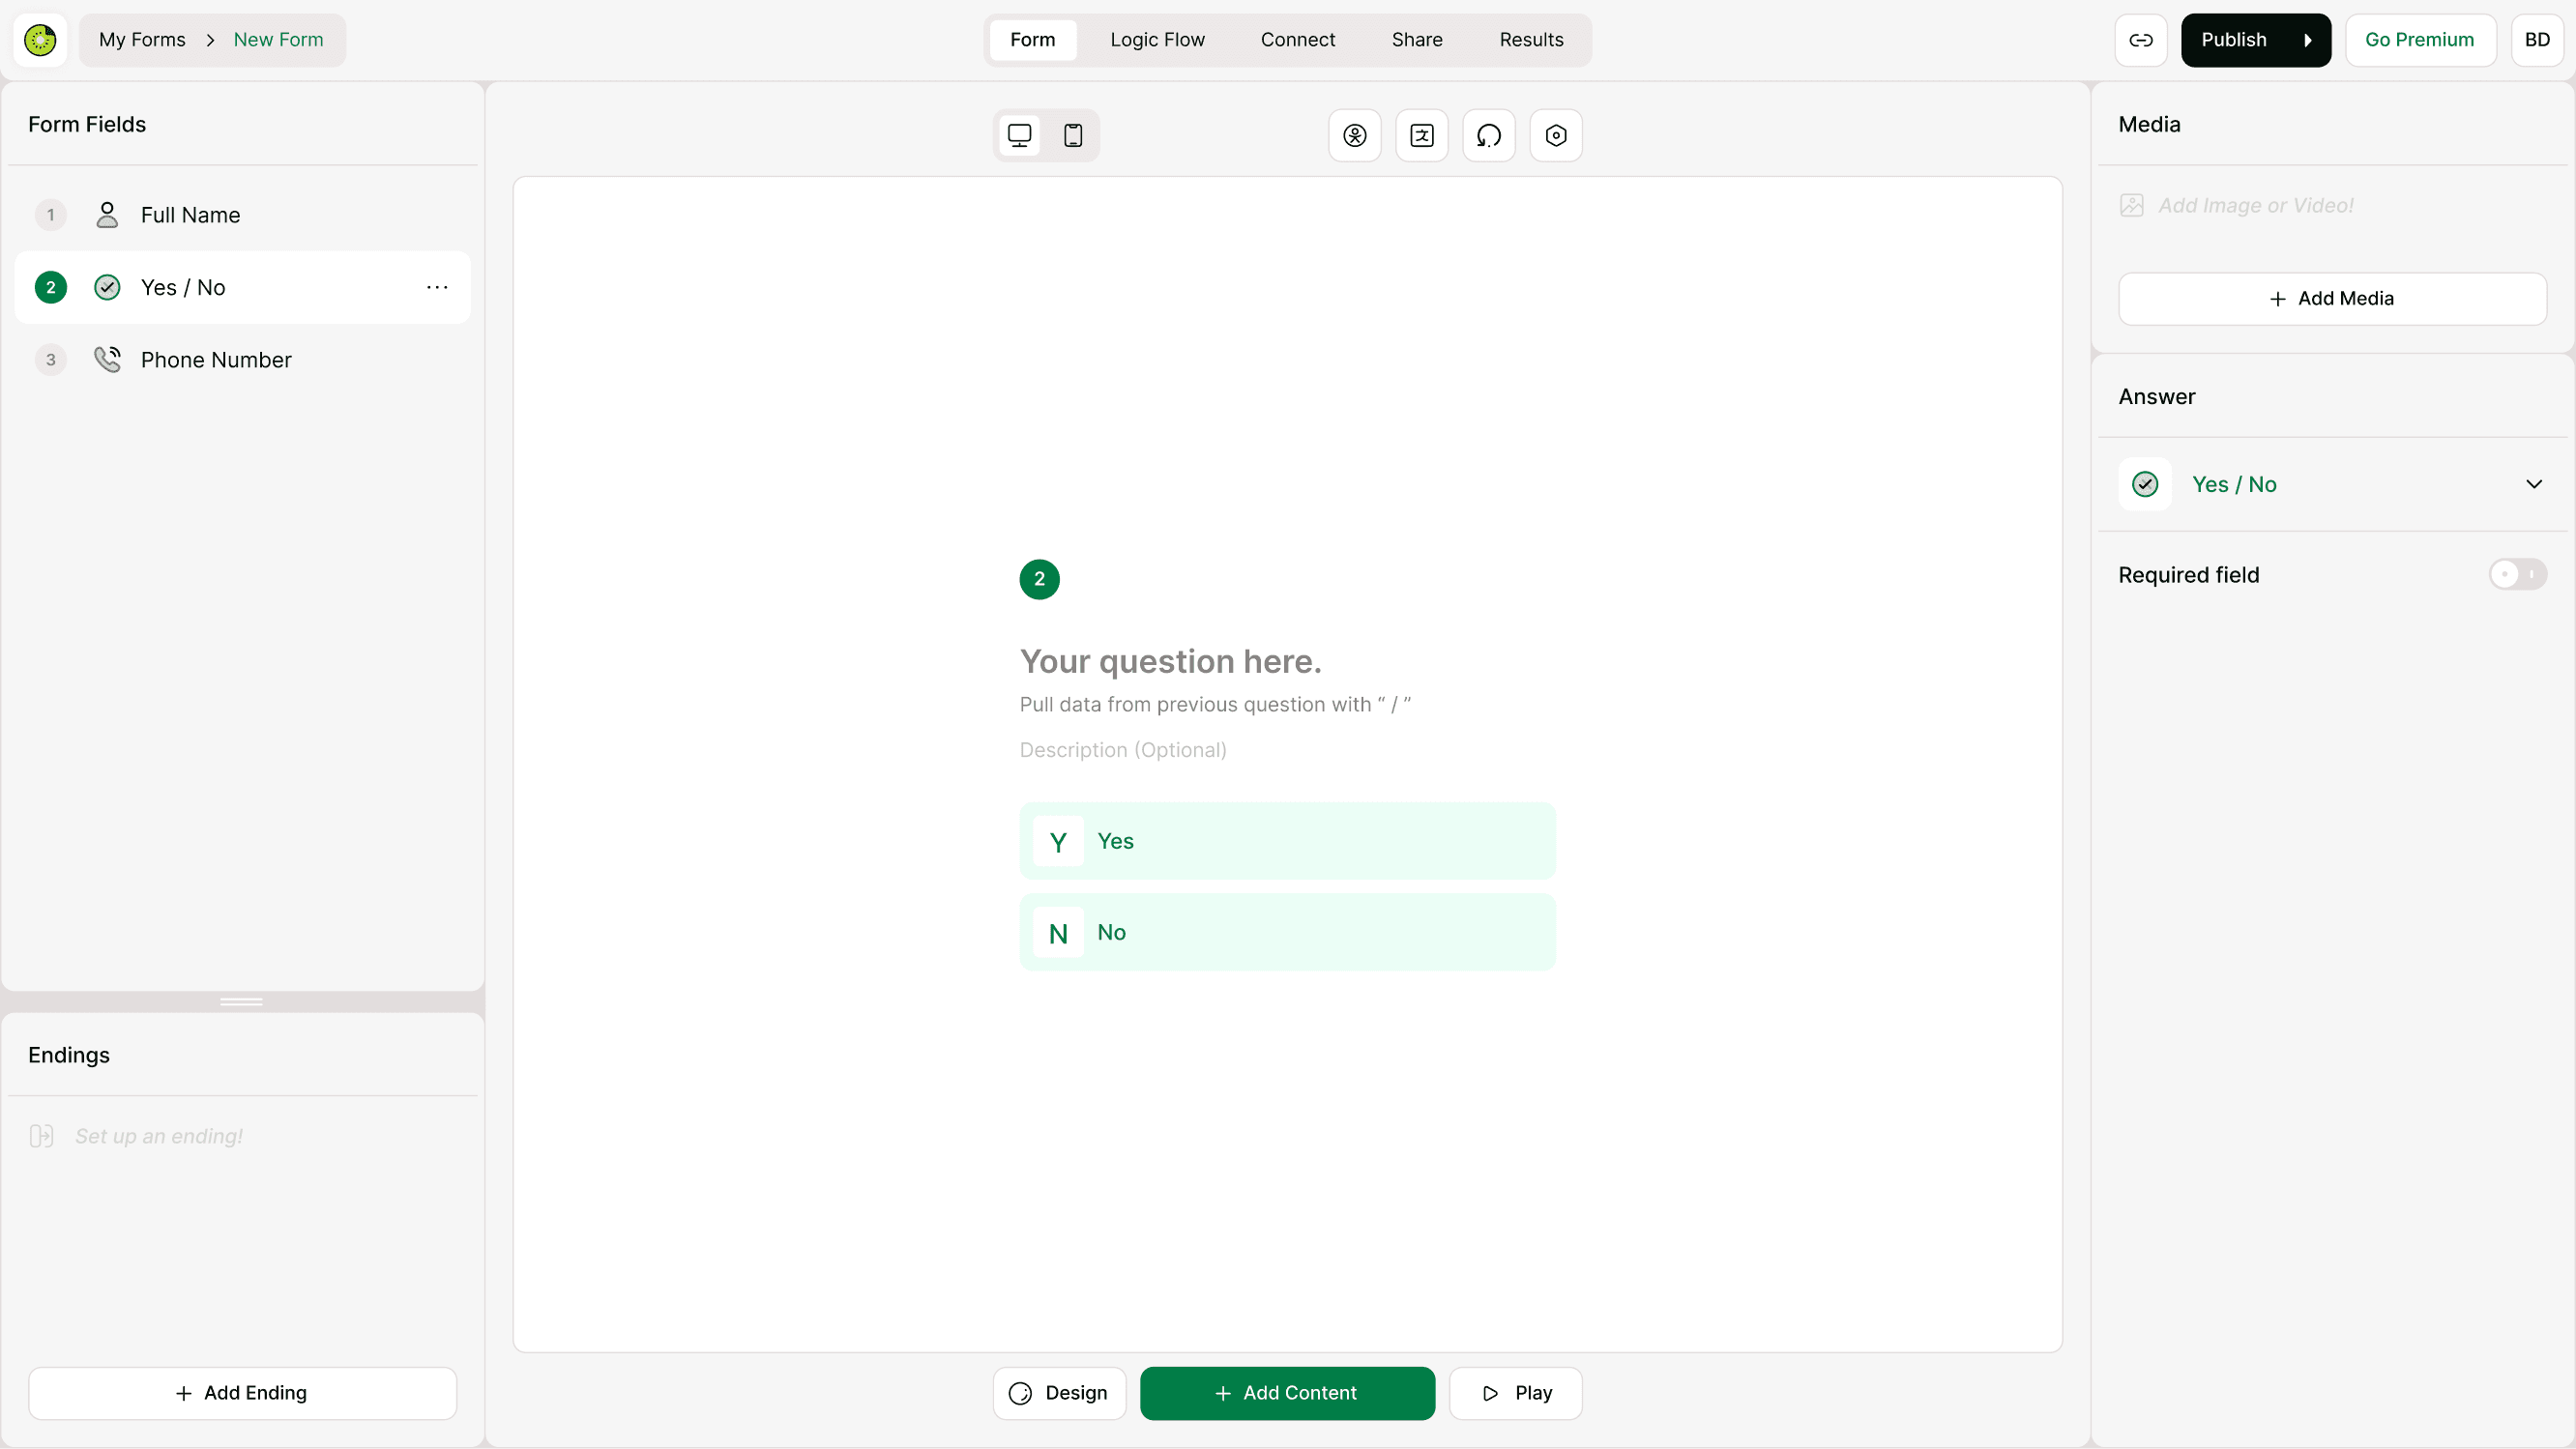
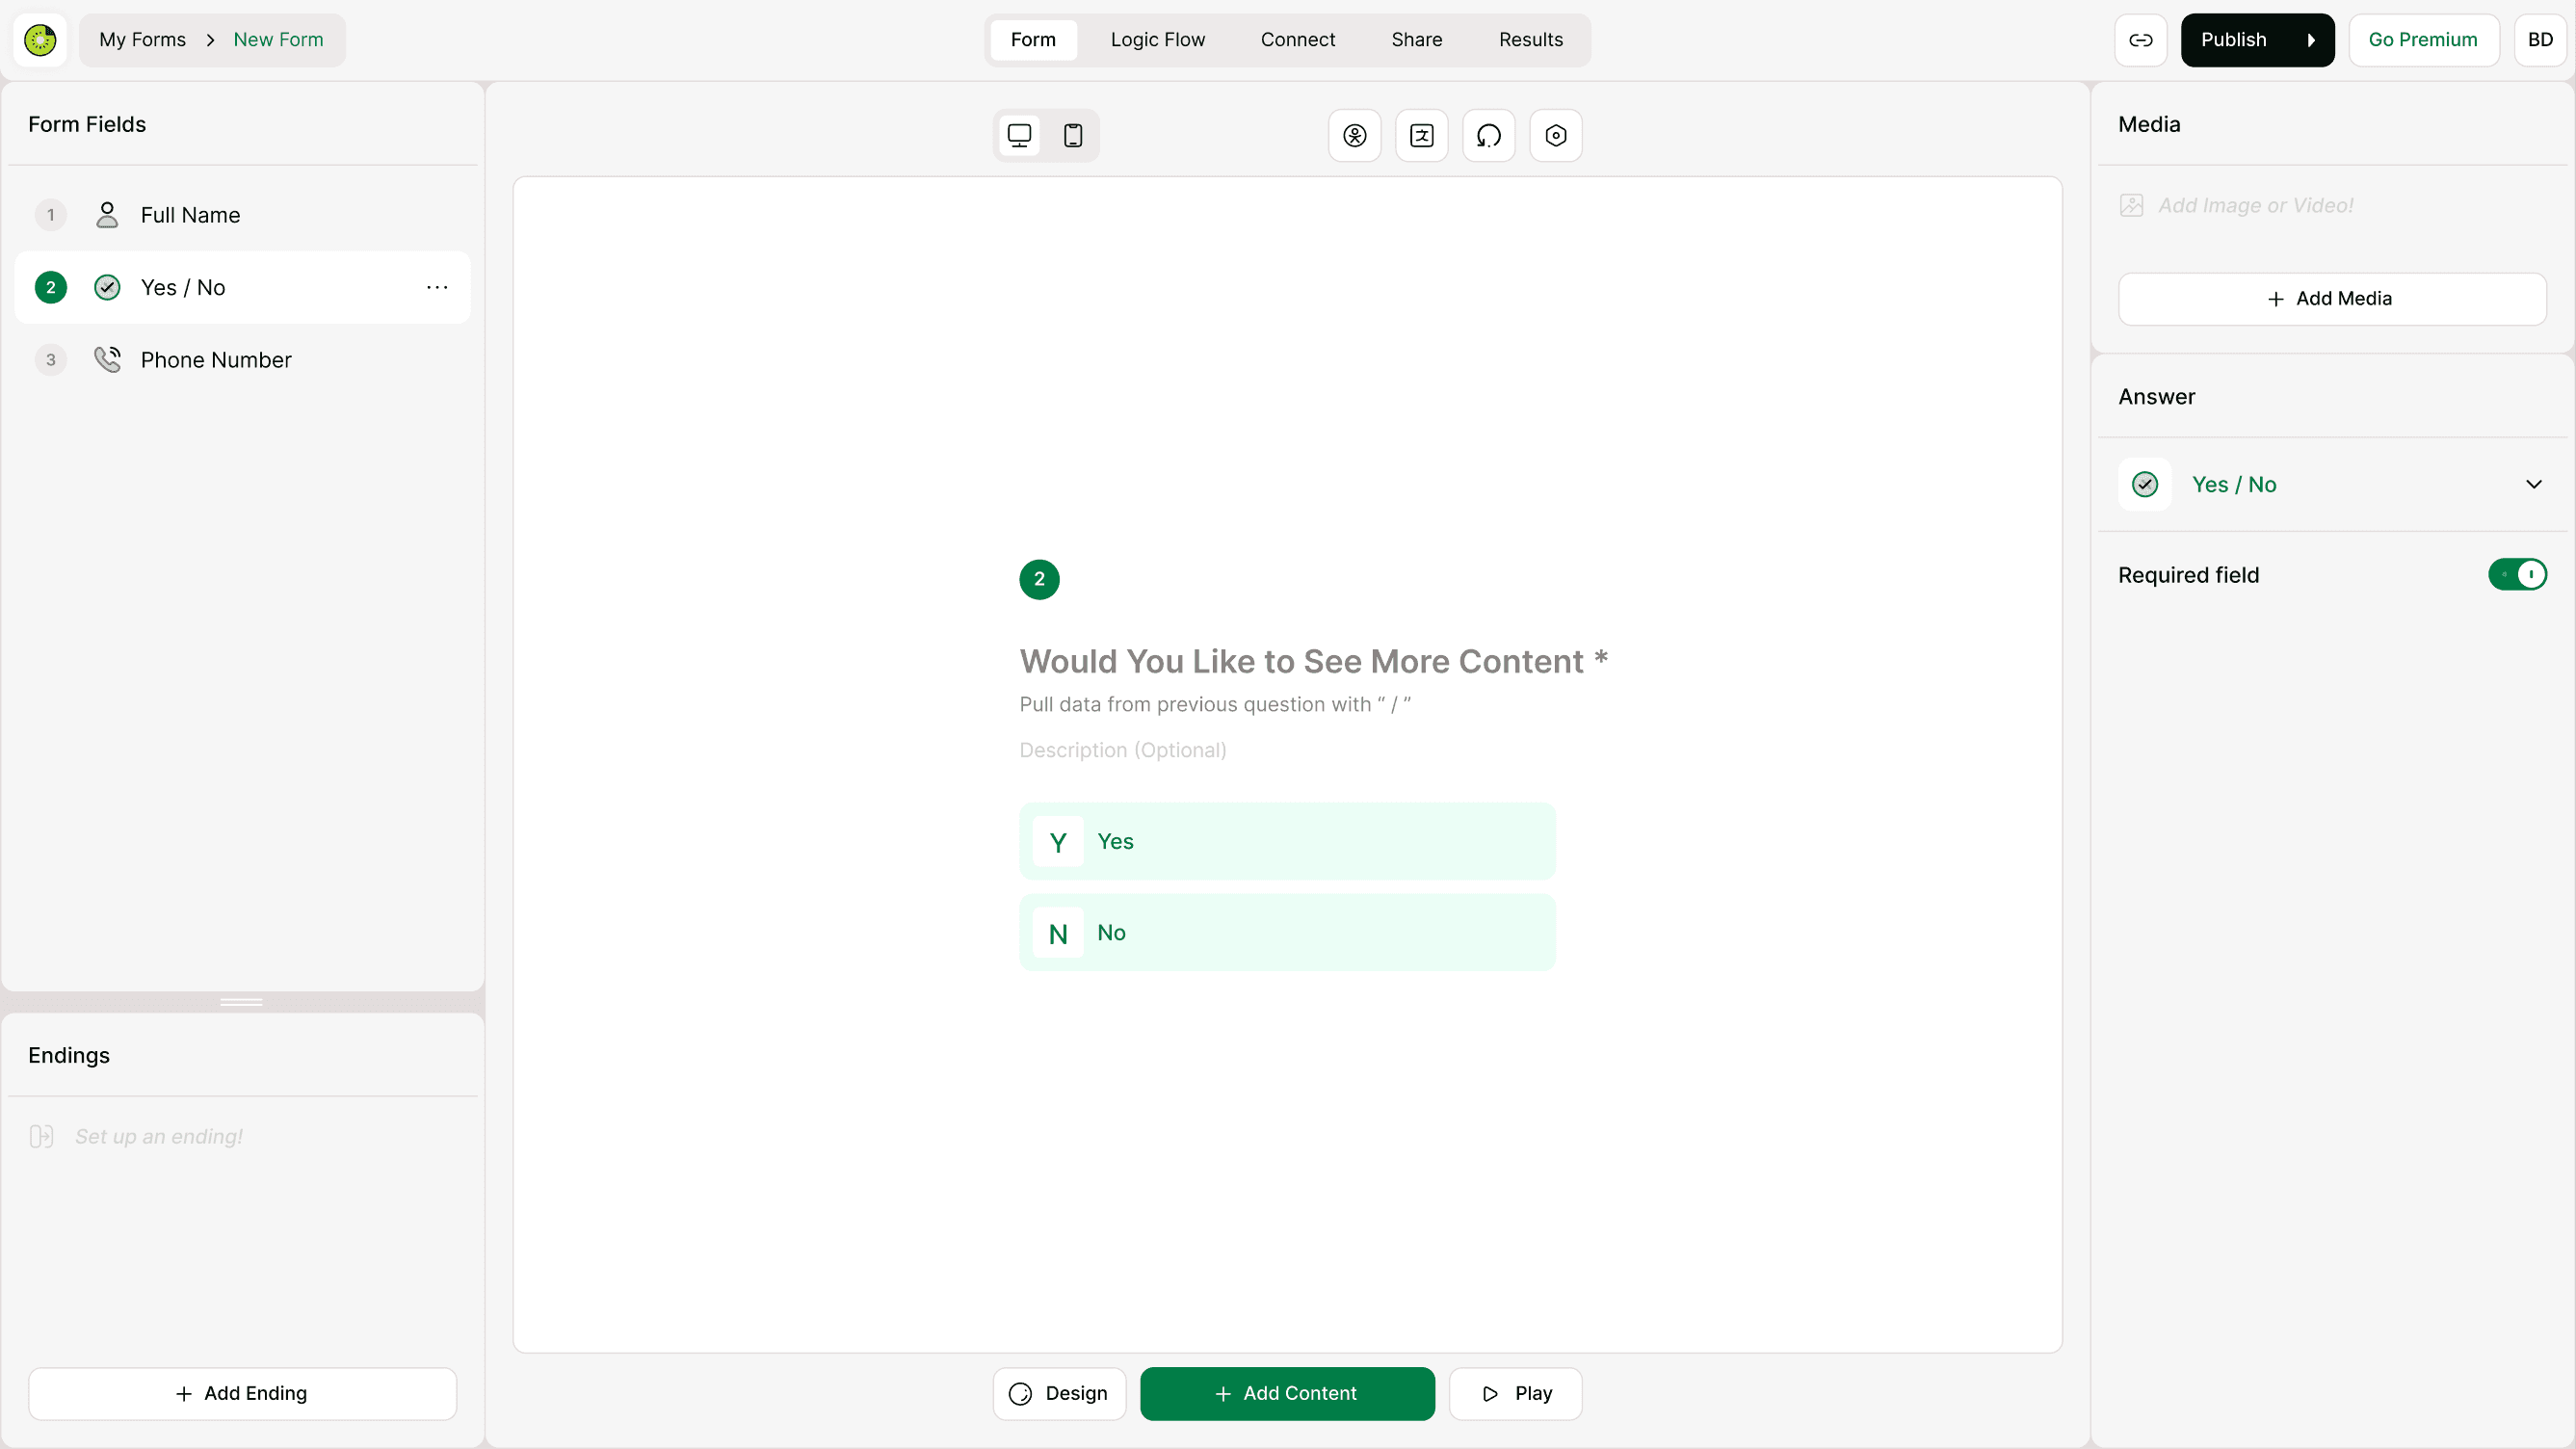
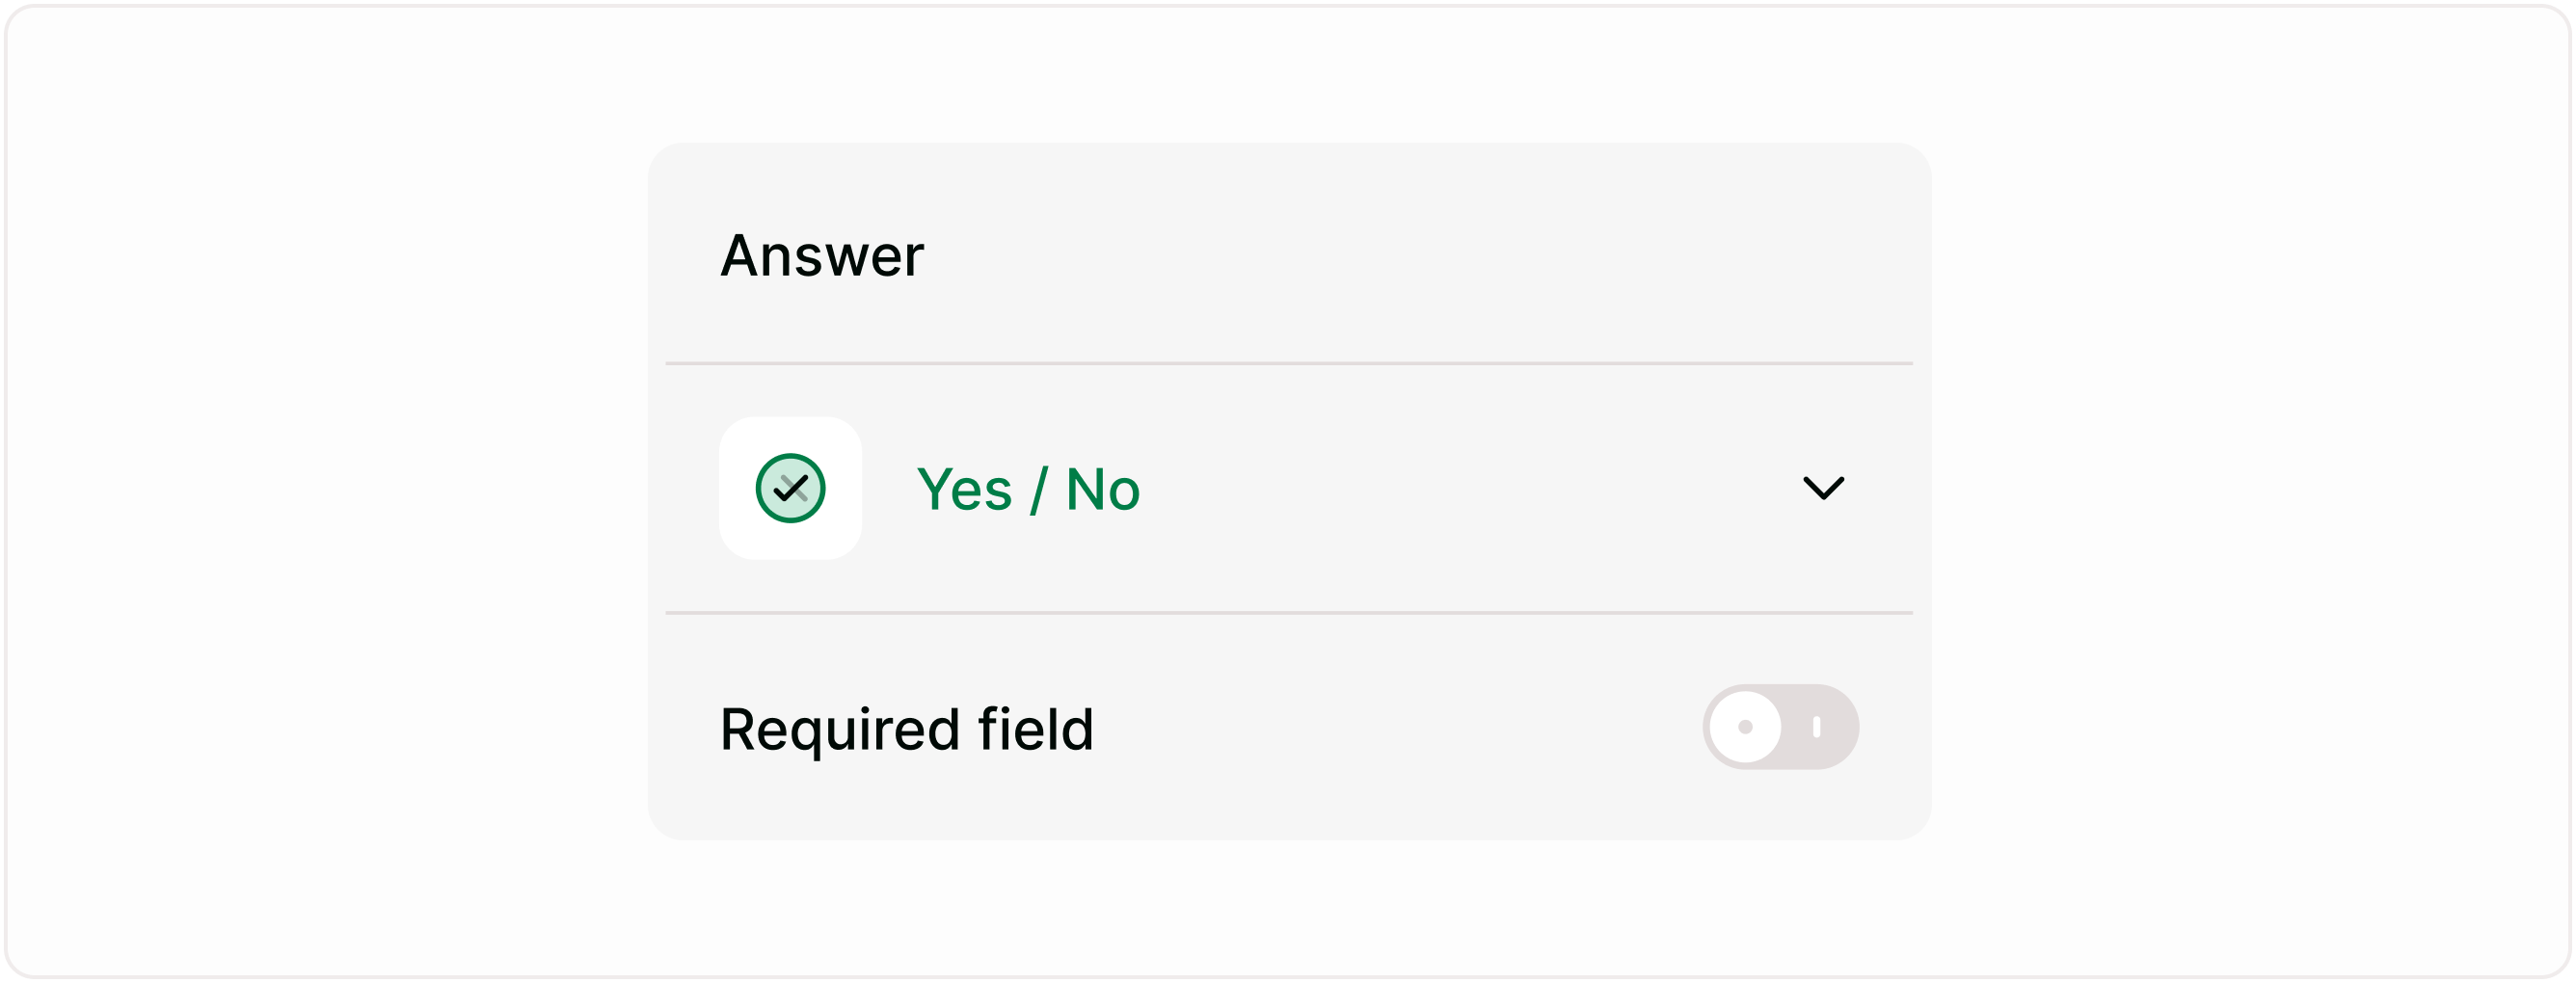
Configure the Yes / No field
When the field is selected, the Answer panel appears on the right. This is where you control how the field behaves.
Required field
Enable Required field if respondents must answer before continuing.
Use this when:
You need explicit consent
The response controls logic
The form cannot proceed without a decision
This makes editing fast and visual, no need to open additional panels.
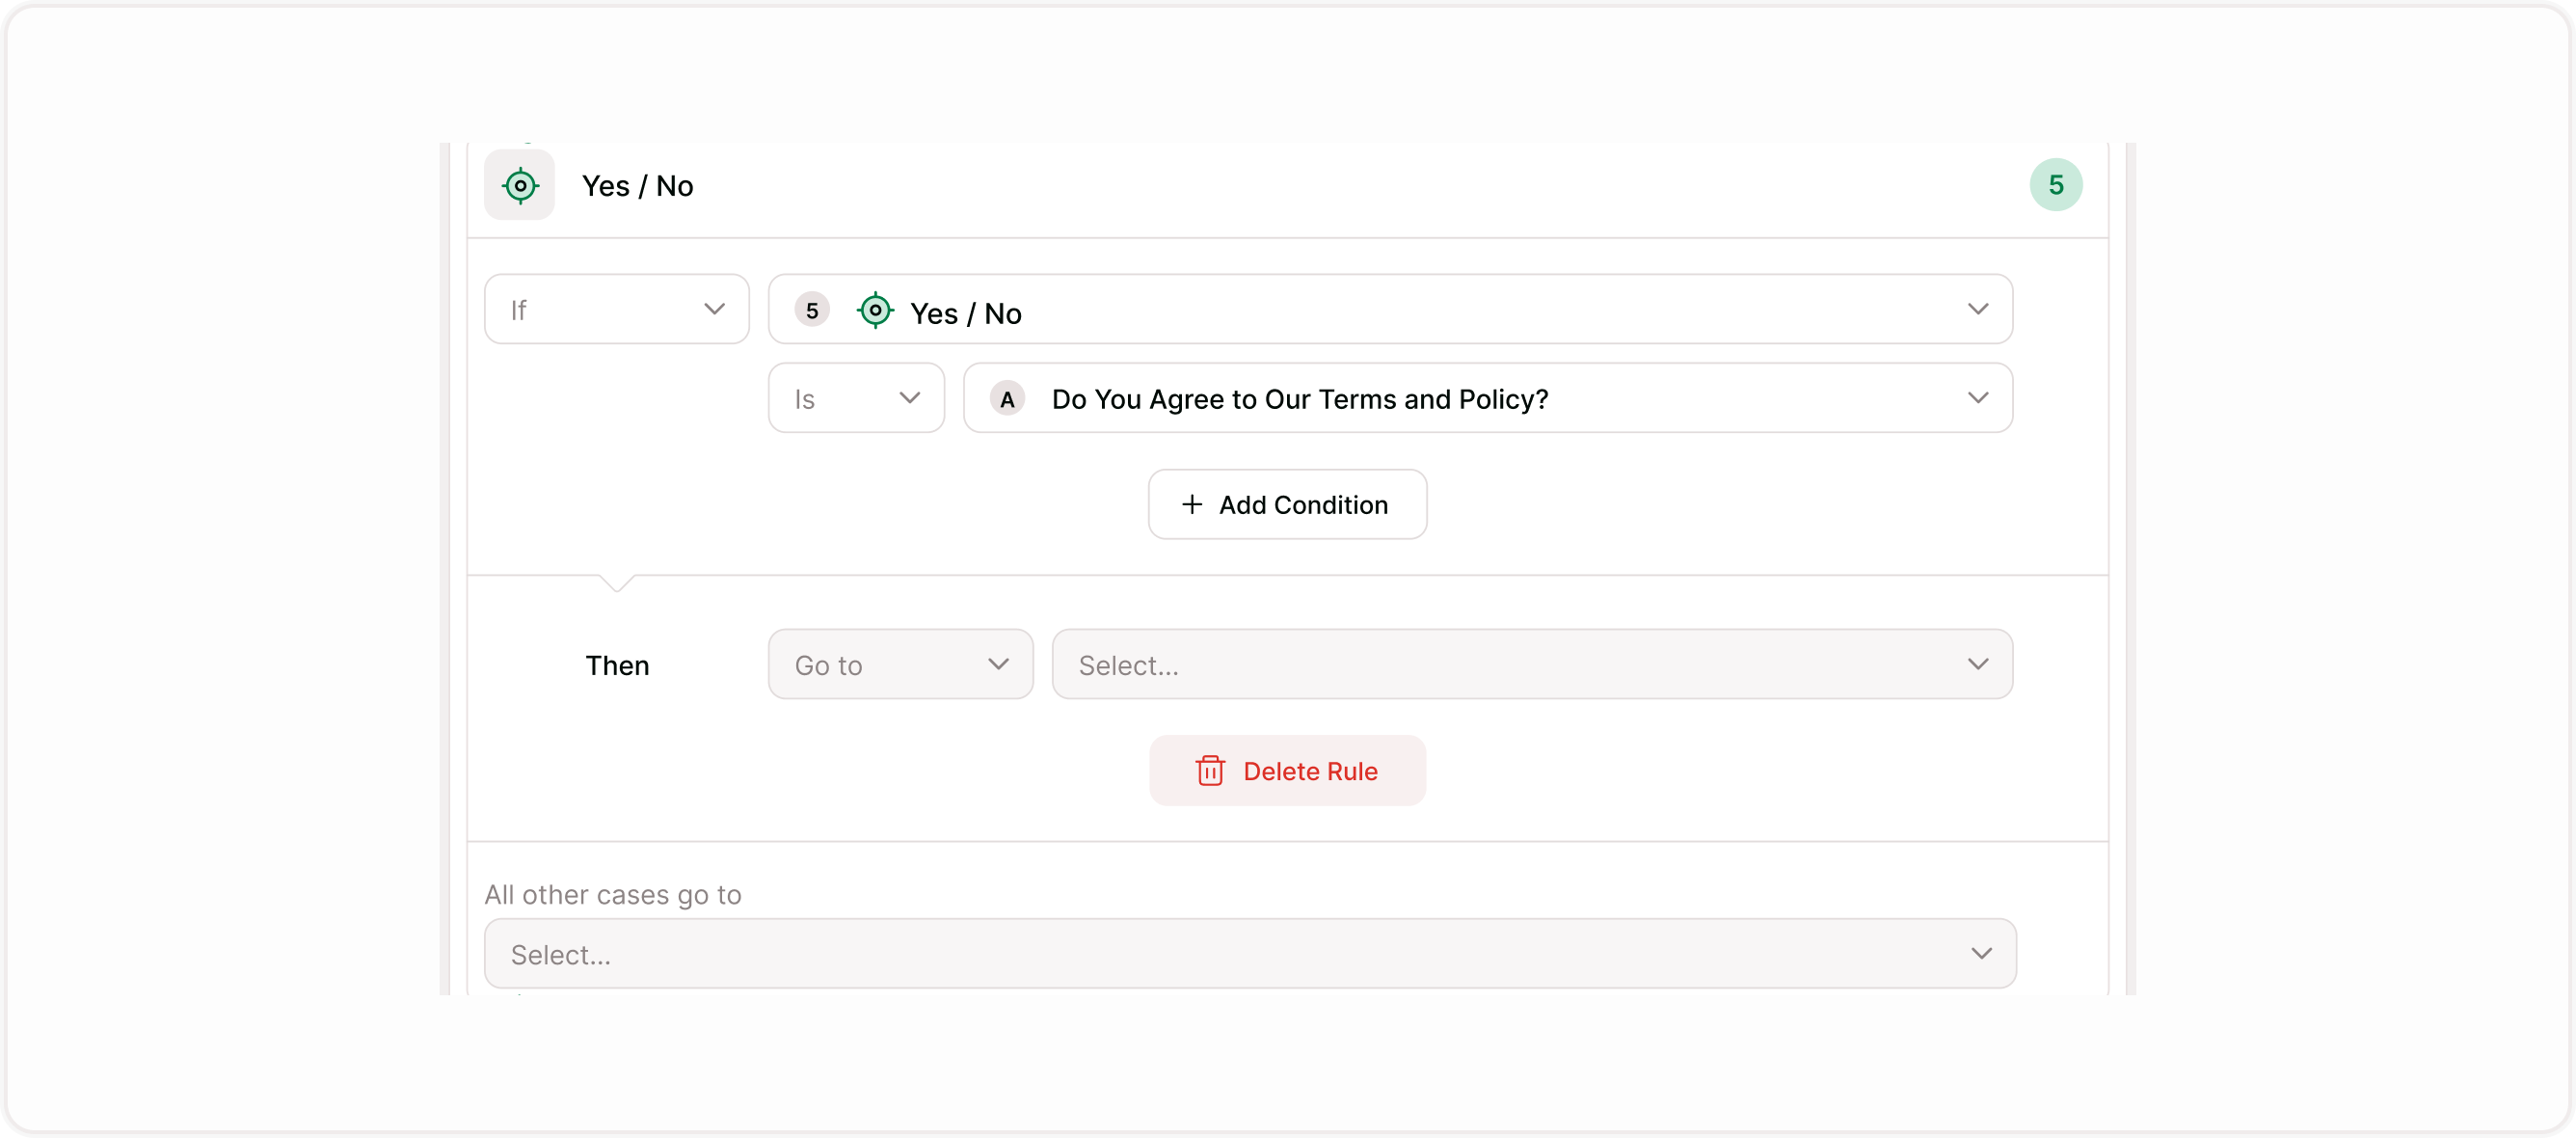
Using Yes / No with logic
The Yes / No field works well with conditional logic and branching.
You can:
Send respondents to different questions based on their answer
Skip sections when “No” is selected
End the form early for certain responses
Show follow-up questions only when needed
This helps create dynamic, responsive forms that feel personalized.
How Picture Selection Appears to Respondents
In preview or live mode:
Images appear as selectable cards
Selected options are visually highlighted
Labels appear (if enabled)
“Other” field appears (if enabled)
Multiple selections are supported (if enabled)
The layout is clean, mobile-friendly, and optimized for engagement.
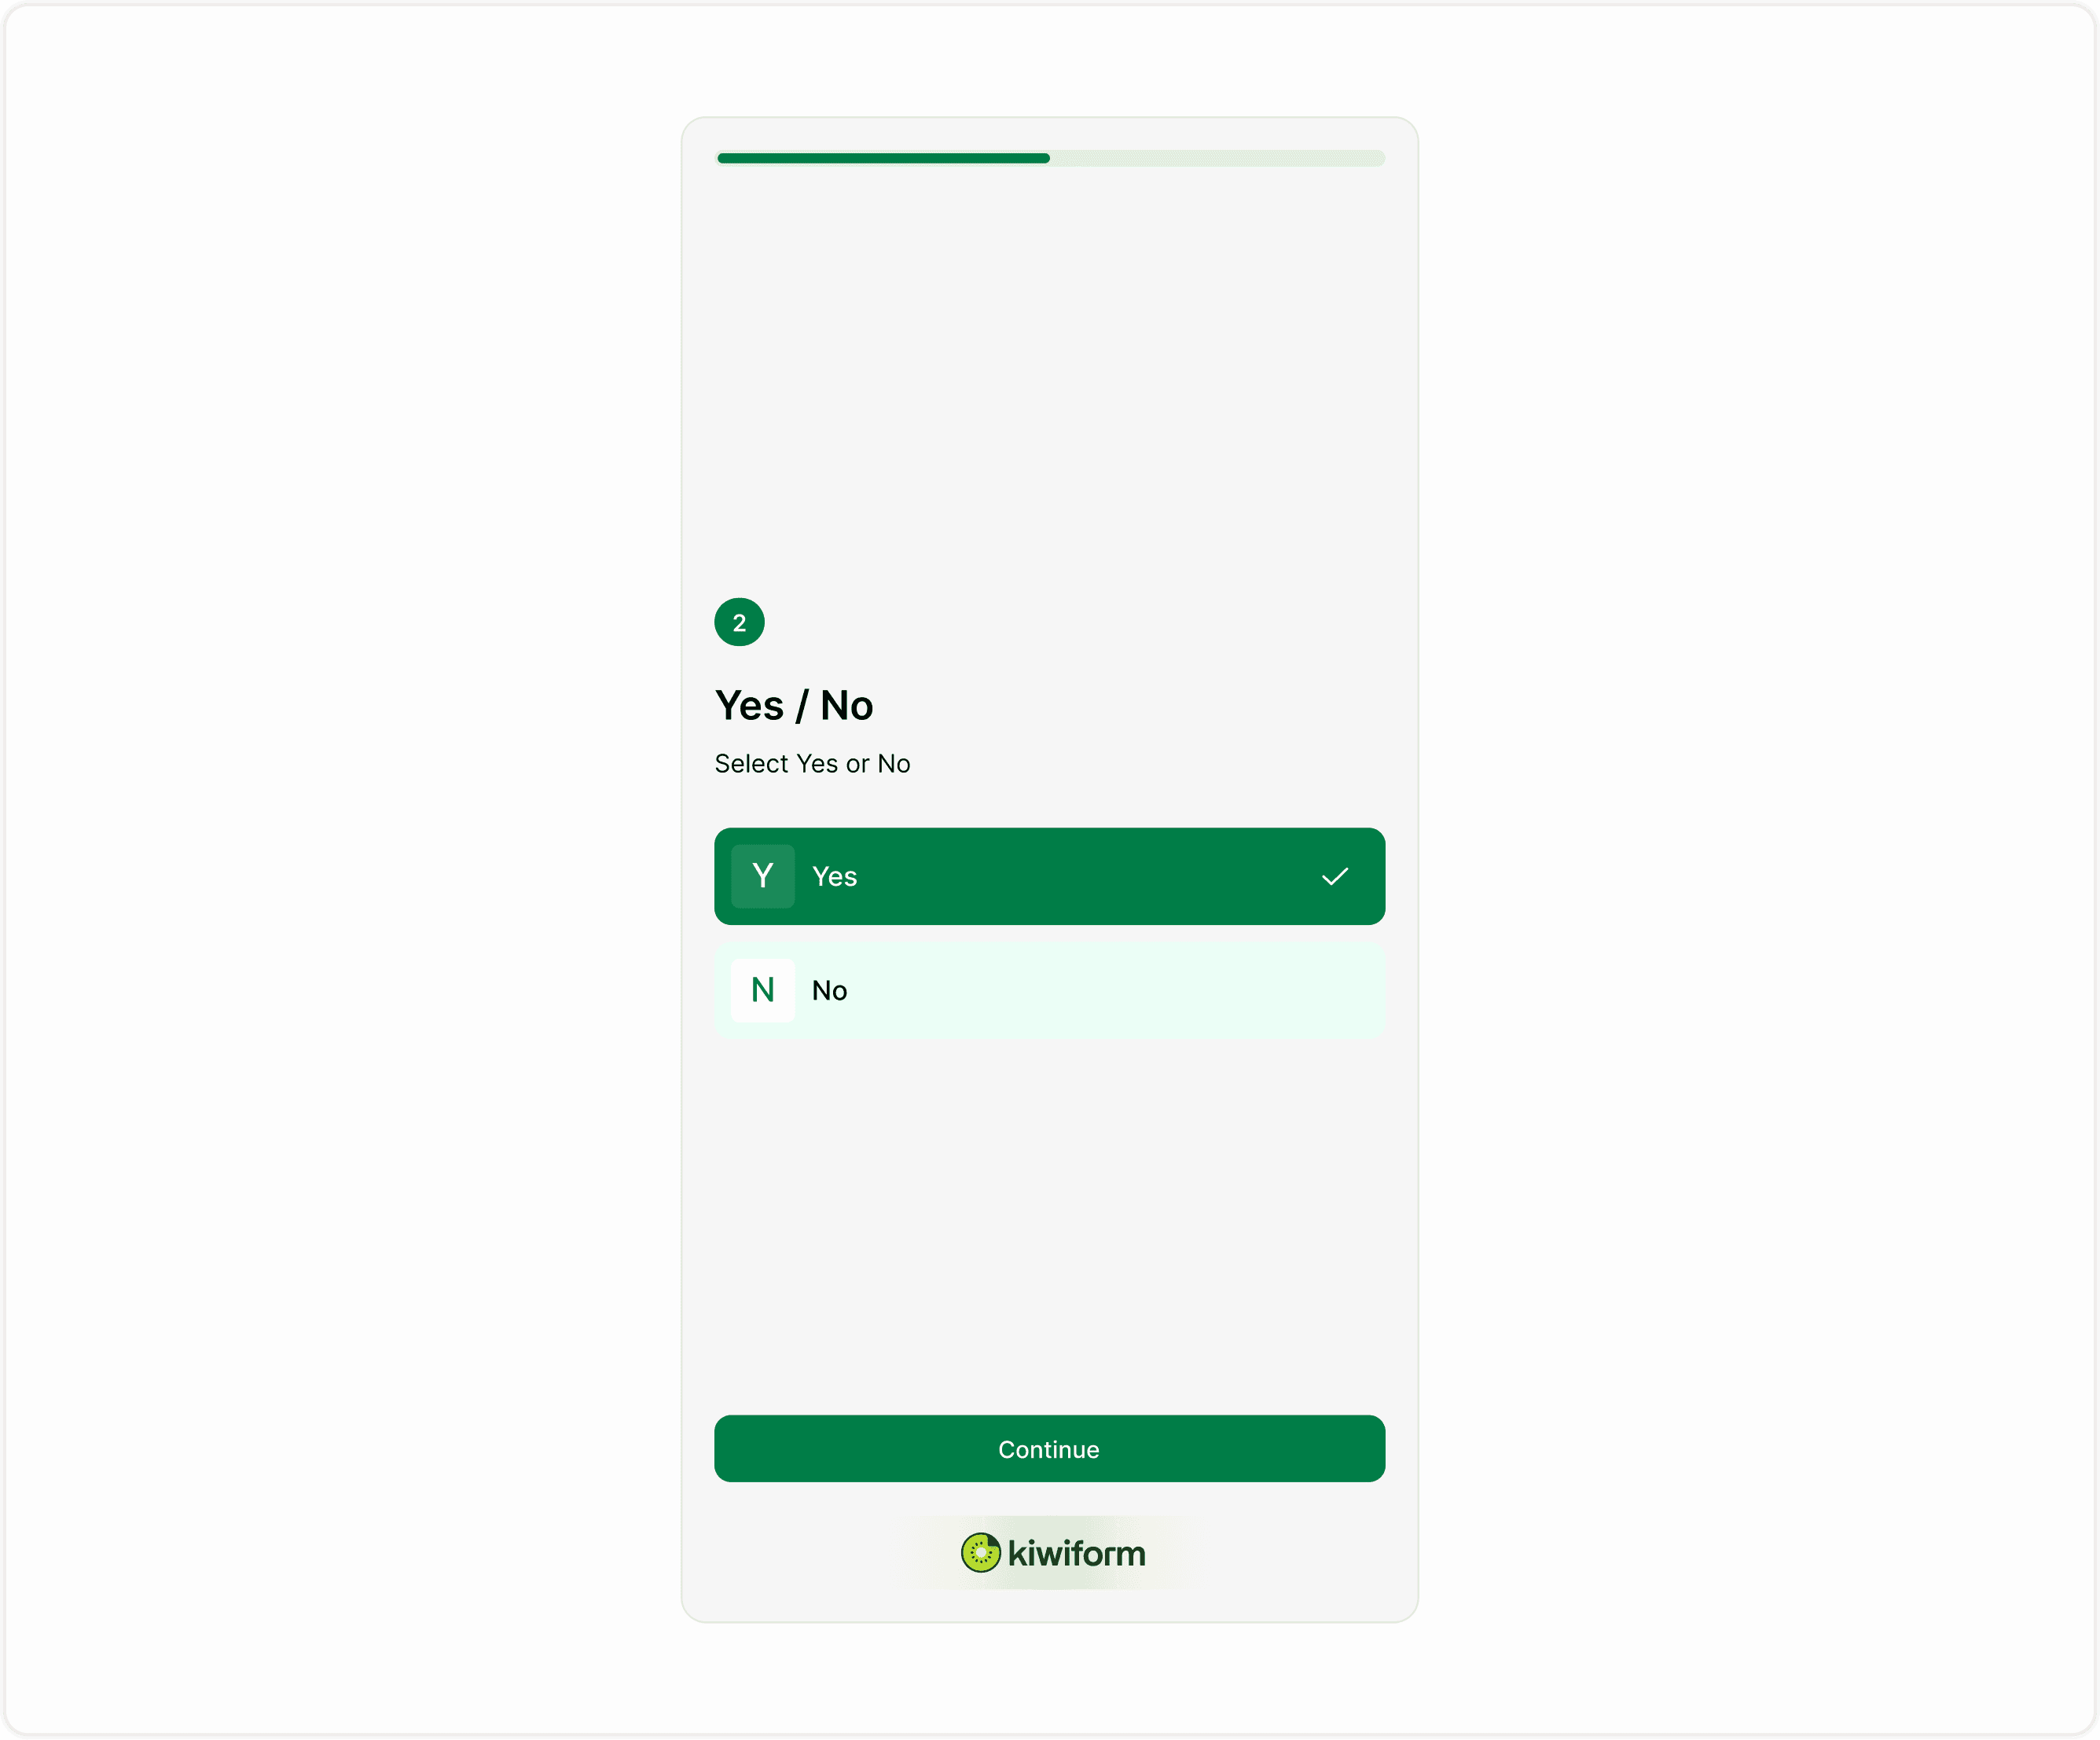
How respondents see the field
In the live form, respondents see two clear options: Yes and No.
They simply select one and move forward. This keeps interactions quick and reduces drop-offs, especially on mobile.
Best practices
Keep the question focused on a single decision.
Avoid combining multiple ideas in one Yes / No question.
Use this field for clarity, not long explanations.
Pair it with logic when the answer should change the flow.
Make it required when the response is critical.
Summary
The Yes / No field is used when you want respondents to choose between two clear options. It keeps forms fast, structured, and easy to complete. This article walks you through how to add the field, configure required settings, and use it effectively with logic and other form elements so responses stay clean and easy to analyze.