What Is Zapier?
Zapier is an automation platform that connects different apps using automated workflows called Zaps.
Each Zap consists of:
A Trigger – an event that starts the workflow
One or more Actions – tasks performed in other apps
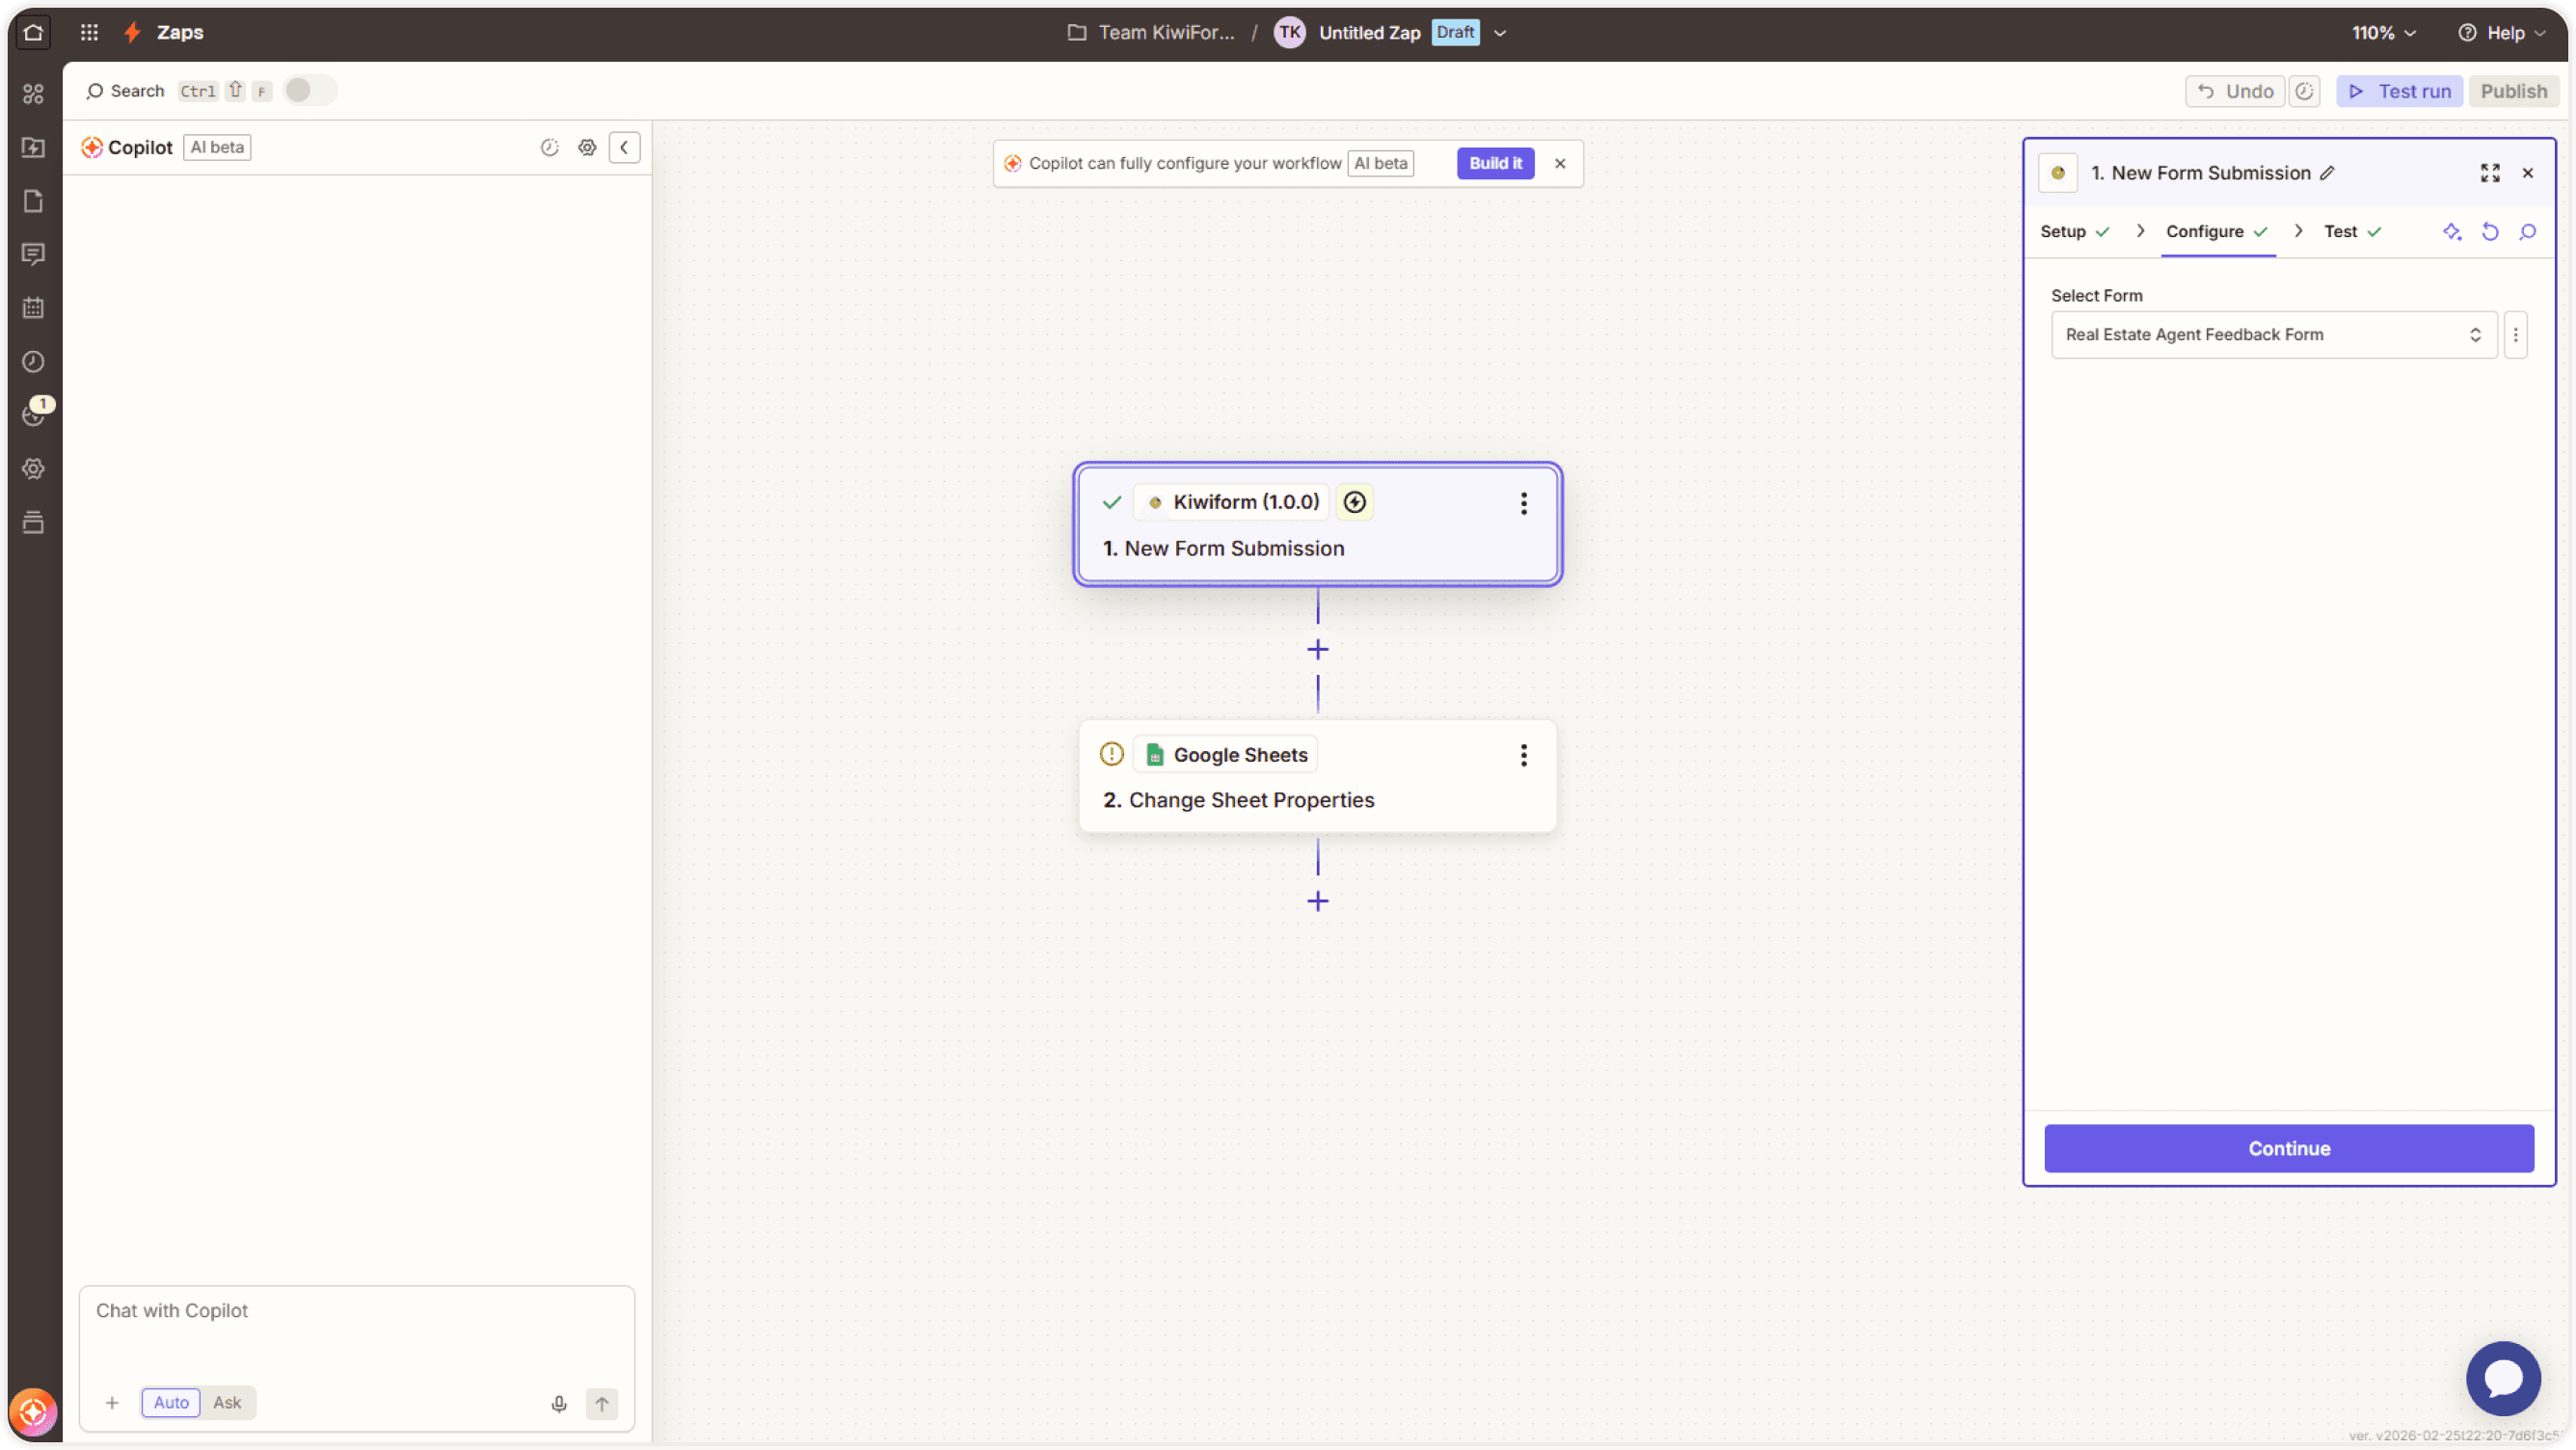
In Kiwiform, the trigger event is:
New Form Submission
When someone submits your form, Zapier receives the response data and performs the actions you configure.
When Should You Use Zapier?
Zapier is useful when you want to:
Send leads to a CRM automatically
Add subscribers to an email list
Create tasks in project management tools
Send data to Google Sheets
Notify your team in Slack
Create support tickets
Sync data between multiple tools
If you need advanced backend control, consider using Webhooks instead. Zapier is ideal for no-code automation.
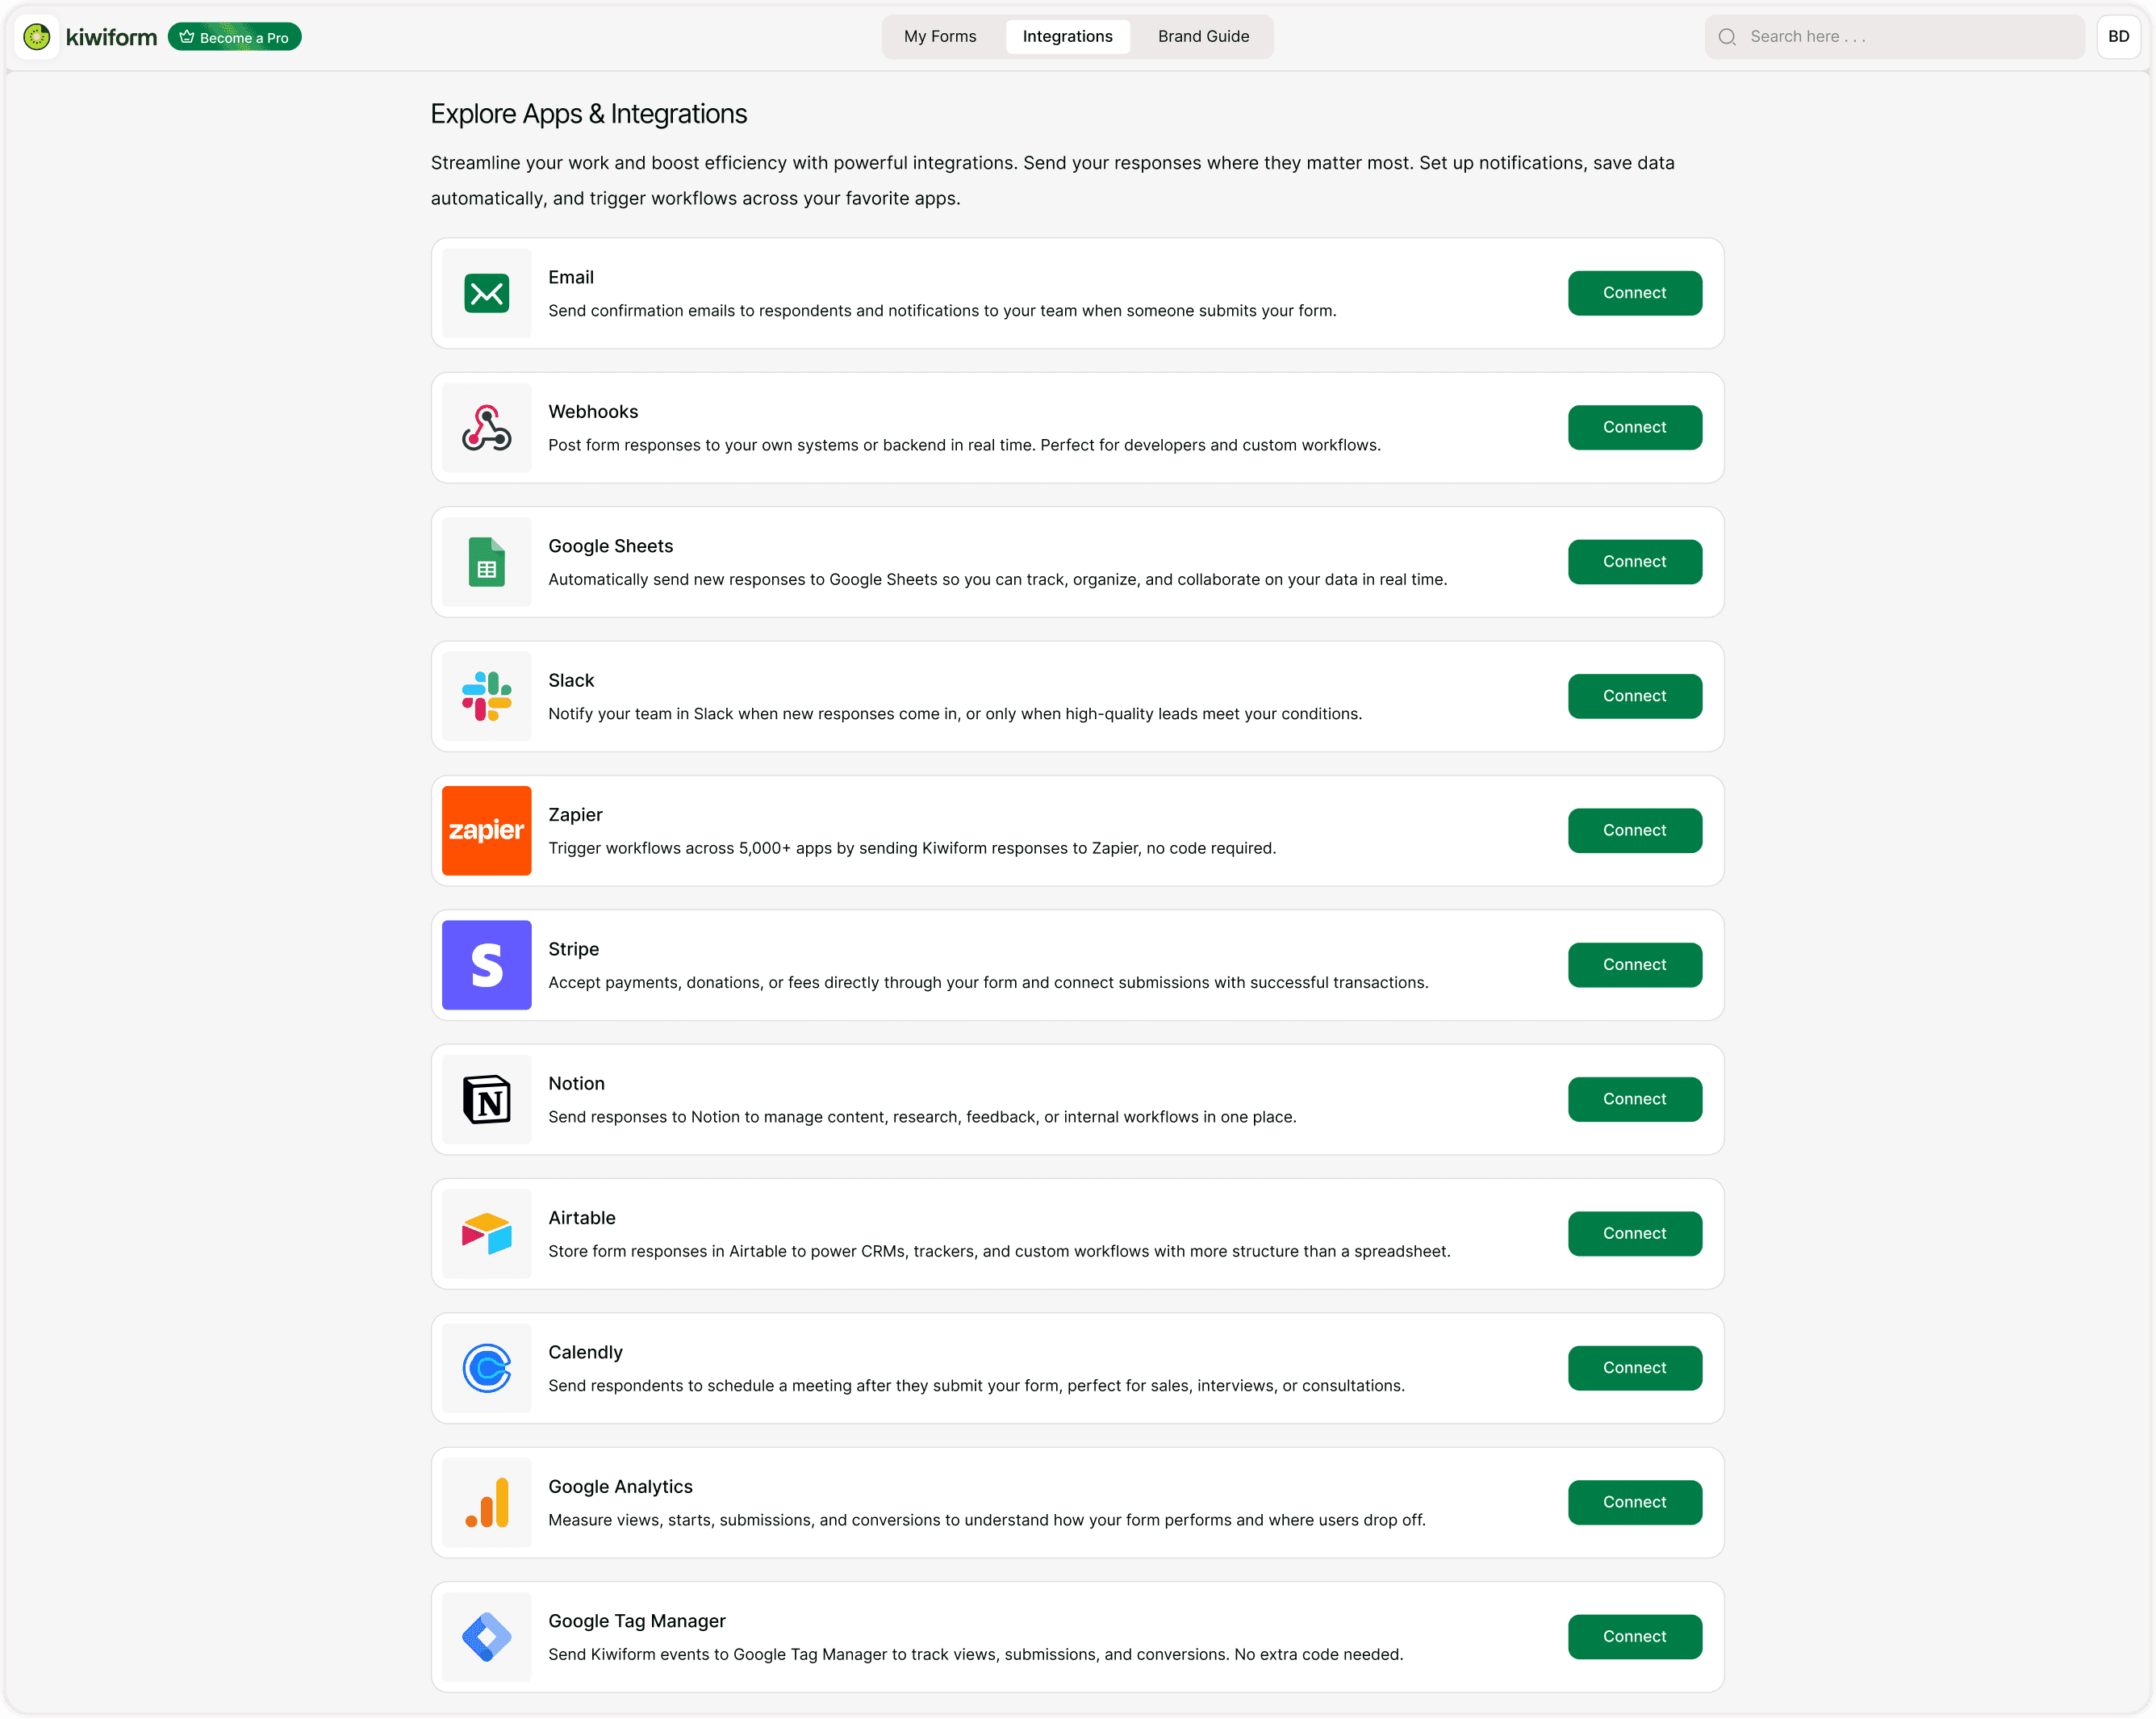
How to Connect Kiwiform to Zapier
Open your form in Kiwiform.
Click Connect in the top navigation.
Select Zapier from the integration list.
Click Connect.
Log in to Zapier
After clicking Connect, you will be redirected to Zapier.
Log in to your Zapier account.
Authorize Kiwiform to access your form data.
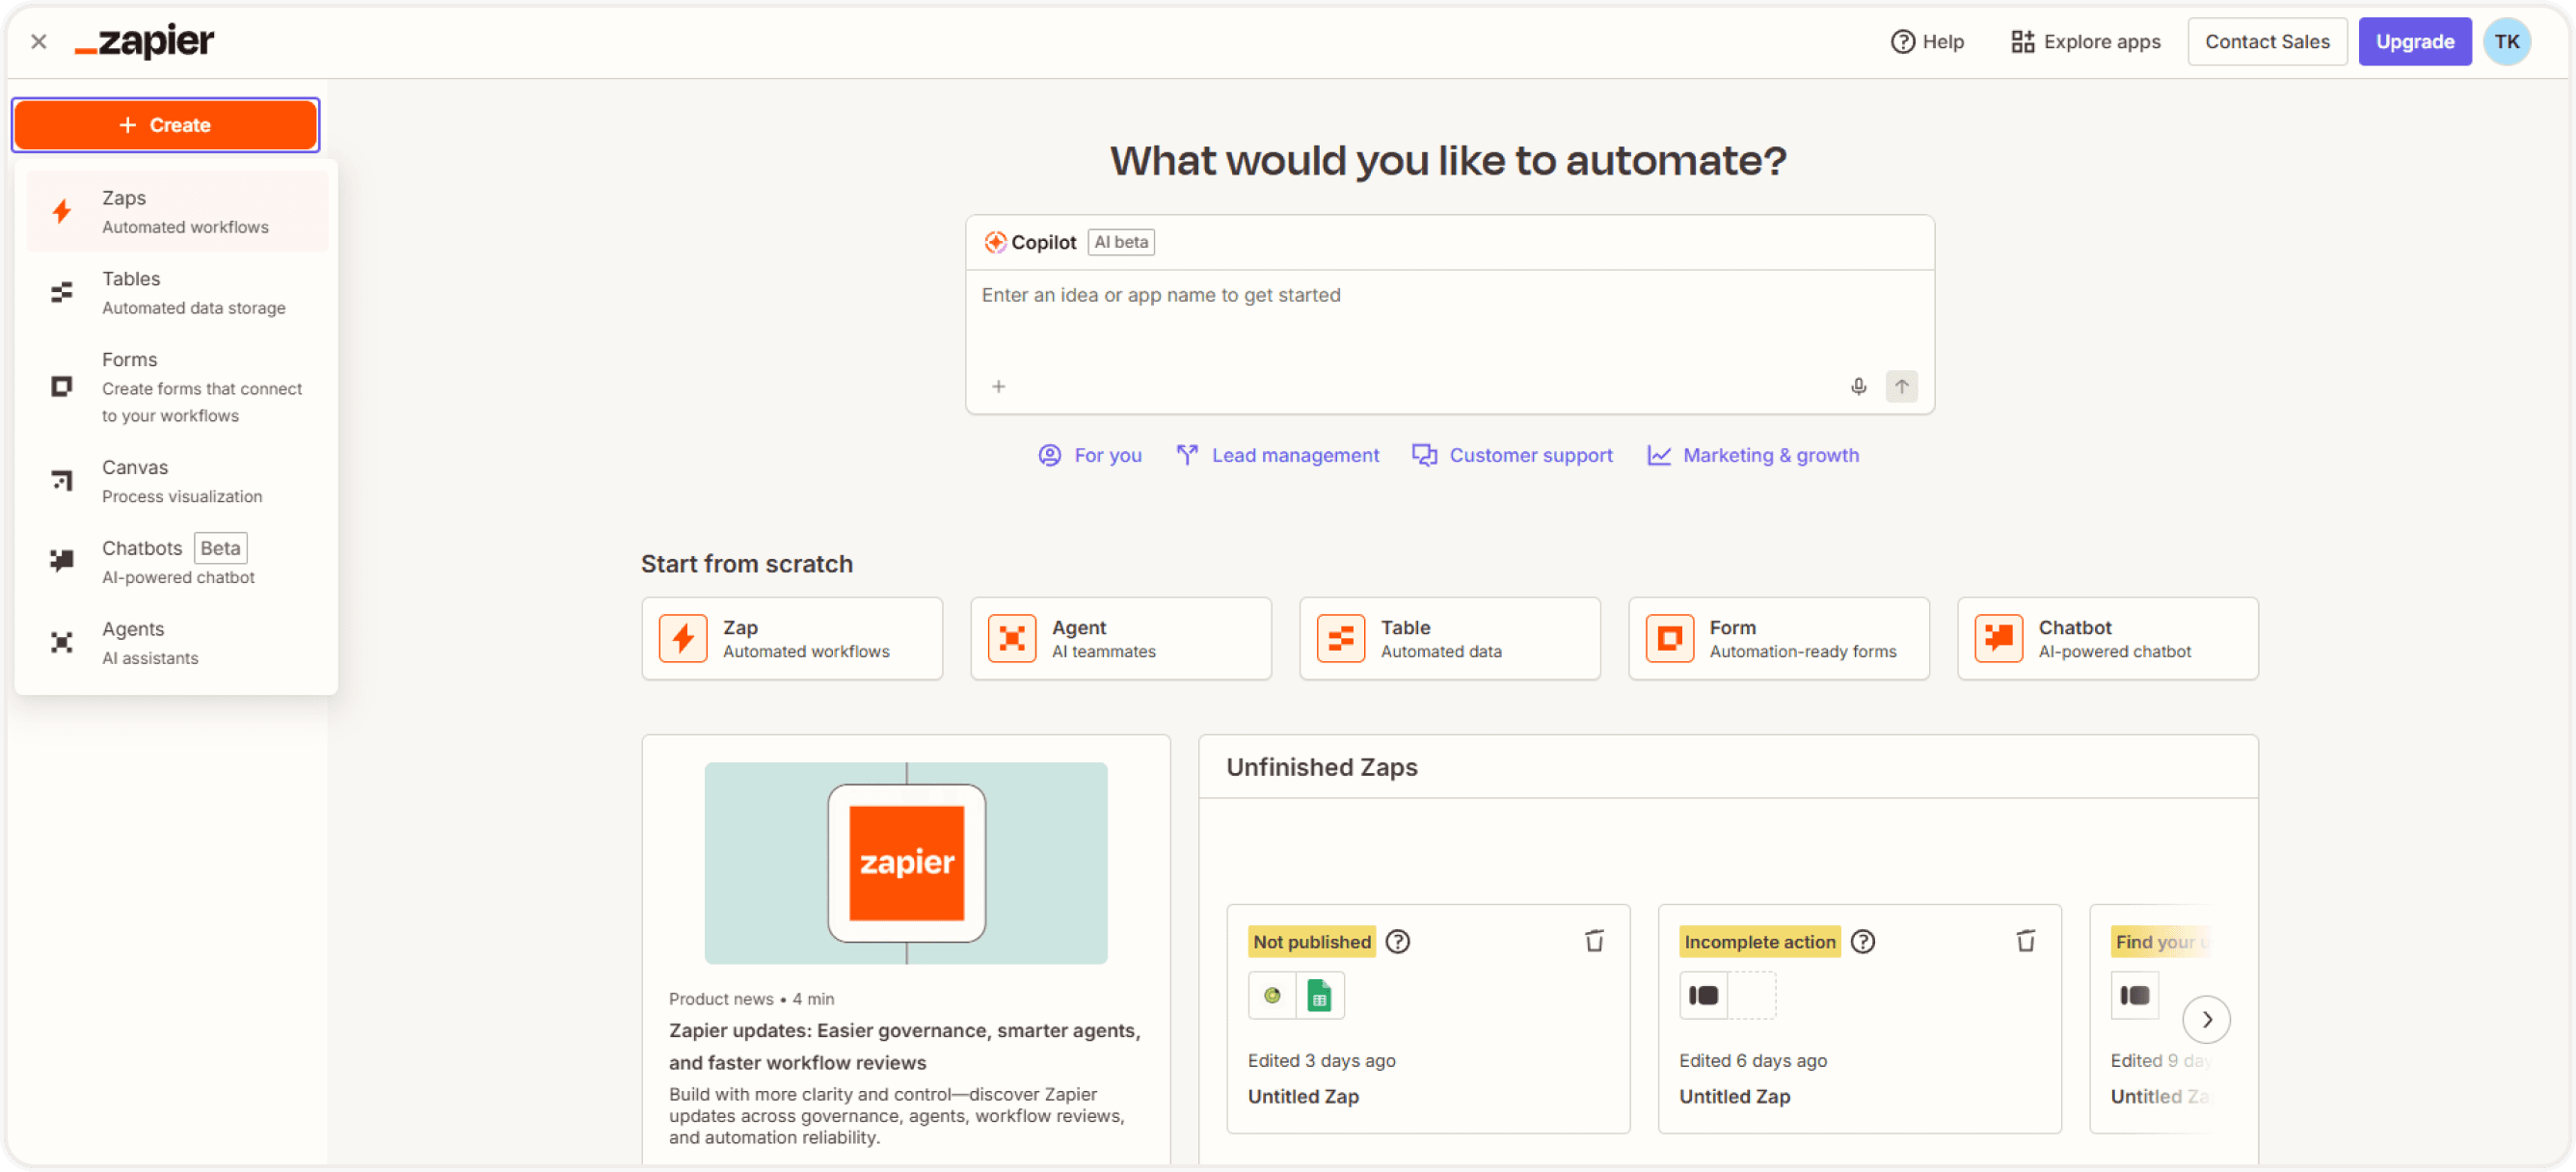
Create a New Zap
Inside Zapier:
Click Create Zap.
Choose Kiwiform as the trigger app.
New Form Submission
Choose the specific form you want to connect.
Zapier will then ask you to test the trigger by pulling in a recent submission.
Choose an Action App
After setting the trigger:
Choose the app where you want data to be sent.
Select the action (for example, Create Record, Add Subscriber, Create Task).
Map Kiwiform fields to the fields in the destination app.
Field mapping ensures the right data goes to the correct place.
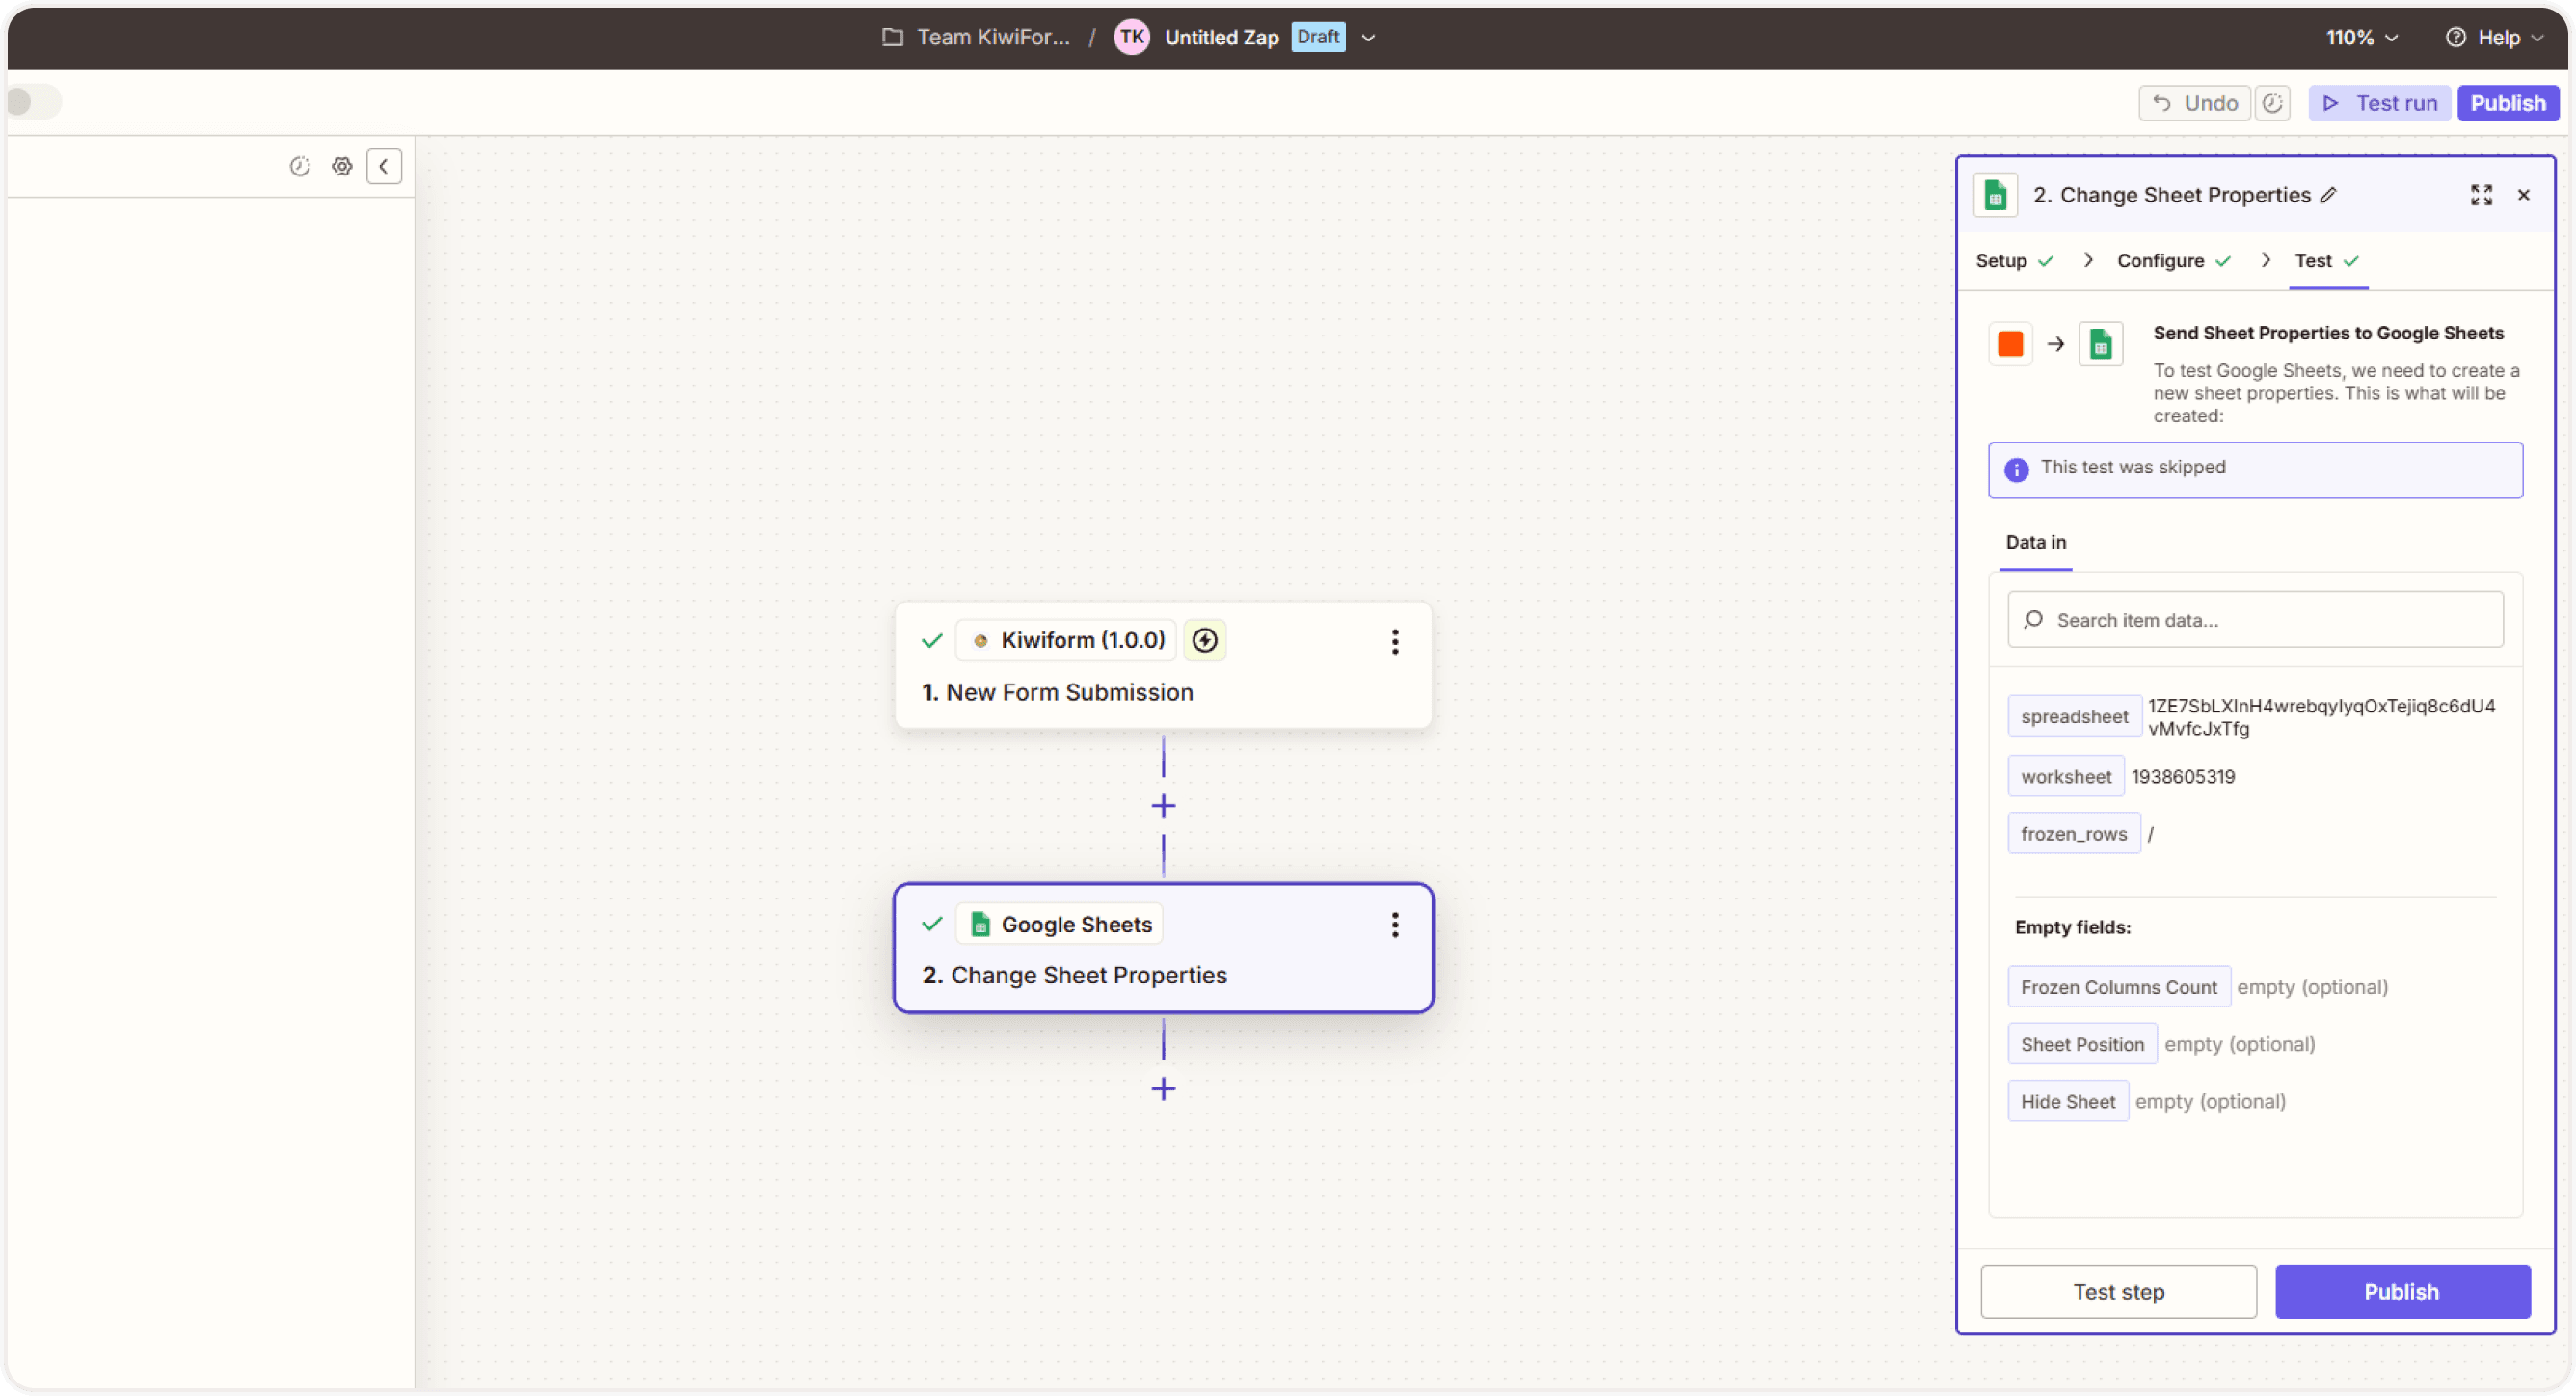
Test and Turn On the Zap
Before activating:
Run a test inside Zapier.
Confirm data is sent correctly.
Turn the Zap ON.
Once active, every new form submission will trigger the workflow automatically.
Best Practices
For stable automation:
Always test with real sample submissions
Use clear and consistent field labels
Keep Zaps simple when possible
Monitor Zapier task usage limits
Avoid deleting forms connected to active Zaps
Summary
Zapier integration allows you to automatically send Kiwiform form submissions to thousands of other apps without writing code. When someone submits your form, Zapier can trigger actions such as creating a lead in a CRM, adding a contact to an email list, updating a spreadsheet, or sending a notification to your team. By connecting Kiwiform to Zapier, you can streamline workflows, reduce manual data entry, and keep your tools in sync in real time.